
Converting your text to an editable shape in Illustrator will allow you to easily customize your text, combine the text with other shapes, or even use the text as an image mask.
Outlining the text is also a good idea if you are planning to hand off the .AI design file to a print shop or another designer so that they won’t need the original fonts installed to access the file.
Fortunately, converting your text to an editable shape is one of the easiest tasks in Illustrator!
Table of Contents
How to Do it With the “Create Outlines” Feature
The best time for you to use the Create Outlines method of converting text to a shape is when sending artwork to a printer or another designer. When you outline text, it prevents the fonts from switching to a default font on another system if the person doesn’t have the font installed.
You should also use this method when you want to customize your text fully.
To convert text to a shape, follow these steps.
- Create a new Illustrator document or open the project file
- Type your text, choose your font, and resize the text
- Select the text(s) to outline
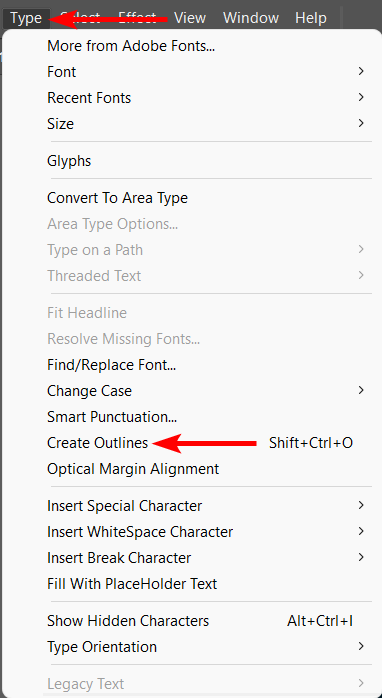
- Go to Type > Create Outlines or press Shift + Ctrl/Cmd + O
You can convert point text made by clicking once on the page and paragraph text made by clicking and dragging out a text box.

Format the text as needed by resizing it and changing the font size and color. Once you convert the text to outlines, you won’t be able to edit the text to fix any typos. I recommend saving a copy of your artwork at this stage in case you need to change the text later on.
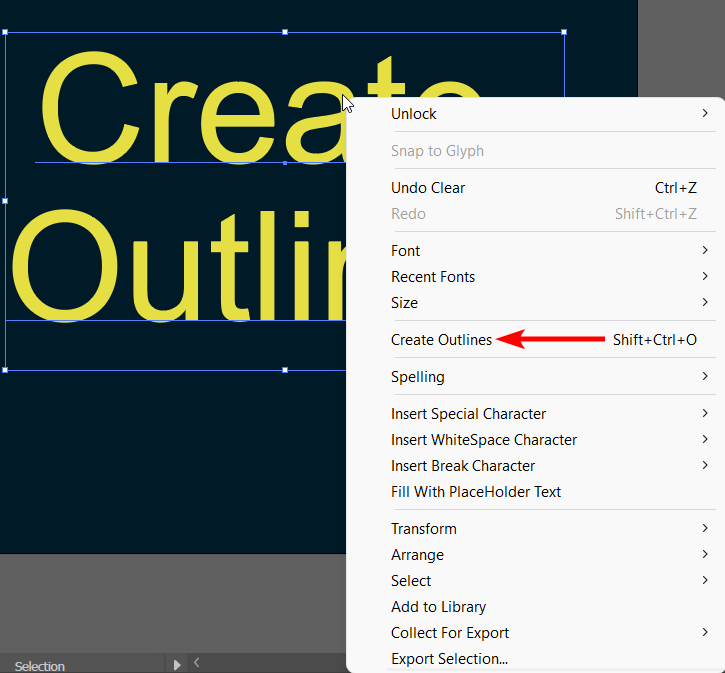
Now, select your text by clicking on it. The text is underlined when selected. Suppose you have many elements on your page, press Ctrl/Cmd + A to select everything. It doesn’t matter if you select graphics and images, as the outlines won’t affect them.

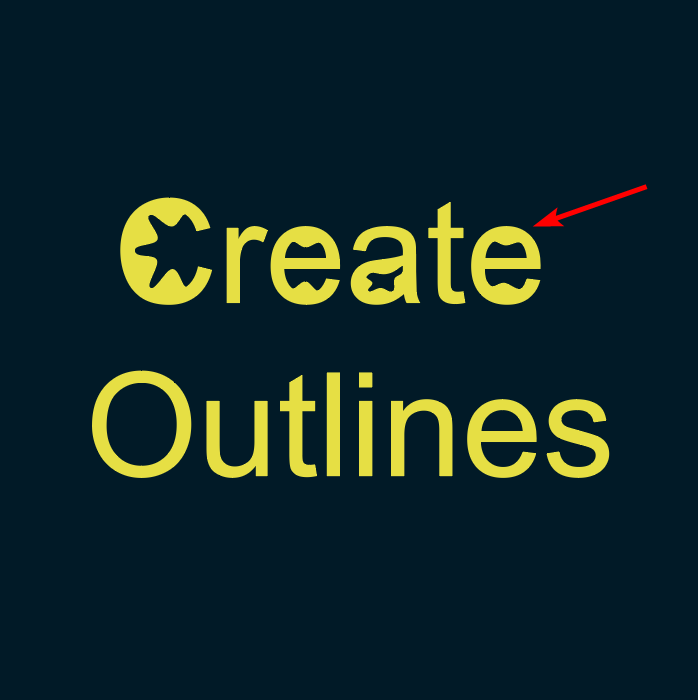
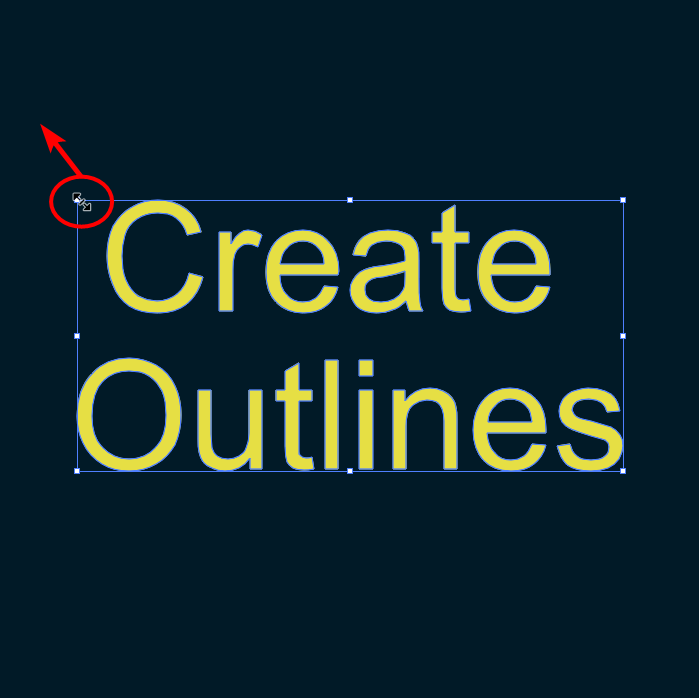
Convert the text by going up to Type > Create Outlines or pressing Shift + Ctrl/Cmd + O.
You can also outline the text by right-clicking/Ctrl + clicking on the text and selecting Create Outlines.
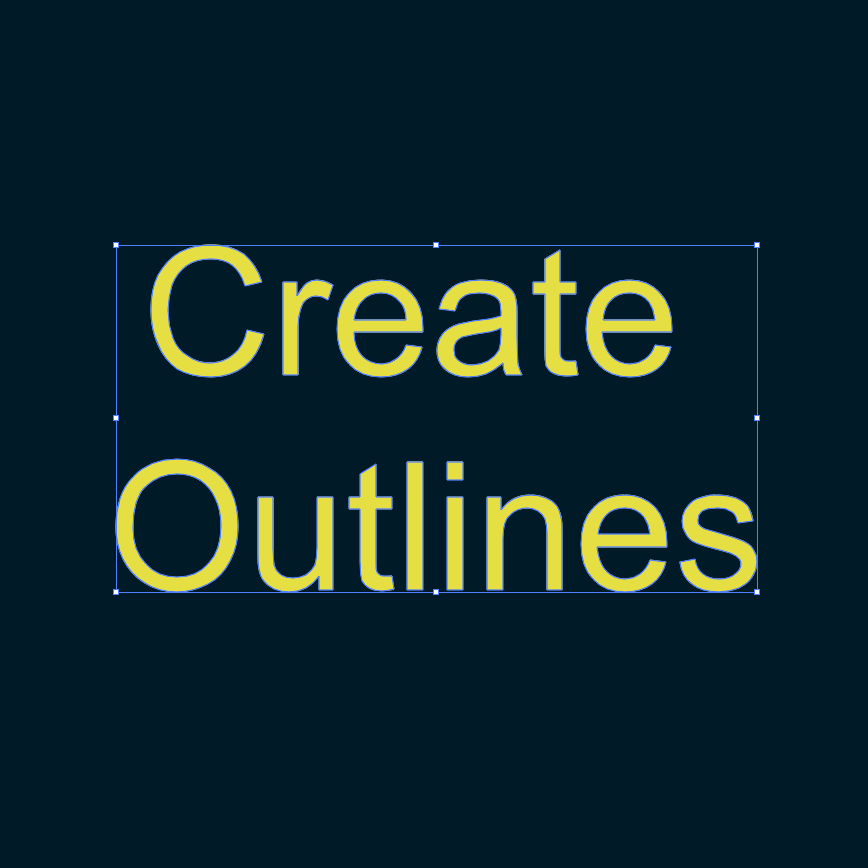
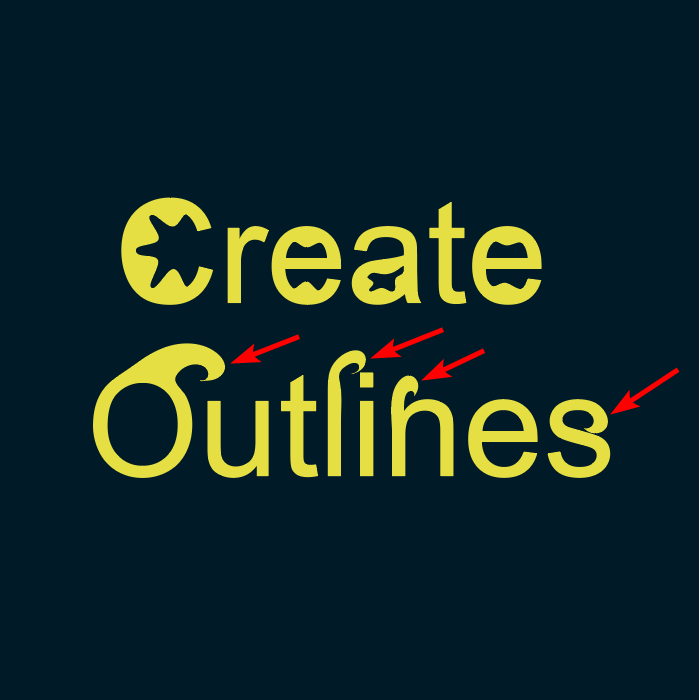
There will no longer be an underline under the text, and you can now see a blue border around the text, which means it is now a shape.
Customizing the Text
You can now send your artwork to the printer or customize the text using various tools. Since the text is now a vector layer, you can adjust it differently.
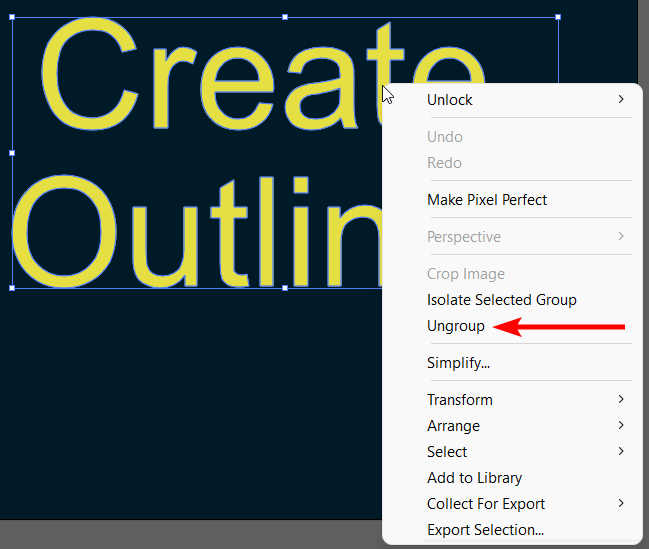
Before you customize the text, I recommend ungrouping it so you can edit each letter individually. To ungroup the outlined text, ensure it’s selected, then right-click/Ctrl + click and select Ungroup. You can also press Shift + Ctrl/Cmd + G.
When customizing the text, choose the Direct Selection Tool or press A.
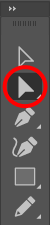
The various anchor points are immediately visible on the shape path after you select the tool.
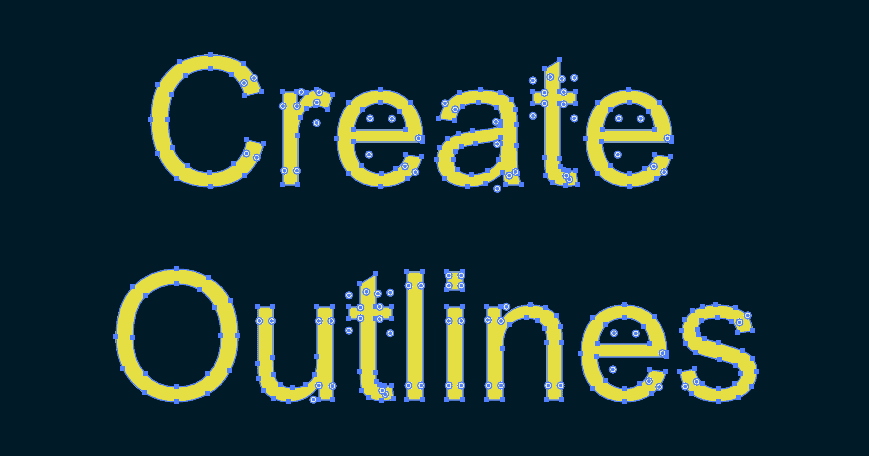
Click on any point with the tool active to select it, then click it again and drag it around to customize the text.
Repeat the process with as many anchor points as you’d like to alter the text.
You can also use the Pencil Tool by pressing N to customize the text even more.
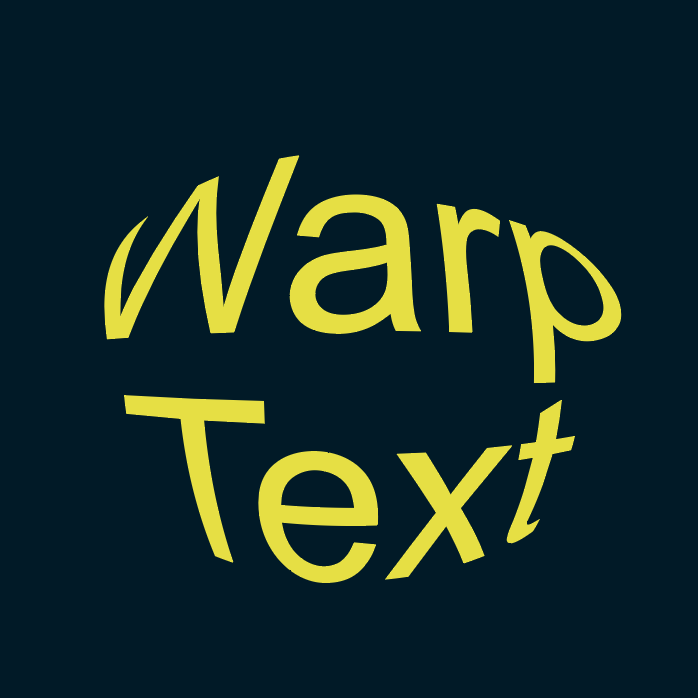
How to Do it With the Make With Warp Feature
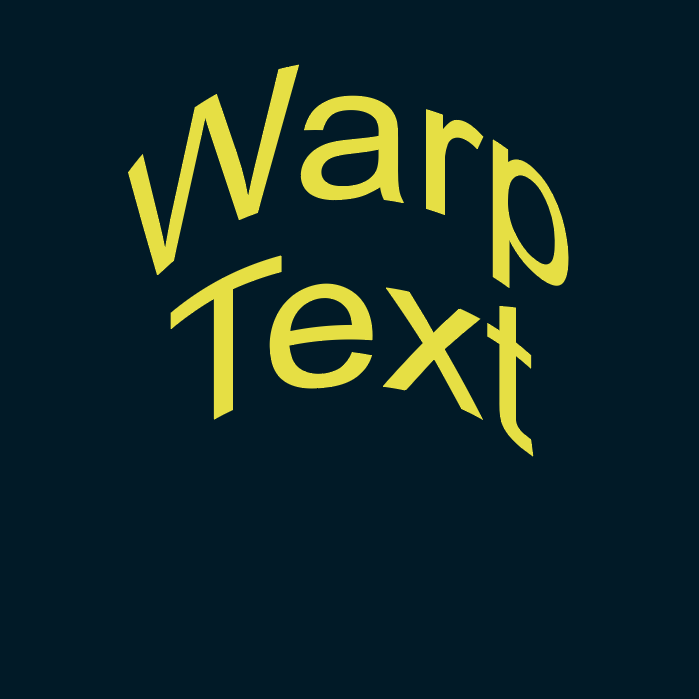
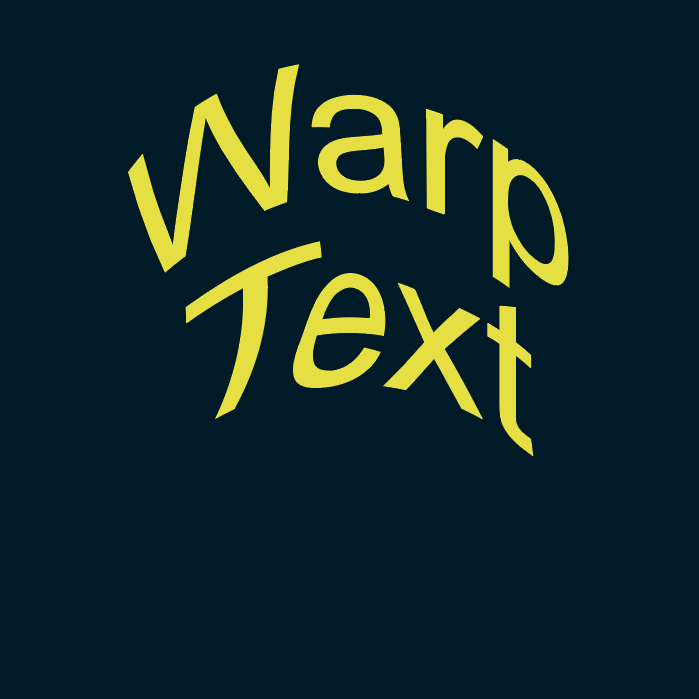
The other method of converting text to a shape is the Make with Warp feature, which is best for when you want to create warped text. You can use this method to add preset warps to your text or create your own warps using specific shapes.
To use the Make with Warp feature, follow these steps.
- Open your project or create a new document
- Add your text and format it as needed
- Select the text to warp
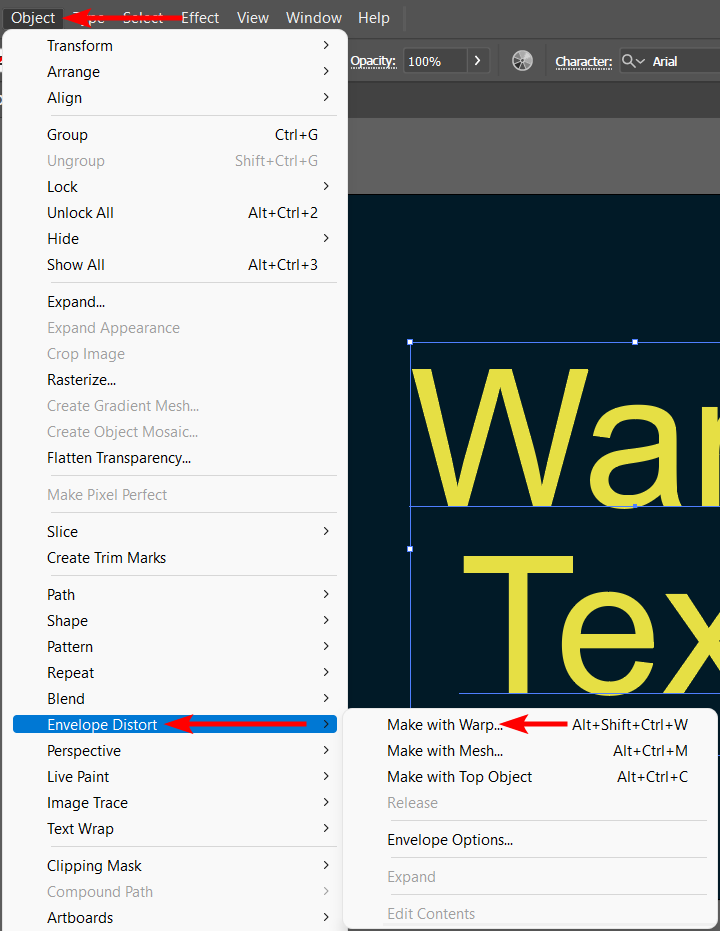
- Go to Object > Envelope Distort > Make with Warp or press Alt/Option + Shift + Ctrl/Cmd + W
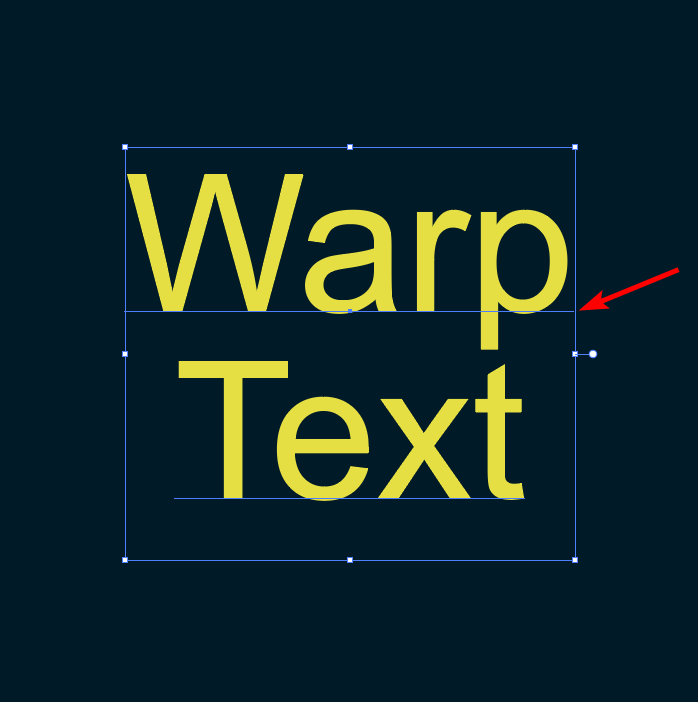
Select your text, shown by the underline and transform box around the text.
Then go to Object > Envelope Distort > Make with Warp or use the shortcut Alt/Option + Shift + Ctrl/Cmd + W.
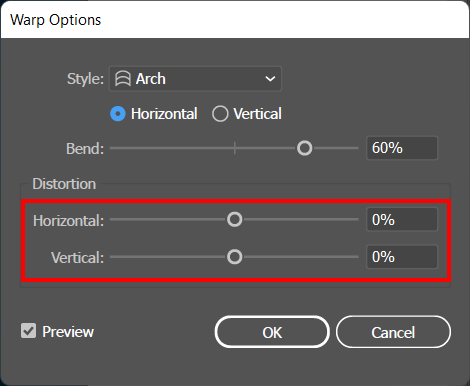
This action opens the Warp Options dialogue box. You can select a preset warp shape from the Style drop-down menu.
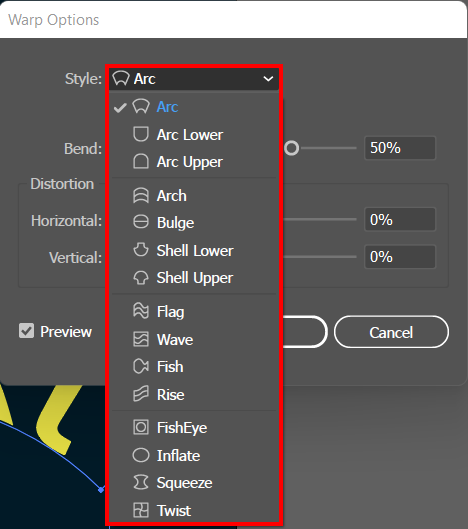
You can also change the settings by changing the warp orientation between horizontal and vertical.

Horizontal:
Vertical:
Adjust the amount the text bends using the Bend slider or add an amount in the box.
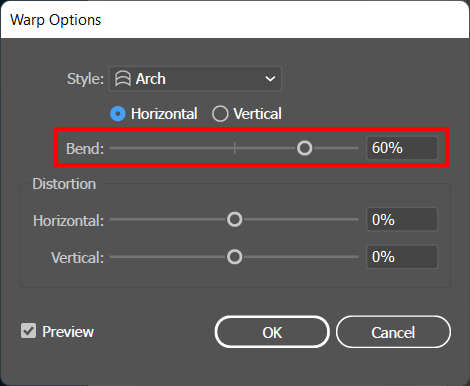
Change the Horizontal and Vertical distortion, which affects the perspective of the text, by adjusting the sliders.
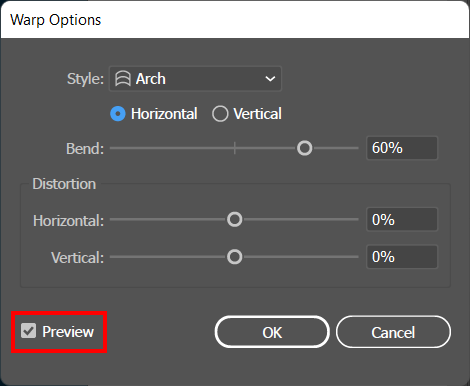
The text on your canvas changes in real time if you check the box next to Preview.
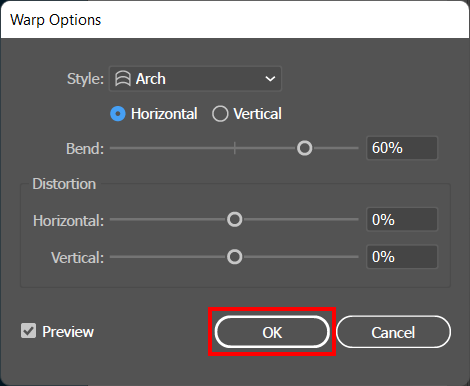
Once you are happy with the effect, press OK, and your text is warped.
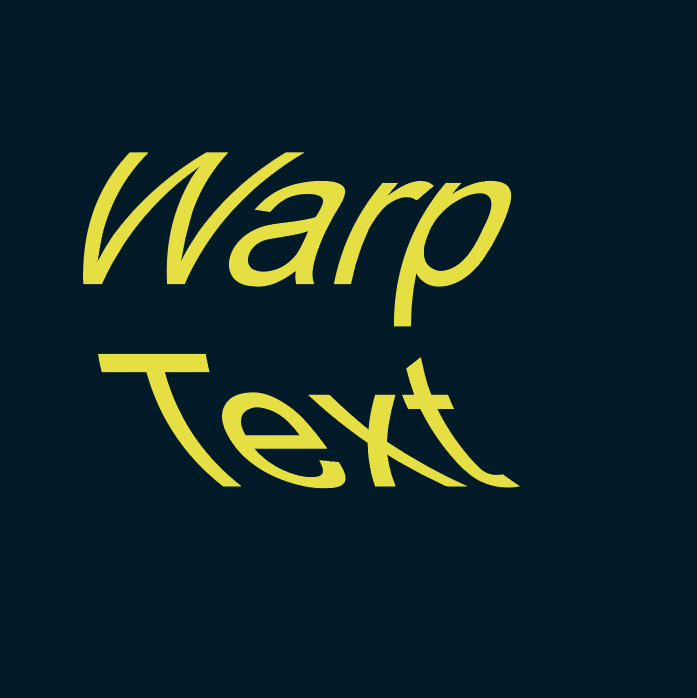
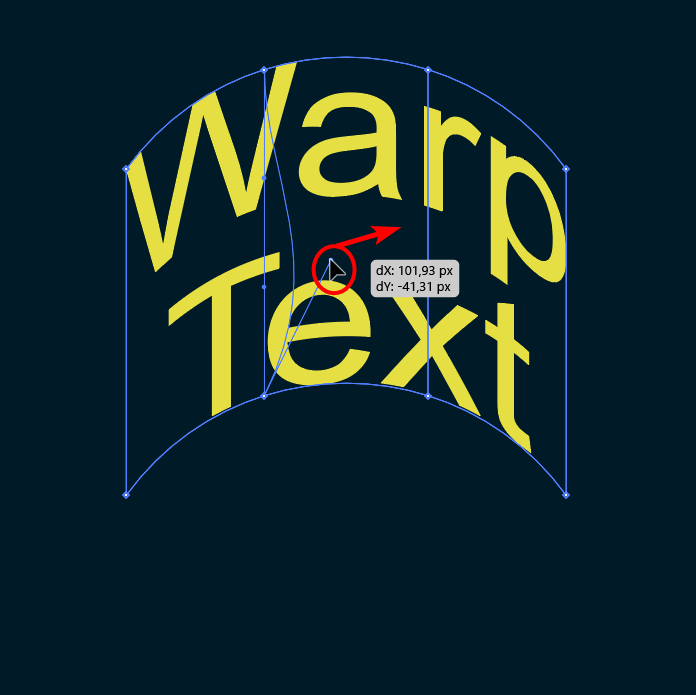
Once you’ve selected OK, you can further adjust the text using the Direct Selection Tool (A). Select the tool, click on a point on the mesh that covers the text, click the anchor point again, and drag to distort the warped text further.
Make With Top Object Feature
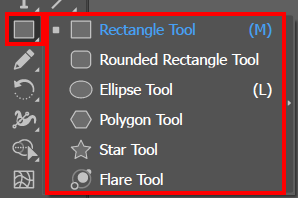
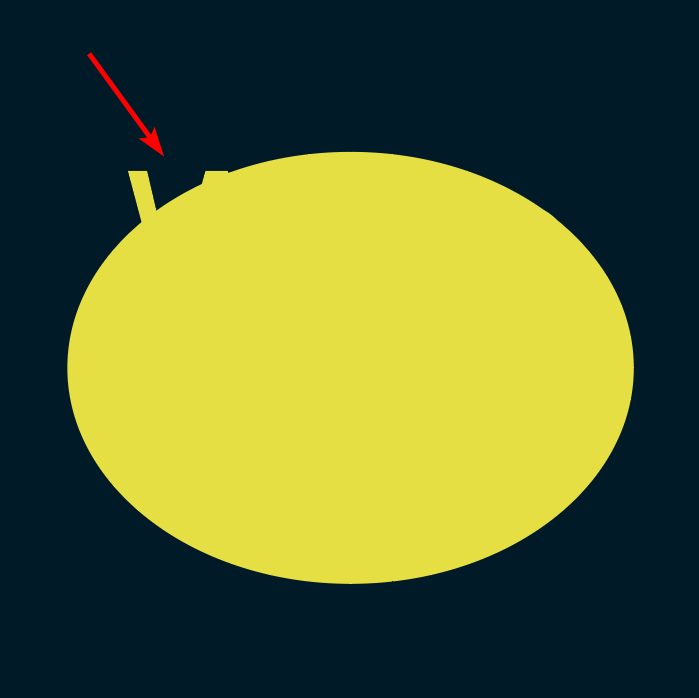
If you don’t like the preset warp options, you can warp the text using any shape. To do this, add your text to the page, then create a shape over the text using any shape tool.
Then select both layers by pressing Ctrl/Cmd + A or clicking and dragging over both items.
Once you’ve selected the items, go to Object > Envelope Distort > Make with Top Object or press Alt/Option + Ctrl/Cmd + C.
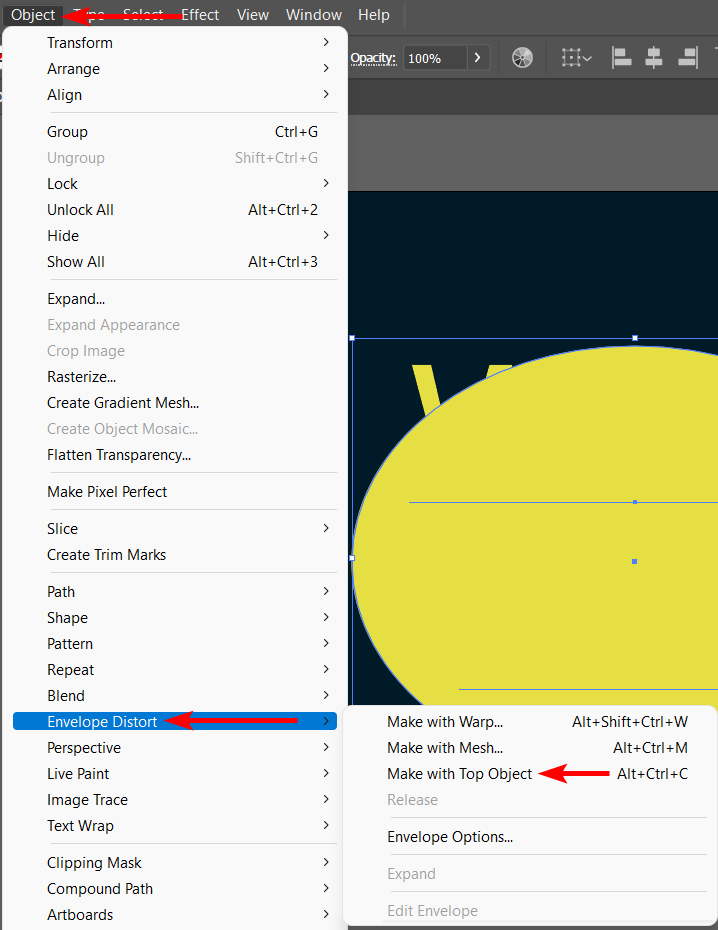
Your text is now warped in the shape you placed on top of the text.
The benefit of distorting the text in this manner is that you can still edit the text. Double-click on the warped text, and you can type in new text without affecting the warp.

Your new text follows the same warp settings.

However, this method doesn’t convert the text to a shape, so use the Create Outlines method after warping the text to send it to a print shop or another designer to preserve the font.
Alternatively, after warping your text, go to Object > Expand to convert the text into a vector shape which you can edit further.
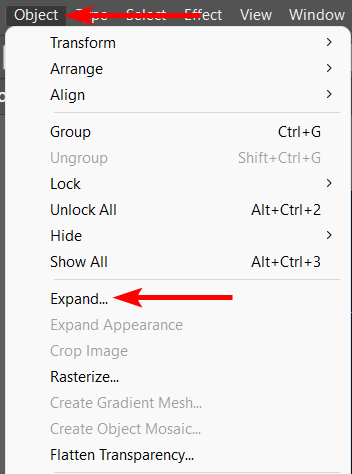
You’ll notice the shape change to an outline by the blue border around the text when you select it. Anchor points appear when you activate the Direct Selection Tool.

Frequently Asked Questions
Is there a shortcut to convert text to shape?
Using the Create Outlines method, you can use the shortcut Shift + Ctrl/Cmd + O to convert text to a shape quickly. This shortcut converts the text to a vector object, which you can customize by editing the anchor points or send to the printers while preserving the font.
Why does my text not convert to shape?
You won’t be able to convert text to a shape if you have locked the text layer or accidentally made a selection of a box around the text with no shape fill or outline. Unlock the text layer in the Layers panel and ensure you select the text layer to convert it to a shape.
Can I change the shape back into a text layer?
Once you have converted text to outlines or expanded the text, the only way to revert it to a text layer is by using the undo command. If you haven’t made too many edits, you can press Ctrl/Cmd + Z to undo the actions.
However, if you have saved and exited your project when you open it again, you can’t undo the text outlines, so always be sure to save a copy of your work before converting to outlines.
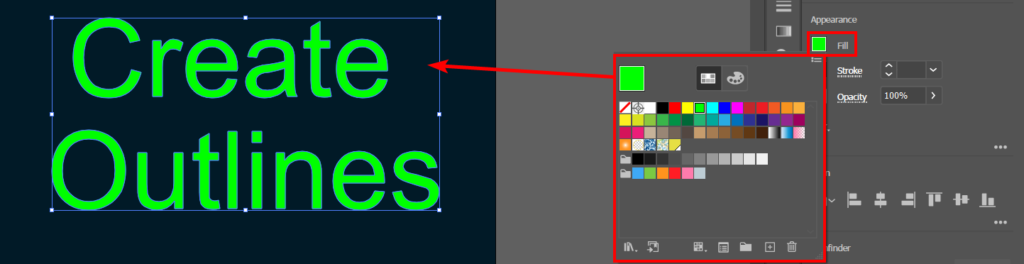
Can I change the size and color of the shape?
Yes, you can change the size and color of the shape after converting the text to outlines. The process is the same whether you ungroup and edit individual letters or the text as a whole.
Select the letter(s) and drag the corner points of the transform box to resize the text.
Use the Fill box in the Appearance panel to change the shape's color.
👍 Support Us: Subscribe to our channel and help us continue providing these tutorials.
🌟 Regular Updates: We publish how-to videos for Adobe Illustrator regularly!
🔧 Expert Guidance: Learn Illustrator from our professionals and uncover exclusive tips!
