
If you ever thought of a new idea later on while designing, like me, you’ll need to know how to add an anchor point in Illustrator.
While designing a new project, it’s unlikely that you’ll get your design perfectly right the first time, and this is where editing paths by adding, deleting, or moving anchor points comes in handy.
In this guide, I will explain everything you need to know about anchor points. Enabling you to manipulate your paths and create precisely what you envisioned for your design.
Table of Contents
What Is an Anchor Point in Illustrator?
When creating a vector path in Illustrator using the Pen Tool (P), you add segments that make up the entire path. The segment can be a straight or curved line. To create a segment with the tool, click to create a starting point, then click again to end a segment (clicking and dragging to curve the line).
Each time you click to create segments, you add an anchor point, shown by a small square block. These points make up each segment that creates the entire path.
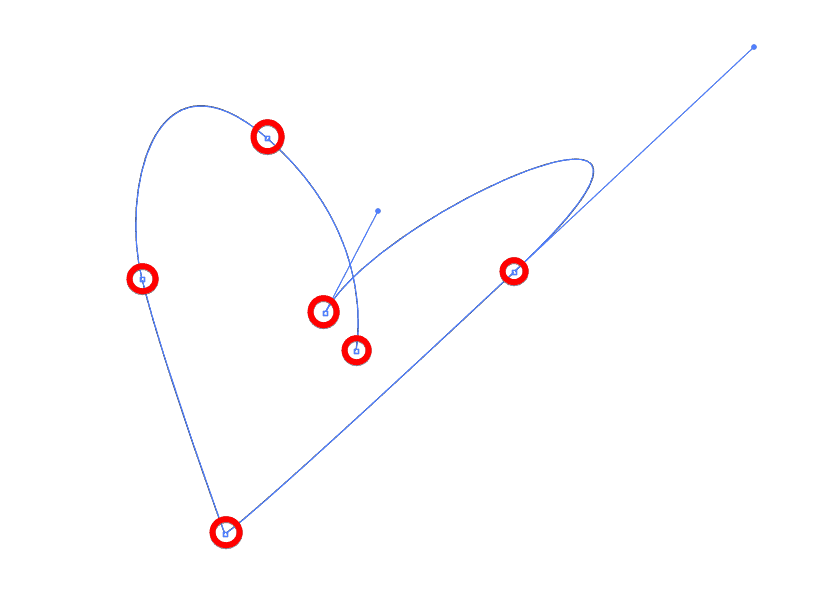
You can manipulate anchor points in different ways to create unique shapes and paths. The anchor point is white when it’s not selected and filled with blue when it is selected.
How to Add an Anchor Point in Illustrator
Using the above example, I can edit the rough heart shape by adding new anchor points. When adding new anchors, I can create more segments to manipulate, such as adding more curves or straight lines.
You can add an anchor point in two ways, depending on your workflow.
Option 1: Using the Pen Tool (P)
The first method uses the Pen Tool (P). Use this method if you have just created the path with the tool or if you want to extend the path.
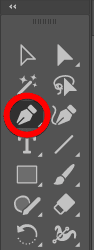
First, ensure the Pen Tool is active by selecting it from the toolbar or pressing P.
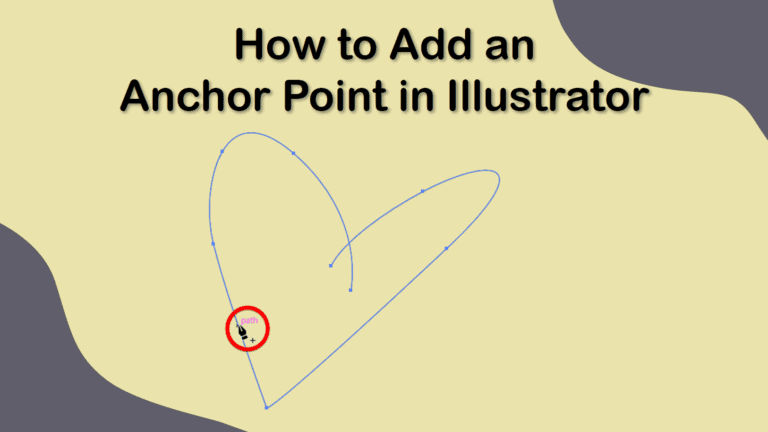
When the Pen Tool is active, you can add an anchor point in the middle of a segment by hovering the mouse over the path where you want to add the point. You will see a small plus icon appear next to the pen icon.
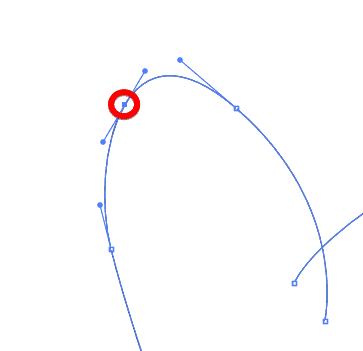
Click on the path to add the anchor point on the path. You will see the anchor point added with two handles (the small circles), which can be moved to curve the line.
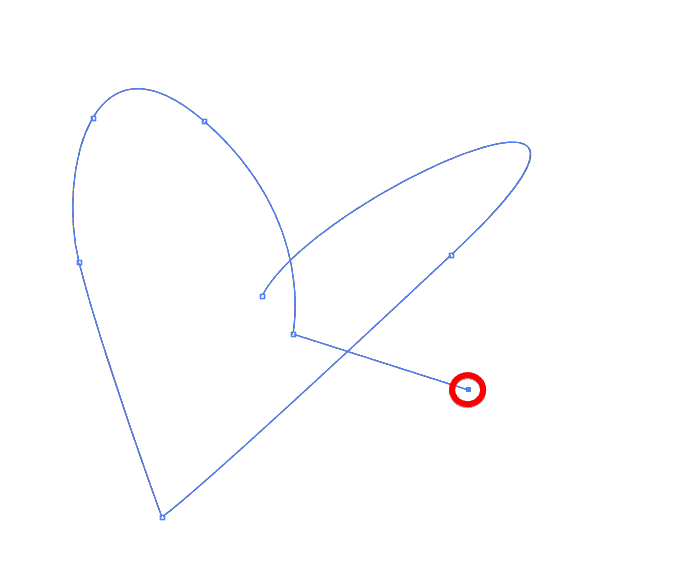
If you want to add an anchor point to the end of the path to extend the path further, you must click on the last anchor point that ended the path. As you drag the mouse away from the anchor, you will see a new segment line appear.
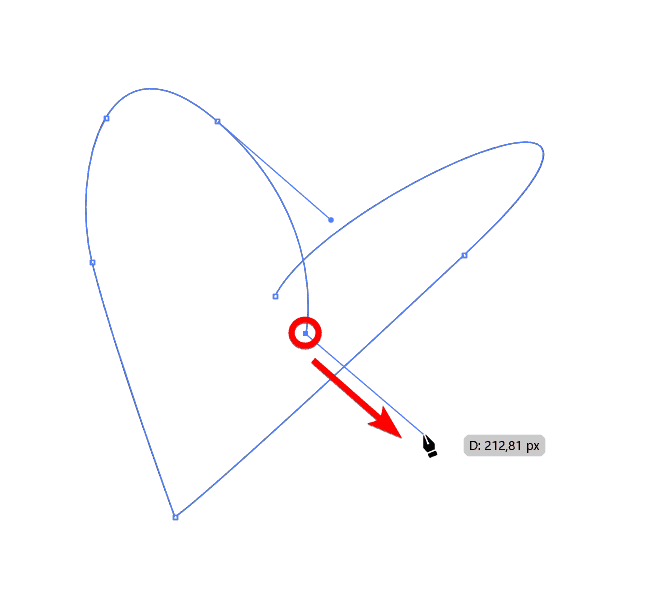
You can then click anywhere to add the new anchor point and continue the path. Remember to press Enter to end the path again if you are leaving it open.
Option 2: Using the Add Anchor Point Tool
The second method uses the Add Anchor Point Tool, which may seem like the best tool for this purpose. However, you can’t continue the path with this tool but only add anchor points on the path.
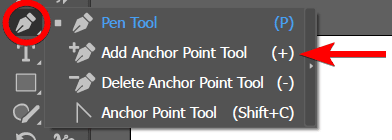
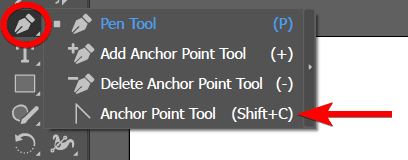
Select the Add Anchor Point Tool from the toolbar to use this method. The tool is usually hidden in the fly-out menu under the Pen Tool, so you need to click and hold on the Pen Tool to find it. You can also use the shortcut + (plus sign) on Windows and Mac to activate it.
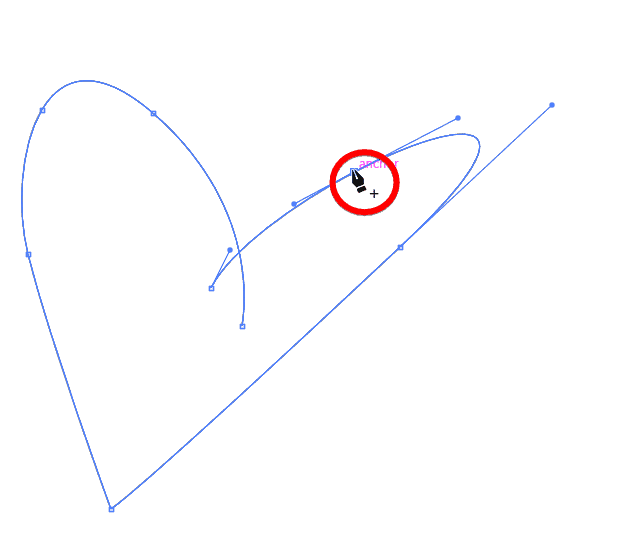
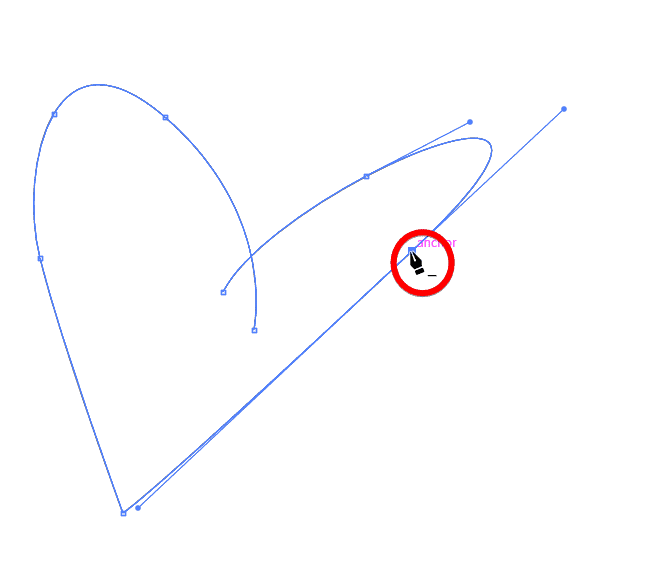
Once the tool is active, hover over the point on the path where you want to add an anchor point and click to add it.
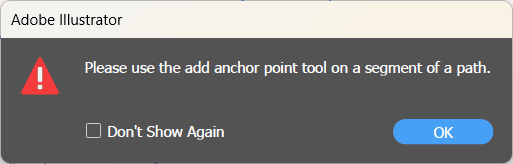
If you try to click on the end anchor points or click off the line, you will receive an error message. So be sure to only use this method to add points to the line.
How to Remove an Anchor Point
If you want to remove any anchor points to make a line segment larger, you can do this using the Pen Tool or the Delete Anchor Point Tool.
To use the Pen Tool, select it from the toolbar or press P.
Using the Pen Tool, hover over the anchor you want to delete until a small minus sign appears next to the pen icon. Click to delete the anchor point.
To use the dedicated tool, select the Delete Anchor Point Tool from the Pen Tool fly-out menu or use the shortcut - (minus sign) on Windows and Mac.

Next, click on an anchor point to delete it.

How to Move and Edit Anchor Points
You can also move and edit the anchor points you add. You can edit an anchor point using the Anchor Point Tool (Shift + C).
To move an anchor point, select the tool from the toolbar under the Pen Tool fly-out menu.
To edit the anchor point, click and drag it using the tool. The tool will bend the segment as you drag the anchor point around.

To move the anchor point, hold in Control on Windows or Command on Mac, click on the point, and drag it where you want to move it.

👍 Support Us: Subscribe to our channel and help us continue providing these tutorials.
🌟 Regular Updates: We publish how-to videos for Adobe Illustrator regularly!
🔧 Expert Guidance: Learn Illustrator from our professionals and uncover exclusive tips!
