Adding a photo or multiple pictures to Figma is super easy, and here is the complete guide.
You can add images by clicking and dragging to place the image at the size you want, or you can create containers to place the images inside to place multiple images at the correct size.
Step-by-Step of How to Add an Image to Figma
- Open Your Project in Figma or Create a New One
- Go to Main Menu > File > Place Image
- Find the Image on Your Device and Click Open
- Click and Drag Out to Place the Image
- Check the Canvas
Before adding images to Figma, you must understand how the image feature works. When you place a picture in the document, Figma automatically creates a container of the same size and shape as your image and sets the image inside it as a fill.
This process makes it easier to crop and edit the image. It also means there are various ways to add photos to your document. However, the process for each method is similar. Here is how to add images and create the container as you place the image.
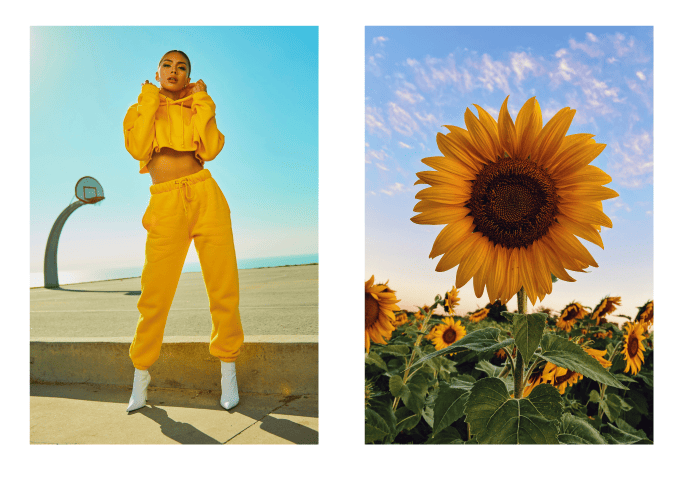
I will demonstrate this process using images sourced from Unsplash.
Open Your Project in Figma or Create a New One
The first step is to open your project or create a new one. You can open or create a project from the main Figma screen. You can then use the Frame Tool to create a new frame on the page, where you will add your images.

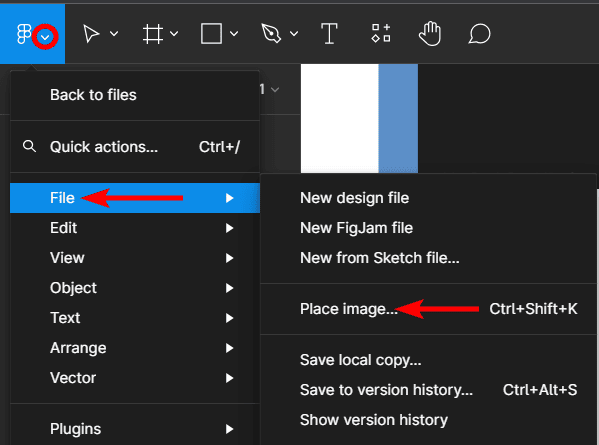
Go to Main Menu > File > Place Image
When you are ready to add an image, there are various ways to do this. You can copy and paste an image from another design or webpage or click, drag, and drop an image from your device onto the page.
However, the standard method to add an image is by placing it on the document. You can use the Place Image function found under the Shapes Tool tab to do this.
Alternatively, you can go to the Figma Main Menu, then go to File > Place Image, or use the keyboard shortcut Shift + Control + K on Windows or Shift + Command + K on Mac.
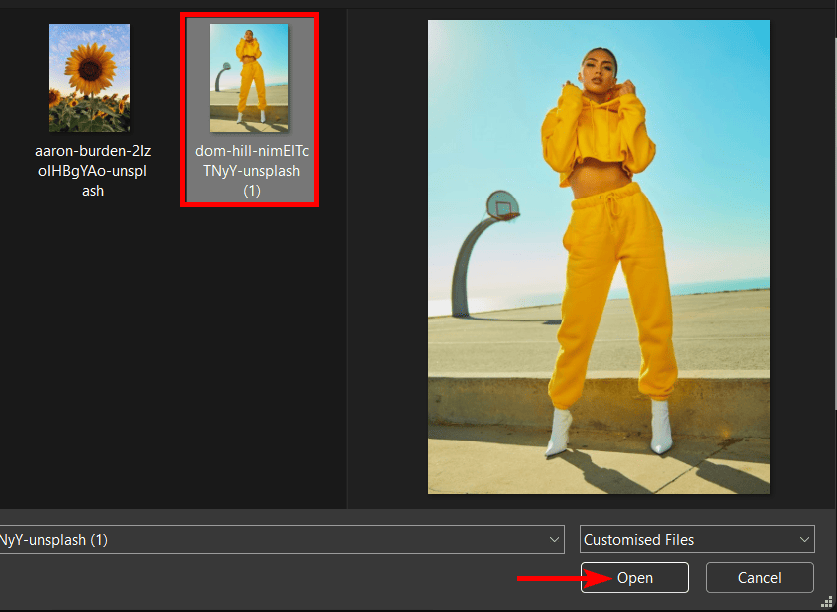
Find the Image on Your Device and Click Open
Your device’s Explorer or Finder will open, where you can locate the image you want to add. Select the image and click Open.
Note: You can select multiple images by holding in Shift to add multiple ones to the page.
Click and Drag Out to Place the Image
You can now click and drag on the page to place the image in your desired position and size. Simply clicking and dragging won’t keep the image’s original aspect ratio. To keep the aspect ratio, hold in Shift while dragging to keep the photo’s proportions the same.
If you have selected multiple images, you can place them one by one on the page in the place and position you want so that each image can be a different size.
Note: if you simply click on the page, the image will be added at its original dimensions. In some cases, the image will appear much larger than the canvas depending on the picture's original size.

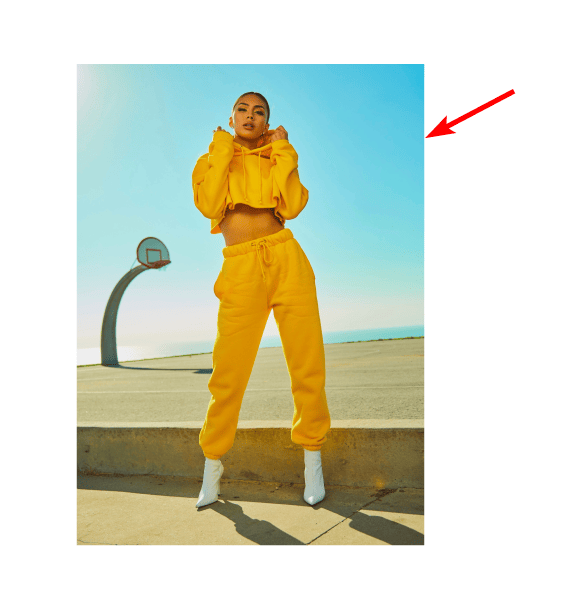
Check the Canvas
You will now have the image(s) on the canvas where you added it. You can use the Move Tool to move the photo(s) or the Image Editor panel to edit the image.
How to Add Images Into Pre-Made Containers to Create a Gallery
When creating a gallery of images, it’s often necessary to have each image the same size and spaced equally apart. This can be hard to do when placing images using the method above. Luckily, there is an easy way to do this.
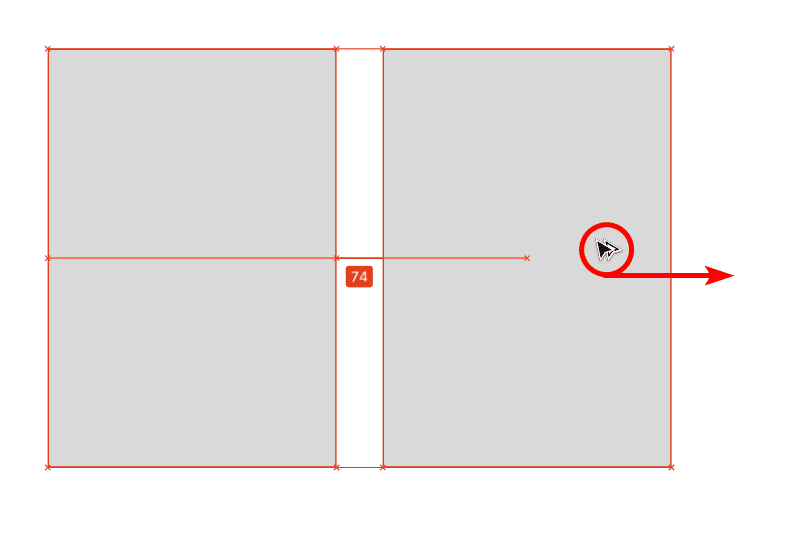
First, you need to add the containers to the page. You can use any shape based on how you want the final image to look. I will use the Rectangle Tool to create the gallery, but you can select the Ellipse, Polygon, or Star Tool. You can also create custom shapes using the Pen Tool.
Select the tool you want to use to create the shape. The shapes are found in the dropdown menu of the Rectangle Tool. Then click and drag to create the shape on the page.

When the shape is added to the page, you can copy it to create multiple copies of the same size. To copy the shape, hold in Alt on Windows or Option on Mac, then click and drag on the original shape, and a copy will be created.
You now have two containers of equal size to add your images into. To add the pictures inside the container, go to Main Menu > File > Place Image or use the shortcut Shift + Control + K on Windows or Shift + Command + K on Mac.
Select the photo from your device and click open. When the image appears as a small thumbnail next to the cursor, double-click inside the shape to add the picture as a fill.
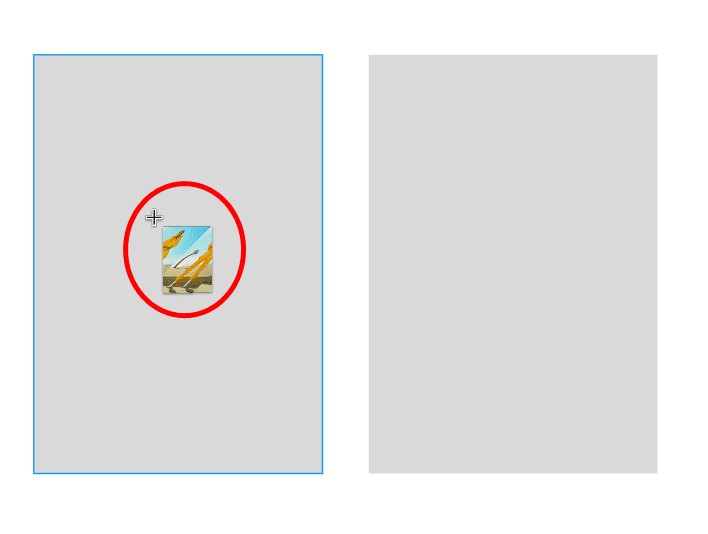
You can then repeat the step above for the rest of the images. If you selected multiple images together in the previous step, the next image thumbnail will appear once you have placed the first image.