
To create a mask in Figma, place the mask object below the layer(s) you want to be masked and press Control + Alt + M on Windows or Control + Command + M on Mac to add the top layer(s) to the mask.
You can use masks to create interesting effects, such as clipping images into shapes, adding shadows and blurs, and animating transitions. Here is how you can add and edit masks in Figma and some tips and tricks to use them effectively.
Table of Contents
How to Create a Mask
Add Your Mask to the Page
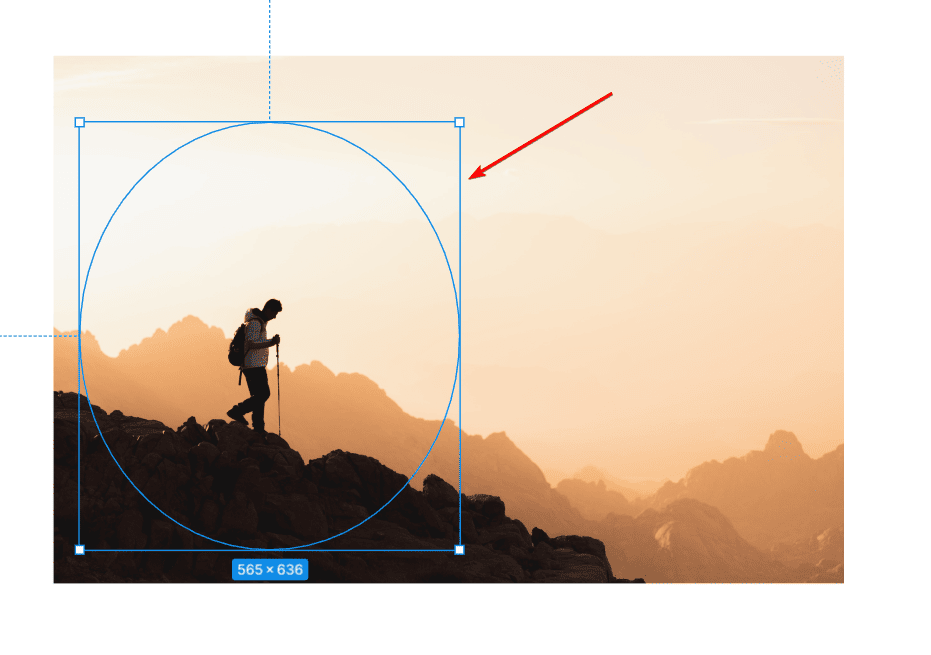
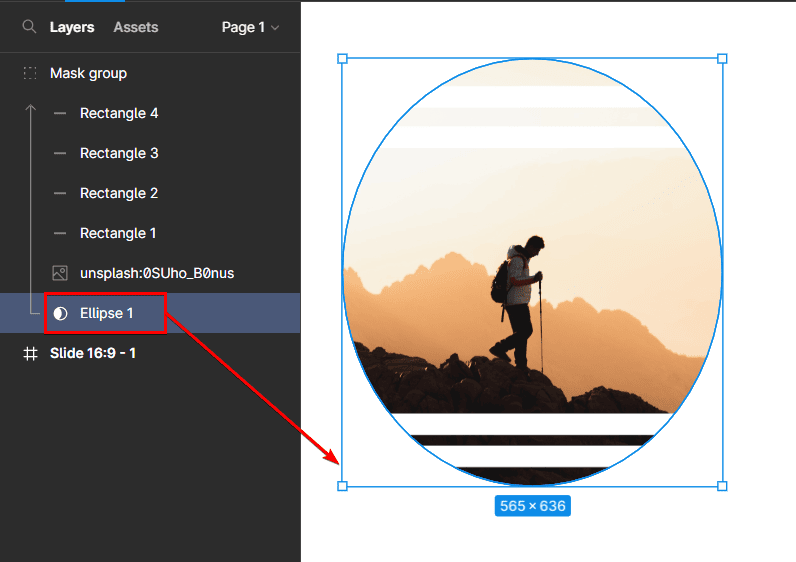
Choose an object, such as a shape, you want to use as your mask and place it behind all the elements that will be masked on the canvas. You can use any layer as a mask, such as a vector shape, a text layer, an image, or a group. For this example, I have placed an ellipse shape behind the photo.
Select All the Layers for the Mask
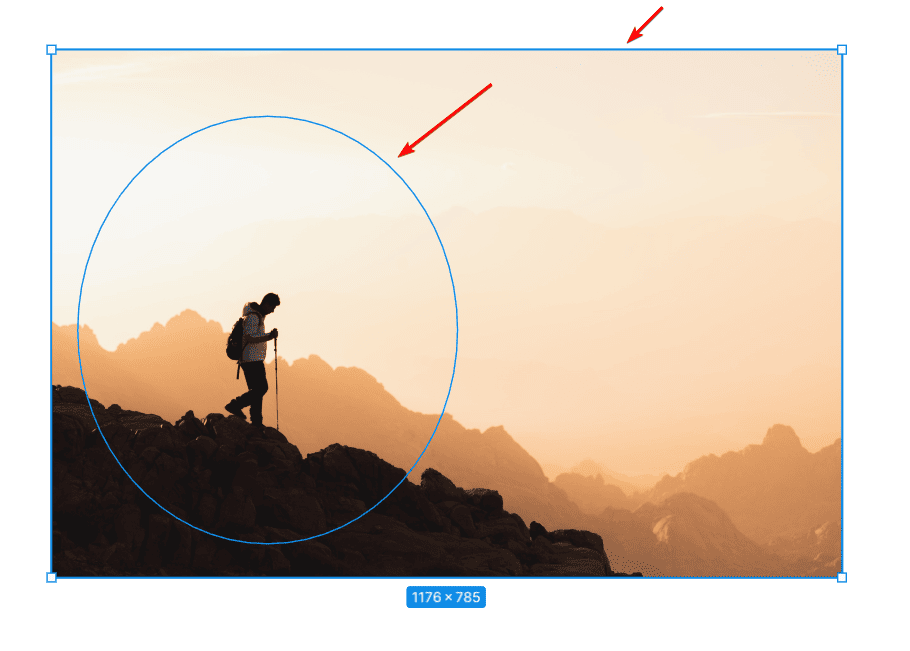
Select the mask layer and the layers you want to mask. Hold in Shift to select multiple layers. Only the bottom-most layer will be the mask, and the upper layer(s) will be masked within the shape.
Add the Content to the Mask
There are three ways to create a mask. Firstly, you can click the Mask icon at the top of the Figma workspace.
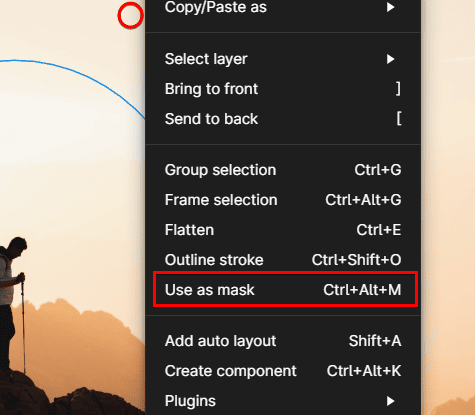
You can also right-click on the selection and select Use as Mask from the context menu. Lastly, you can use the keyboard shortcut Control + Alt + M on Windows or Control + Command + M on Mac.
Check the Canvas
A mask object will be created, and you will see the masked layer(s) clipped by the mask layer. You can independently adjust the position and size of the mask and the masked layers.

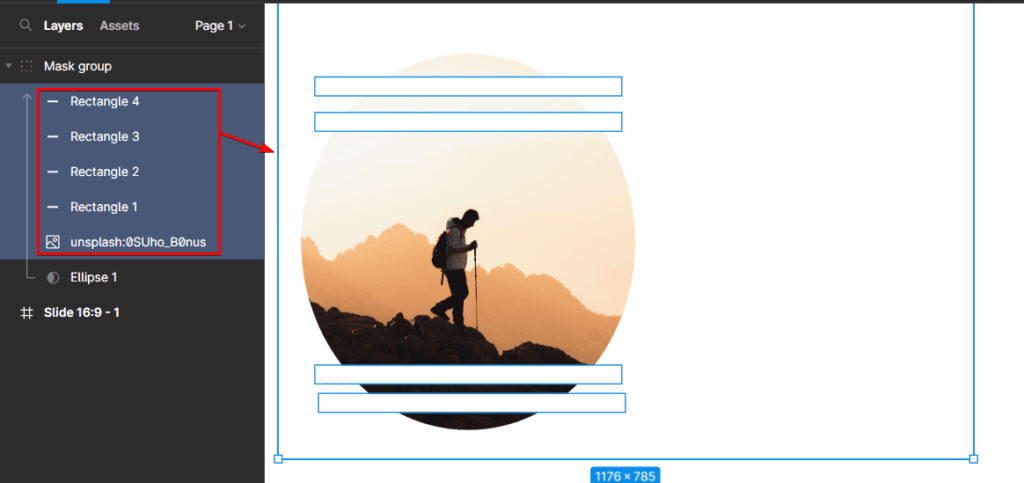
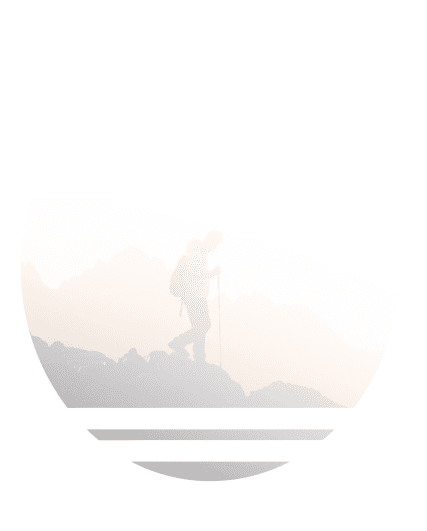
You can also use multiple layers to add creative elements to the mask, such as additional shapes that will remain partially visible within the mask. Here, I added rectangles into the ellipse to add a creative touch to the image.

What Is a Mask?
A mask is a layer that controls the visibility of other layers above it. The mask layer defines the shape and opacity of the masked area, while the masked layers provide the content and style.
Any layer can be used as a mask, including vector shapes, text layers, images with transparency channels, groups, and more. When you use a layer as a mask, a mask object is created, which includes the mask and any layers it is masking.
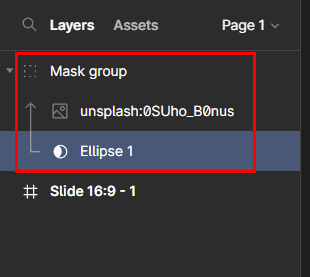
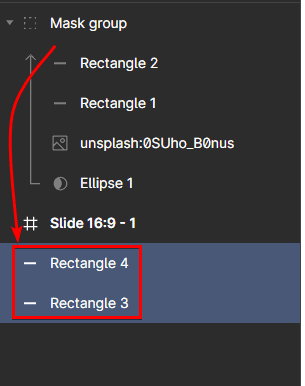
A mask object can be identified in the Layers panel by the layers placed in a mask group and an upward-facing arrow along the masked layers.
Masks are positioned below masked layers. The mask applies to all elements above it until it reaches:
- Another mask or mask object
- The mask’s parent frame or group
- A frame or component with clipped content on
How to Edit a Mask
You can edit a mask by changing the properties of the mask layer or the masked layers. Here are some ways you can edit a mask:
Select the mask layer and drag the handles, or use the arrow keys to resize or move the mask. You can also use the Scale tool (K) or the Move tool (V) to transform the mask.
To resize or move the masked layers, select the masked layers and drag the handles or use the arrow keys. You can also use the Scale tool (K) or the Move tool (V) to transform the masked layers.
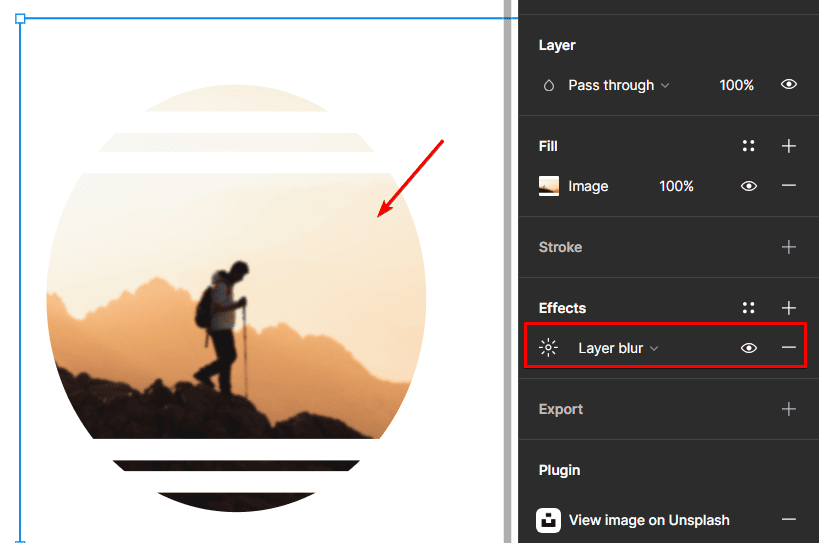
To change the content or style of the masked layers, select the masked layers and use the layer editing tools, such as the Text tool (T), the Image tool (I), or the Effects and Blend settings in the right sidebar.
To add or remove layers from the mask object, drag and drop them in or out of the mask group in the Layers panel. You can also use the keyboard shortcuts Control + [ or ] on Windows or Command + [ or ] on Mac to move layers up or down the layer stack.
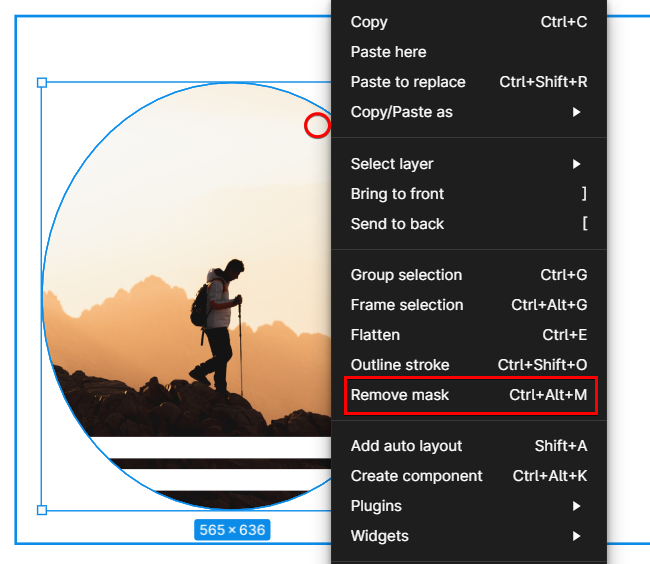
To remove the mask, right-click on the mask object and choose Remove Mask from the context menu. Alternatively, you can use the keyboard shortcut Control + Alt + M on Windows or Command + Option + M on Mac. The mask and masked layers will be restored to their original state.
Mask Types
Figma has three types of masks: Alpha Masks, Vector Masks, and Luminance Masks. Here are the three examples placed on an ellipse shape with a gradient fill.
Alpha Masks
Alpha masks are the default type of masks in Figma. Alpha masks support alpha channels, representing the degree of transparency or opacity in a color, image, or object.
When working with alpha masks, masks are applied based on the opacity of the mask. The higher the opacity, the more that is revealed. Zero percent opacity reveals nothing.
This means you can use blurs, gradients, and effects in your masks to create smooth transitions, feathering, and depth.

Vector Masks
Vector masks or using shape outlines as masks ignore the transparency of a mask’s fill or stroke. If a mask contains any area with an opacity of more than zero percent, its outlines are used as the mask, and the entire mask takes on 100% opacity.
Vector masks are useful to clip images or layers into precise shapes, such as icons, logos, or text.

Luminance Masks
Luminance masks use the brightness of the mask object to determine how much of the masked elements to show or hide. This mask bases the visibility of the masked objects on how bright or dark the colors are in the fill of the bottom object.
Masks are a versatile and powerful feature in Figma that allows you to create stunning designs easily. You can use masks to show specific portions of layers while hiding the rest and create interesting effects, such as clipping images into shapes, adding shadows and blurs, and animating transitions.