
As a useful interface and web page design tool, Figma automatically helps users align and place elements to keep the design well-balanced. However, if you want an even more precise method of aligning elements, you can turn on the snap to grid function in Figma.
The snap function ensures that the object you are moving or creating snaps to the nearest pixel, enabling you to easily keep your objects neat and in line with the rest of the design.
There are a few steps to enable the snap function, and once it’s on, all your objects will snap to the nearest pixel.
Step-by-Step of Turning on Snap to Grid in Figma
- Create a New Design
- Locate the Zoom Settings at the Top of the Interface
- Zoom in to the Canvas
- Click on Pixel Grid in the Zoom Settings
- Check the Grid on the Canvas
- Turn on Snap to Pixel Grid
- Move the Object to Test the Snapping
Turning on snap to grid is a simple process and can be done using a shortcut. However, it helps to set up the document correctly first to allow you to see the grid clearly and see where the object will snap to on the canvas.
Create a New Design
First, create a new design in Figma. You can start a new document or open a design you have already started. You can add elements to the canvas first and then move them using the grid or add the objects after turning the setting on.
I have added a basic design to show how the pixel grid looks when activated.

Locate the Zoom Settings at the Top of the Interface
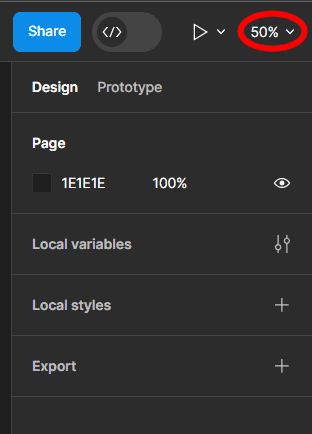
To access the Zoom and different View settings, there is a Zoom Settings drop-down menu at the top right of the interface. To access the menu, click on the arrow next to the percentage. The percentage will differ based on the zoom level of your current document. It will indicate the percentage of the current zoom.
Zoom in to the Canvas
To see the Pixel Grid, you need to zoom in to the canvas to a relatively high percentage. In my case, I need to zoom in to 800%. To zoom in, you can use the Zoom settings menu or the shortcut, Control + + on Windows or Command + + on Mac.
Note: To zoom out, use the shortcut Control + - on Windows or Command + - on Mac.

Click on Pixel Grid in the Zoom Settings
You can now show the pixel grid on the canvas to see where the objects will snap to. To turn the pixel grid on, open the Zoom settings using the small arrow next to the percentage, then click on Pixel Grid. You can also use the shortcut Shift + ‘ (apostrophe) on Windows and Mac to toggle the grid on and off.
Note: A checkmark next to Pixel Grid indicates that the grid is visible, and if you can’t see it, you need to zoom in further.
Check the Grid on the Canvas
You can look on the canvas to see whether the grid is visible. There should be a temporary message at the bottom of the workspace which says “Pixel Grid Visible” to indicate that it turned on correctly.
When zoomed in enough, you will see a gray grid with small blocks that are one pixel in size.
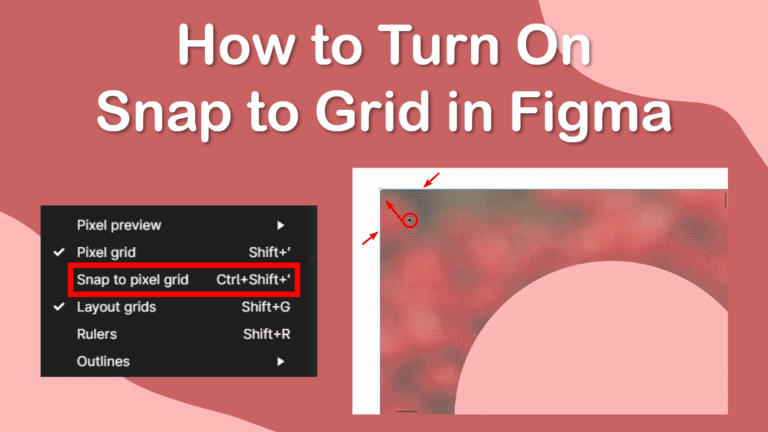
Turn on Snap to Pixel Grid
You can now turn on the Snap to Grid function by opening the Zoom Settings menu again and clicking on Snap to Pixel Grid, or you can use the shortcut Shift + Control + ‘ (apostrophe) on Windows or Shift + Command + ‘ (apostrophe) on Mac to toggle the snap function on and off.
Move the Object to Test the Snapping
You can now move an object on the page, and it will snap to the nearest grid line as you move it around. This allows you to accurately line your objects up to certain areas or other objects on the canvas.
What Is Pixel Preview, and Is It Necessary for Snap to Grid?
In Figma, the vector objects are depicted without a resolution by default, meaning there are no fixed resolutions for any paths you add to the canvas. If you are trying to design using precise pixel values, you can enable the Pixel Preview, which will show all the vector objects in a rasterized format.
Furthermore, the Pixel Preview option allows you to view the objects in a 1x or 2x mode to show how the design will look on a high and low-resolution display.
You don’t need the Pixel Preview mode turned on to use the snap to grid function, but it will help you edit precisely down to the pixel.
To turn Pixel Preview on, open the Zoom Settings menu. Then, hover over Pixel Preview to open the sub-menu. In the sub-menu, you can turn the preview on in the 1x or 2x mode or choose to turn the preview off by clicking on Disabled.
You can also toggle through the options using the shortcut Shift + Control + P on Windows or Shift + Command + P on Mac.
Remember that the checkmark indicates which preview is currently enabled or whether the preview is disabled.