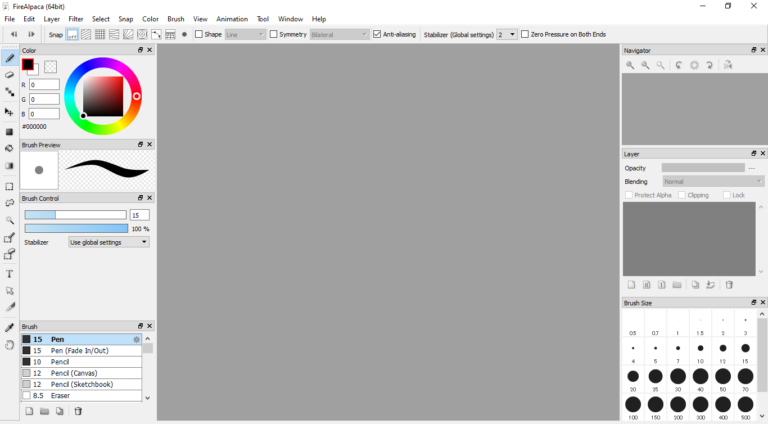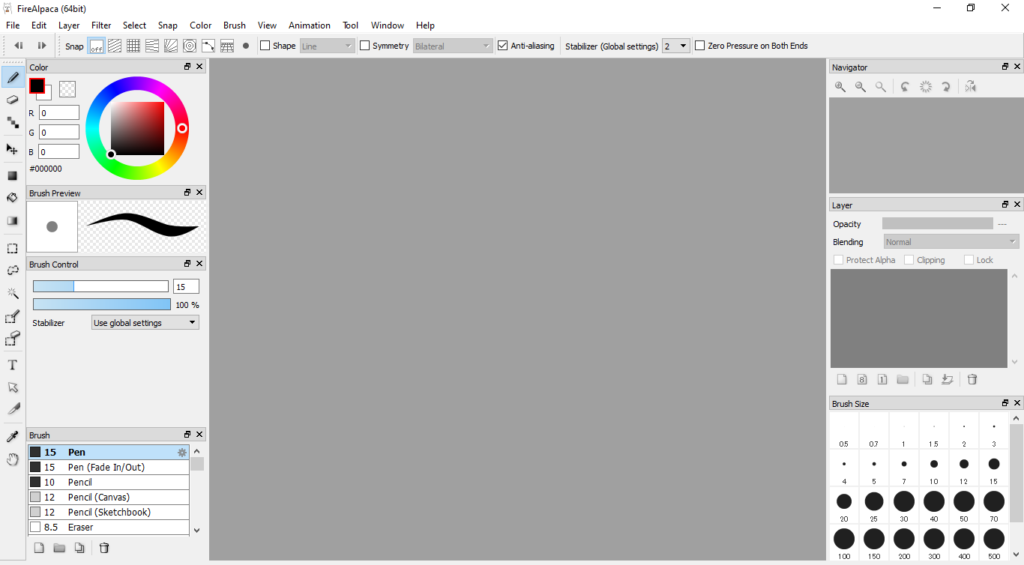
The fonts used on FireAlpaca are system-specific. That means the fonts can be found on your computer’s operating system as well, so there is no need for complex installation steps.
The steps on how to add fonts to FireAlpaca are quite easy, as you will see outlined in this tutorial.
Table of Contents
How to FireAlpaca: Add Fonts
Before adding new fonts in FireAlpaca, there are some things you should keep in mind.
First off, it is important to close all opened programs on your computer before beginning the installation process. This is because a few of the opened programs are likely to use some system fonts, and you are likely to not see any changes till you restart your system.
Once the installation is done, you can delete the downloaded file from your computer’s download folder. But be careful not to delete any files on the Font folder of your computer.
You really don’t have to do a lot to download fonts in FireAlpaca since the fonts used within the operating system will also work for FireAlpaca. This means you can use any TTF formatted file and not have to worry about any compatibility issues.
If you search the internet for fonts to install, you will discover that they are mostly available in compressed forms, which are either RAR or ZIP formats. This means you will sometimes have to decompress them using a program like WinRAR. Once decompressed, you can proceed to install the files.
Adding Fonts to FireAlpaca
Adding Fonts to FireAlpaca on Mac
The process for installing fonts in your Mac follows a similar process.
- First, you download your chosen fonts. They have to be in the same TTF format as you would on Windows
- Then head to the Font Book app on Mac. Once the application is opened, select the Add button located on the Font Book toolbar
- Find the downloaded font file, dragging it to the Font Book app icon
- Double click the file to bring up the “Install Font” dialog, and voila, you have installed a font
- You might need to reopen FireAlpaca
Adding Fonts to FireAlpaca on Windows
- First, close all opened programs that add text. So, if you are presently running FireAlpaca, you should save your project and close the software. If you are using Windows, you can install font files in the following formats: SVG, TTF, EOT, OTF, and WOFF
- Once you have downloaded and decompressed the fonts, they should be ready to install
- Select the fonts in your Windows browser and right-click them to show additional options
- Select “Install” from the list of options displayed
- If there is more than one account on your computer, you should install your fonts as an administrator to ensure that all users can benefit from them

- If the administrative shield icon is not available on the Install button, you won’t be able to perform the installation process as an administrator. To activate the administrator privileges, hold the shift key and right-click on the files
- If this doesn’t work, you might need to transfer your newly downloaded font files to another location within your hard drive. Doing so will allow Windows to recognize the files and let you perform the installation as an administrator

Manually Adding Fonts in FireAlpaca on Windows
Some users prefer to manually add fonts in FireAlpaca. This process can be done by simply copying and pasting the font files directly into the Fonts folder. This is generally done by following the folder path: Local Disk C > Windows > Fonts. However, this can defer depending on where the operating system was installed.

Conclusion
Adding fonts in FireAlpaca is a simple process and incredible feature; all you need to do is download your chosen font files, decompress them if they are compressed, and install them as an administrator.
If you cannot get administrator privileges, you can also copy the font files manually and paste them into the font folder on your local disk.

