Whether you are working with images or a drawing in FireAlpaca, you can quickly flip a selection. This technique is useful if you want an object to face another way.
You can also use this technique to mirror objects and create a symmetrical design if you add in a step of copying the selection first. Follow these steps to flip your selection.
Steps to Flip a Selection in FireAlpaca
- Select an area of the image or drawing
- Copy the selection to a new layer
- Go to Layer > Rotate > Flip Horizontally/Vertically
- Line your layers up using the Move Tool
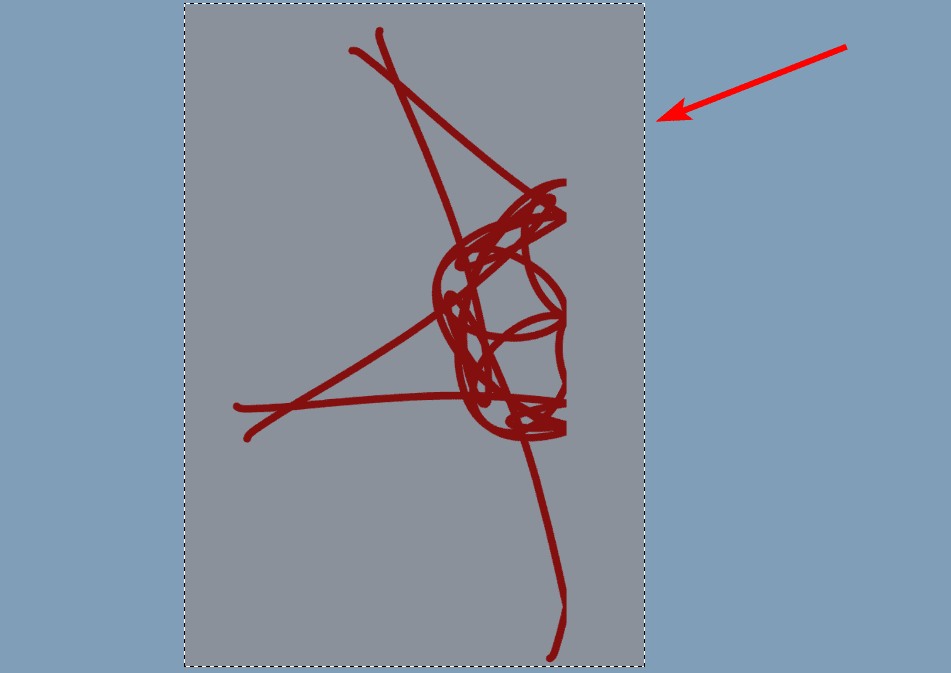
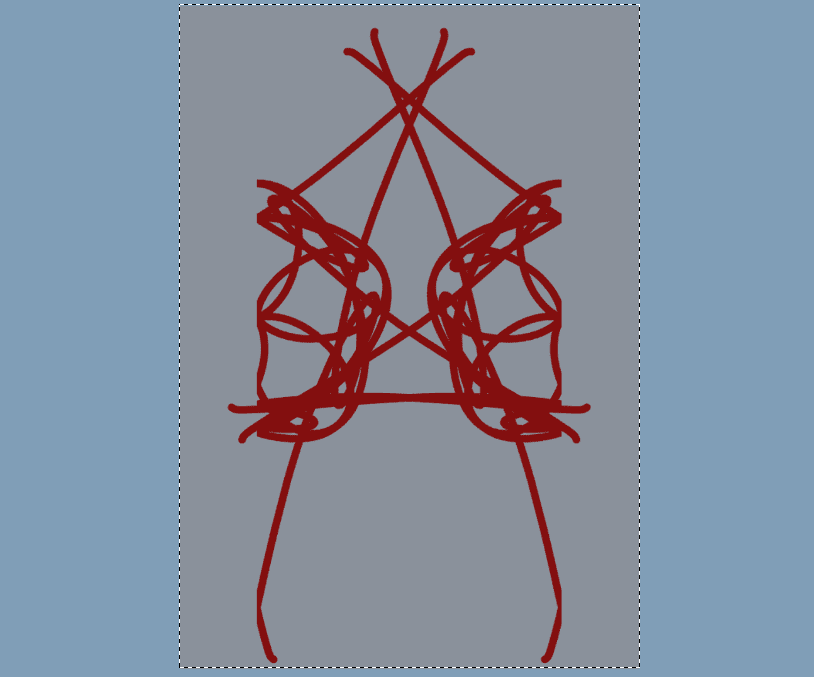
First, use any selection tool to select the area you want to flip (press M to activate the Select Tool).
Copy the selection onto a new layer using the shortcut Control + C and then Control + V on Windows or Command + C and then Command + V on Mac.
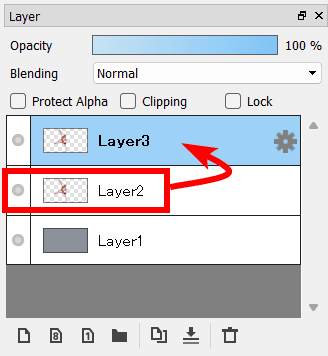
With the new layer active, your selection on the page will cover the copied layer. If you don’t want to copy the layer first, you can just start at this point by making a selection around the object and then flipping it.
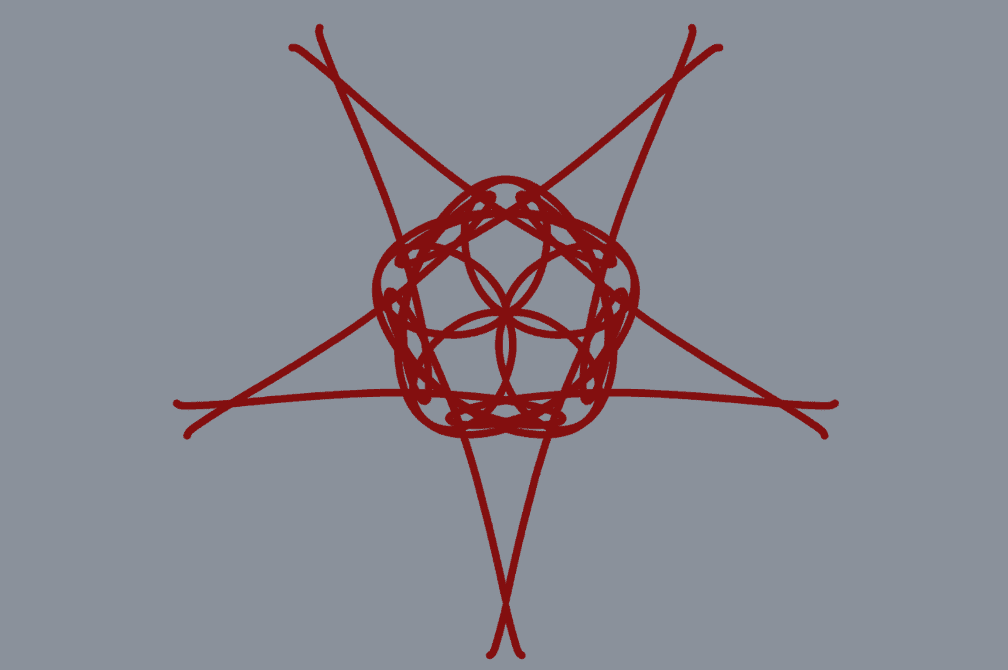
To flip the selection, whether the initial selection or the new copied layer, go to Layer > Rotate > Flip Horizontally (you can also flip the selection vertically if you want).
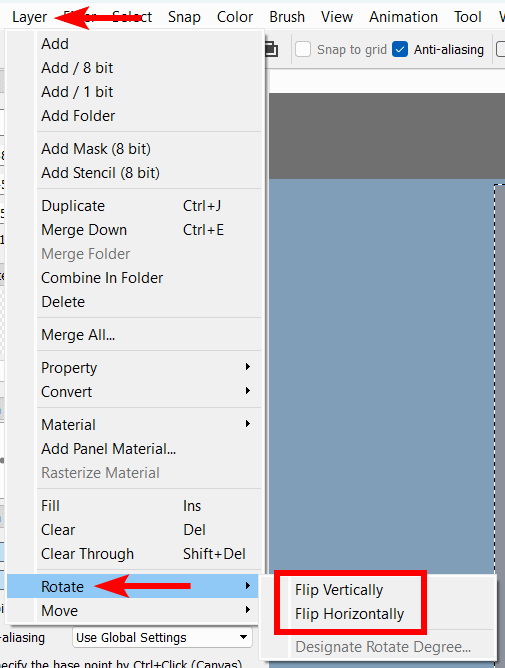
The layer will flip on the vertical or horizontal plane, but it may end up out of place.
Keep the selection active, and use the Move Tool (V) to place the flipped layer wherever you’d like. Then press Control + D on Windows or Command + D on Mac to deselect the area, and your object is now successfully flipped.
👍 Support Us: Subscribe to our channel and help us continue providing these tutorials.
🌟 Regular Updates: We publish how-to videos for FireAlpaca regularly!
🔧 Expert Guidance: Learn FireAlpaca from our professionals and uncover exclusive tips!