FireAlpaca is an excellent tool for creating digital drawings, and you can even use it for a few graphic design tasks if you need it. One highly useful but often overlooked feature in FireAlpaca is the draft layer function which can help you when creating a layout, artwork, or a cartoon.
The draft layer allows you to add sketches, outlines, and notes onto your canvas without it affecting your overall design. You can use this layer in several different ways, and it’s only visible to you.
Here is all you need to know about draft layers.
Table of Contents
What Is a Draft Layer in FireAlpaca?
A draft layer is a layer on the canvas that you can use for rough sketches, ideas, and notes. This layer is kept separate from the rest of your project and is locked for certain aspects.
A draft layer looks similar to standard layers in FireAlpaca but behaves slightly differently. You can draw and add elements to a draft layer as you would with any other layer. However, you can't use the fill tool on this layer to fill any objects.
Since the layer is locked from the fill function, you can easily add color to your drawing or project without the rough outlines affecting where the colors are added.
The draft layer is also only visible in the FireAlpaca file, which is in .mpd format. It will also be visible in PSD format. The draft layer won't be included if you export your file to a PNG, JPEG, or another compressed format. So you can add your sketches and notes without anyone seeing the rough draft.
How to Create a Draft Layer
To create a draft layer, you can use a regular layer and turn it into a draft layer. To do this, add a new layer to the document using the Add new layer icon at the bottom of the layers panel.
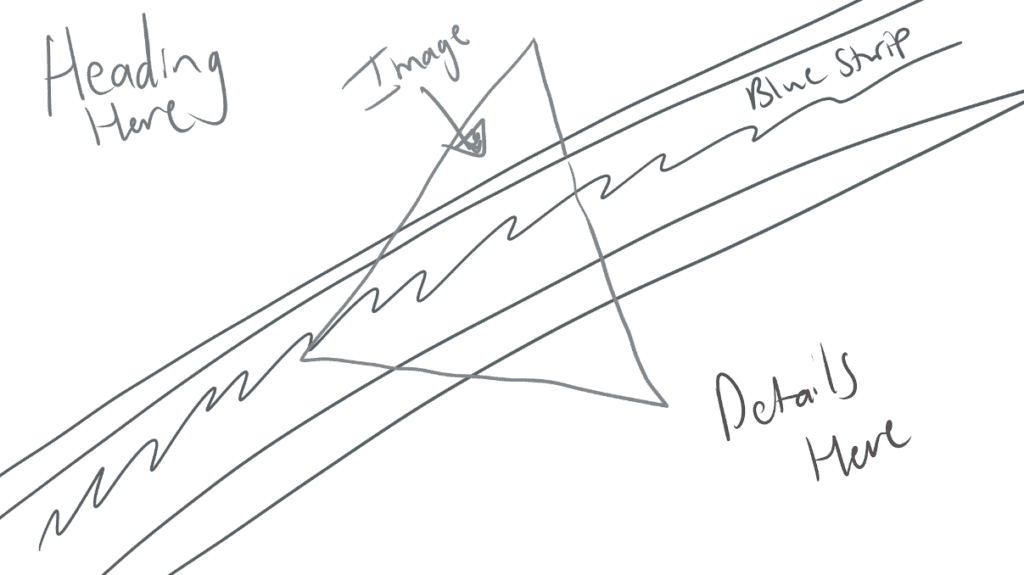
You can add rough sketches and outlines to the layer using any pen or brush tool. For example, I have created a rough sketch for a layout design.
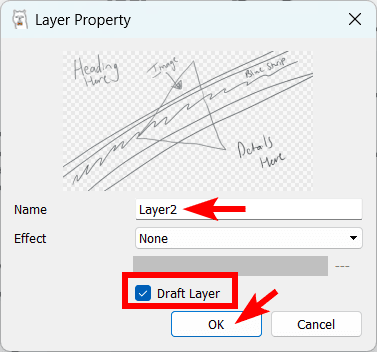
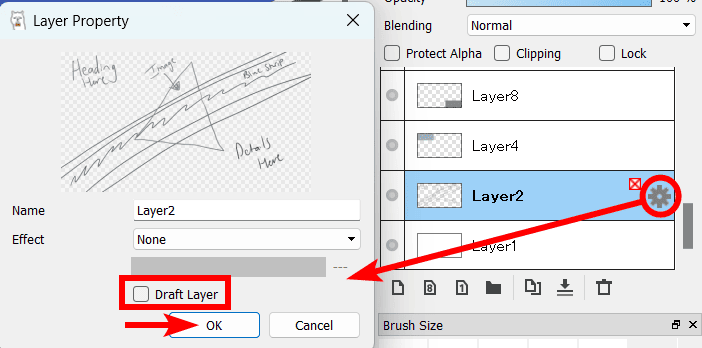
Now to turn it into a draft layer, click on the gear icon next to the layer to open the layer properties.
In the layer properties panel that appears, you can rename the layer if you’d like. Then to turn it into a draft layer, click on the box next to Draft Layer. Click OK to accept the new properties.
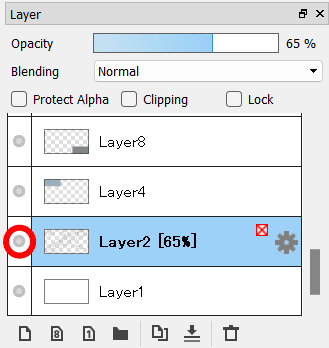
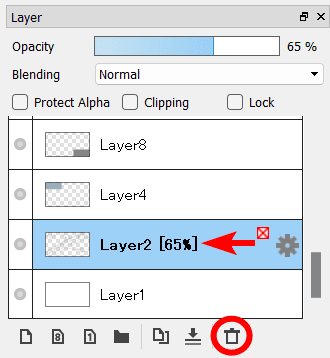
You will know that the layer has turned into a draft layer by the red x in a box visible on the layer.
To further work on the layer without it getting in the way too much, you can drop the layer’s opacity by dragging the Opacity slider to the left in the layers panel.
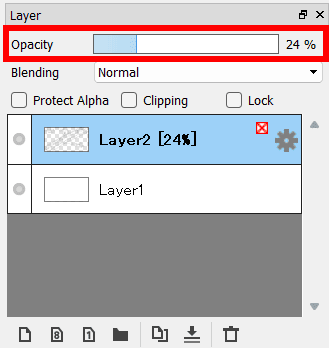
You will now have a semi-transparent draft layer to work on. You can use this layer for anything you need, such as notes, outlines, or to test out different elements for your project.
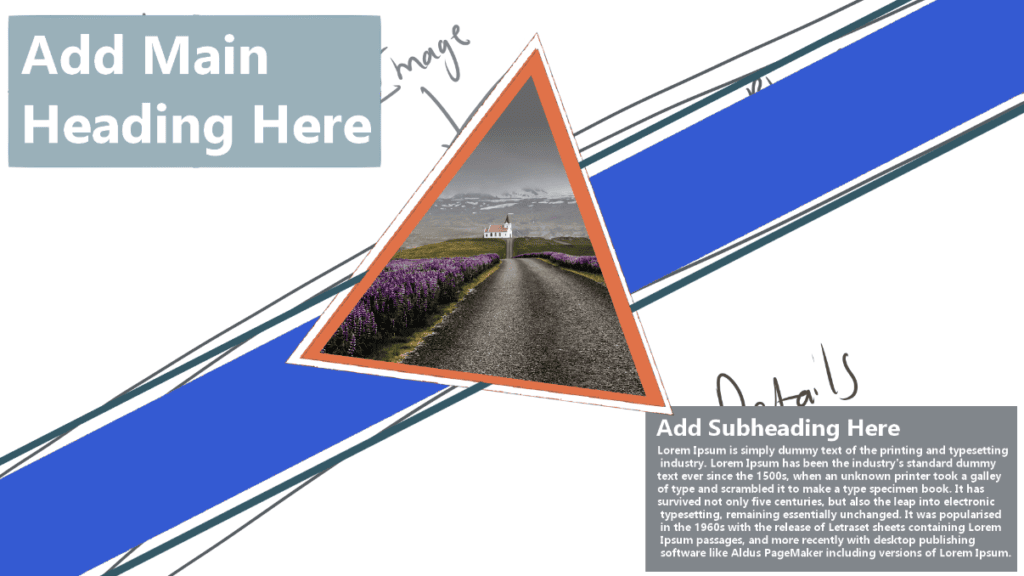
You can now add new layers above the draft layer with various elements and drawings for your project. You can still see pieces of the draft layer below the design. This won’t be visible when you export the file.
Turning a Draft Layer into a Normal Layer
If you create something on the draft layer you want to use in your final design, you can convert the draft layer back to a regular layer.
To turn the draft layer back to a normal layer, click on the gear icon next to the layer. Then, uncheck the Draft Layer setting in the layer properties panel. Click OK to confirm the change.
The layer will now act as a regular layer, and you can fill the layer or shapes and other elements with color. The layer will also be visible when exported.
Turning Off a Draft Layer
If your draft layer is in the way of your design and you aren’t using it, you can turn it off in two ways. You can either hide the draft layer or delete it completely.
If you still want to use your draft layer later on but don’t want it visible on the design while you are working, you can hide the layer’s visibility by clicking on the gray dot next to the layer in the layers panel.
This will hide the layer. You can turn the layer visibility back on by clicking on the space where the icon was.
If you want to reduce the file size and don’t need to use the draft layer again in the project, you can delete it completely. To delete the layer, select it and click on the bin icon at the bottom of the layers panel.
👍 Support Us: Subscribe to our channel and help us continue providing these tutorials.
🌟 Regular Updates: We publish how-to videos for FireAlpaca regularly!
🔧 Expert Guidance: Learn FireAlpaca from our professionals and uncover exclusive tips!