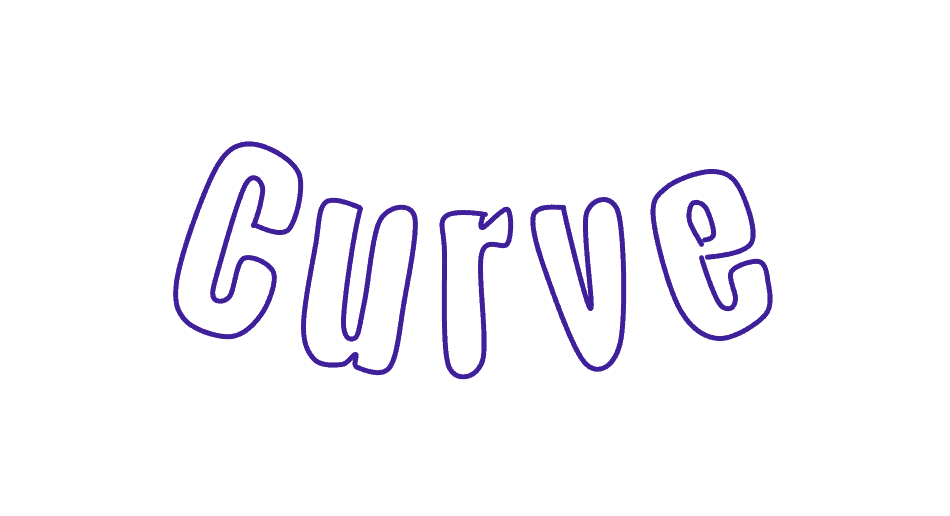
FireAlpaca is an excellent program for creating digital drawings. Users can use a variety of brushes, pens, and other painting tools to create beautiful digital art. One of the essential tools to complete these projects is the curve feature.
The Curve Tool in FireAlpaca works to create curved lines using any of the brushes, allowing creators to draw curved objects and features in their artwork. However, it’s important to note that at this stage, there is no way to curve text in FireAlpaca. If you want to add drawn curved text in your work, you can trace text created in another program.
Here I will teach you how to use the Curve Tool and how to use it to trace text or other drawings to create precise curves in your artwork.
Table of Contents
Quick Overview of Curving Things in FireAlpaca
- Turn on the Curve Snap by going to Snap > Curve
- Click on the canvas to start the curve
- Add more curve points to create the line
- Double-click to complete the curve
- Adjust the curve and control points as needed
- Select the brush and the correct settings
- Click and drag over the line to create the curve
Creating curved lines in FireAlpaca is vital to creating complete drawings with precise curves and bends. You can use this process to create freehand drawings or to trace scanned drawings that you are turning into digital art. Once you know the basics of creating curves, you can move on to curve text and other graphics.
To begin curving things, activate the curve snap by going to Snap > Curve with any tool active.
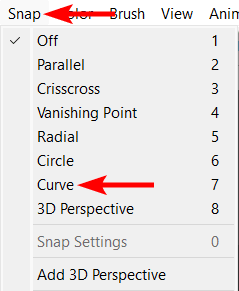
If you have the Brush Tool active, you can click on the Curve Snap icon in the Settings bar to activate it.
To create the curve on the canvas, you can start it by clicking once on the canvas to make the first control point.

Then, move your mouse or pen, and click again to create the second control point and again to add another point.
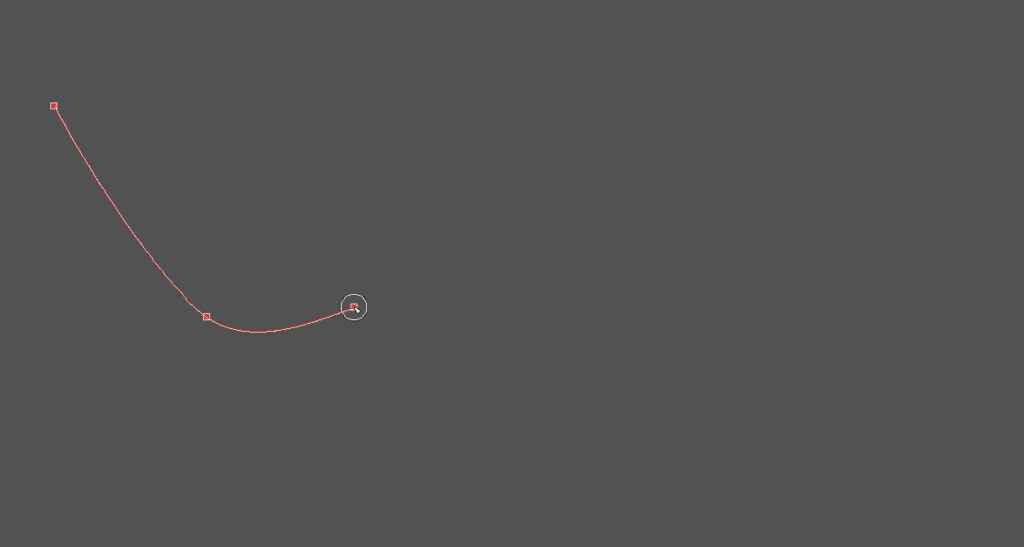
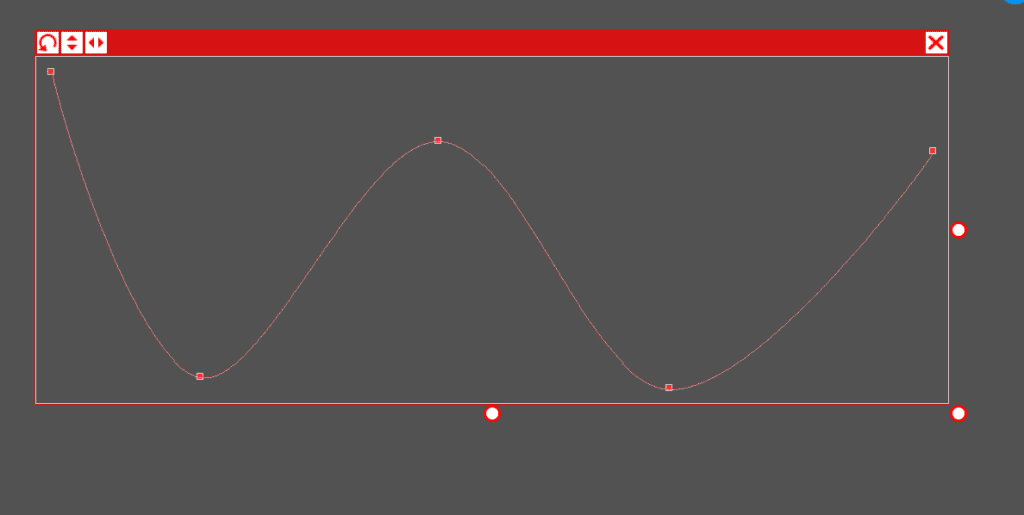
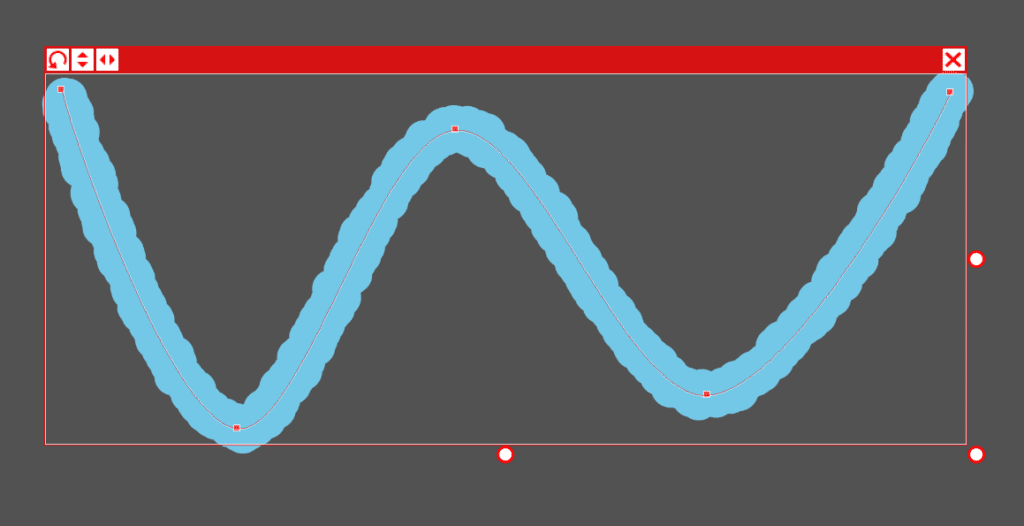
Continue adding as many points as you need to create the specific curve you want. Double-click on the last point to complete the curve. Once you complete the curve, a block appears around it, giving you options to edit it.
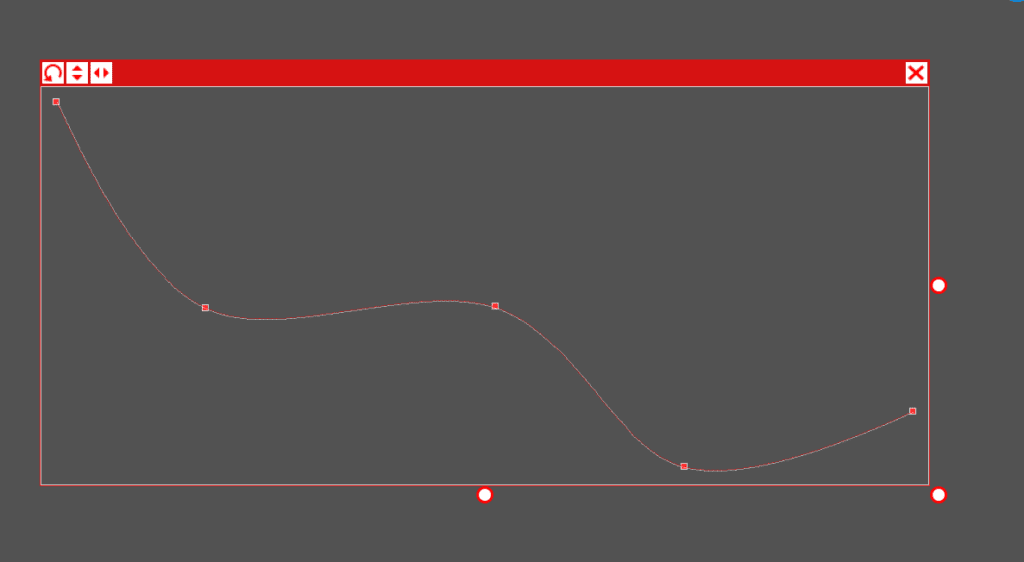
You can adjust the curve in a few different ways if you need. First, you can hold in Control on Windows or Command on Mac, click, and drag a curve point to reposition it. This will change the look of your curve.

You can adjust as many curve points as you need to correct the curve.
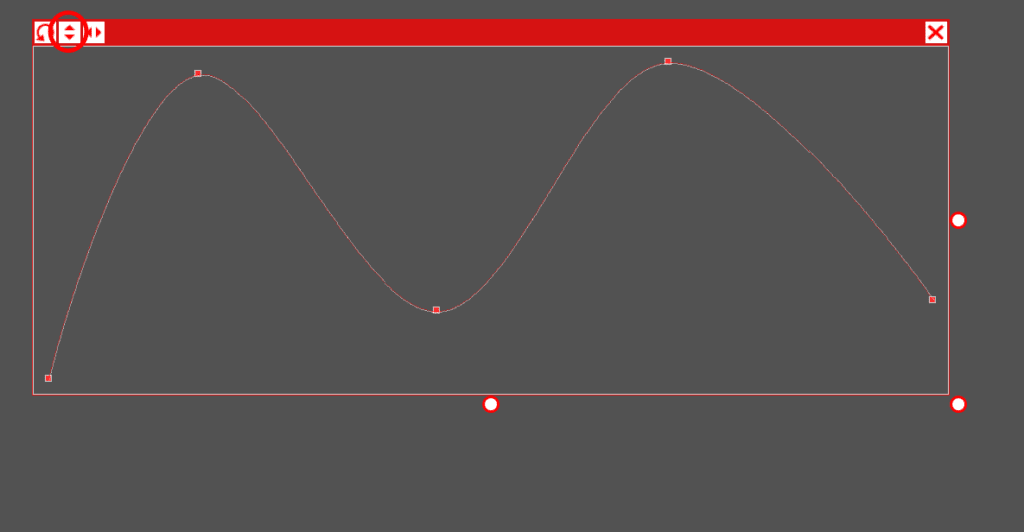
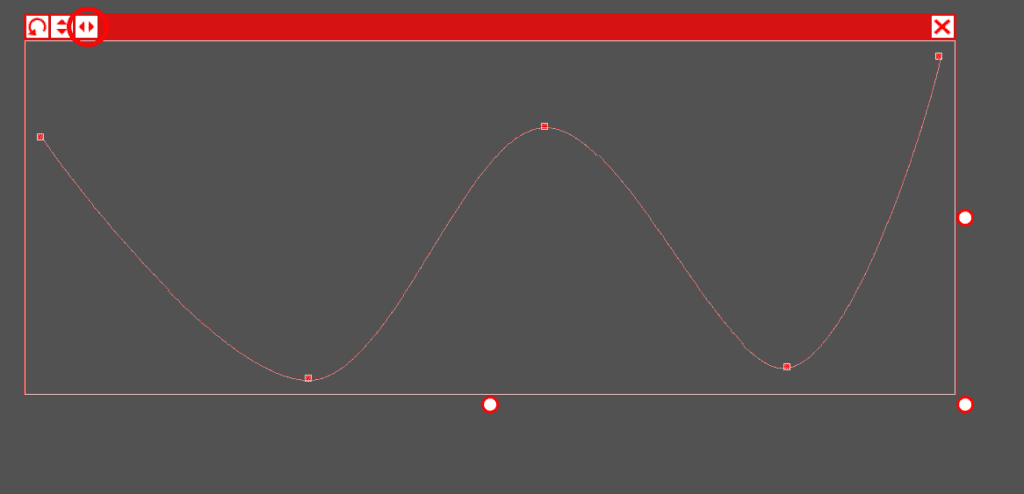
You can also use the buttons at the top left of the curve box to flip and rotate the curve. Use the first icon to rotate the curve.
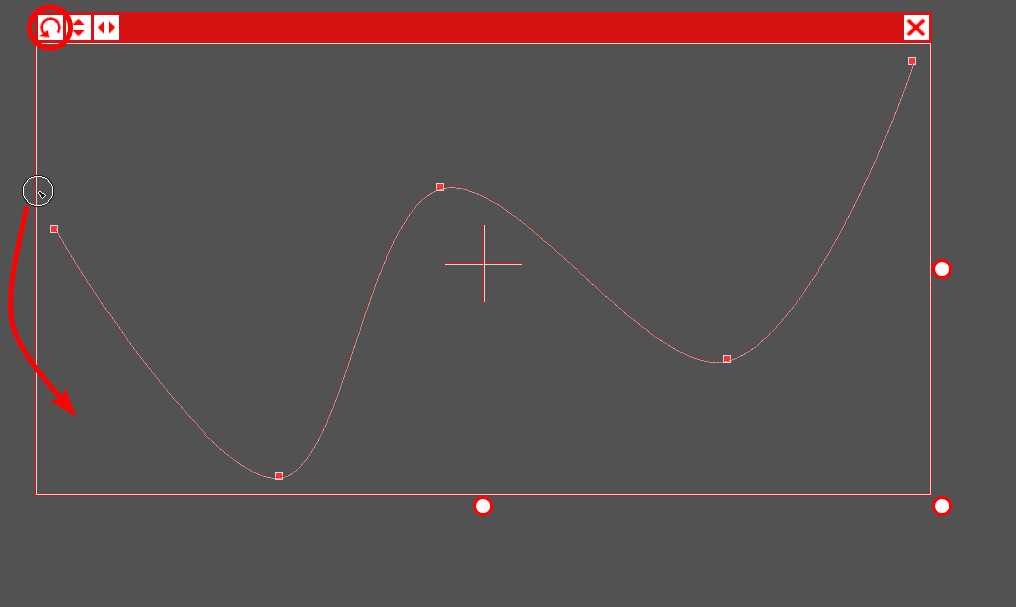
Click on the middle icon to flip the curve vertically.
Use the last icon to flip the curve horizontally.
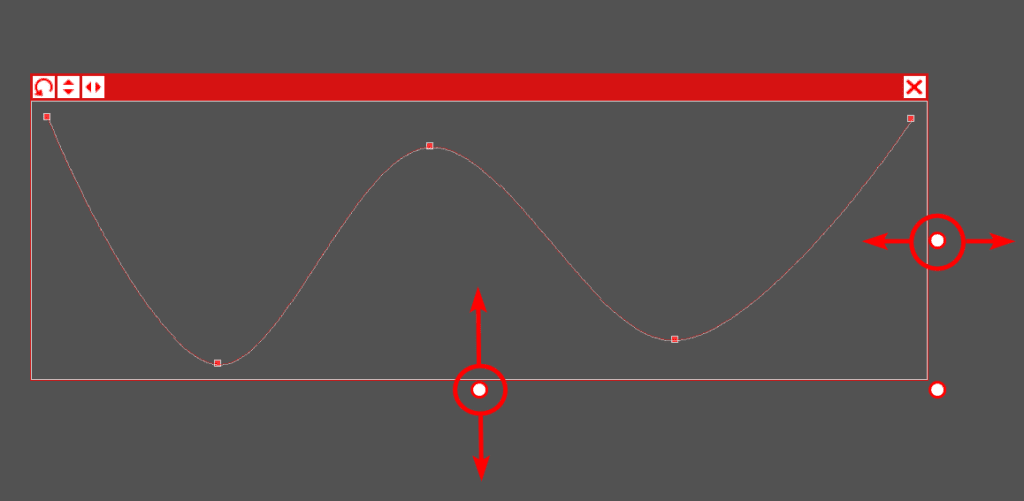
You can also resize the curve by clicking on the corner point to resize the entire curve while keeping the proportions the same.
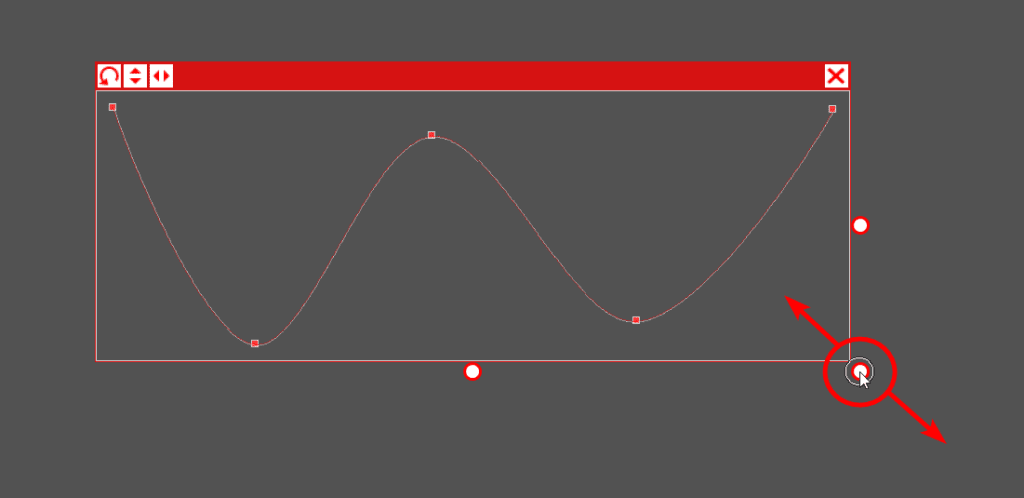
If you want to resize the curve on one side only, you can use the bottom point to resize the curve vertically or the right-hand point to resize the curve horizontally.
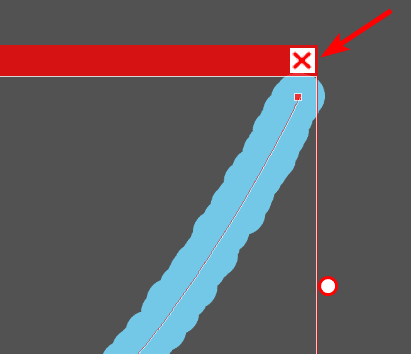
Sometimes, you may not be happy with your curve and can’t fix it using the available options. In this case, you can reset the entire curve and start again. Click on the dot icon in the Settings bar to delete the current curve and create a new one.

Once you have finished the adjustments on your curve and are happy with the look, you can draw a line over the curve to start your digital drawing. First, you must select the Brush Tool by clicking on the icon or pressing B.
Then, select the brush type and color, and adjust the other brush settings in the left-hand panel.
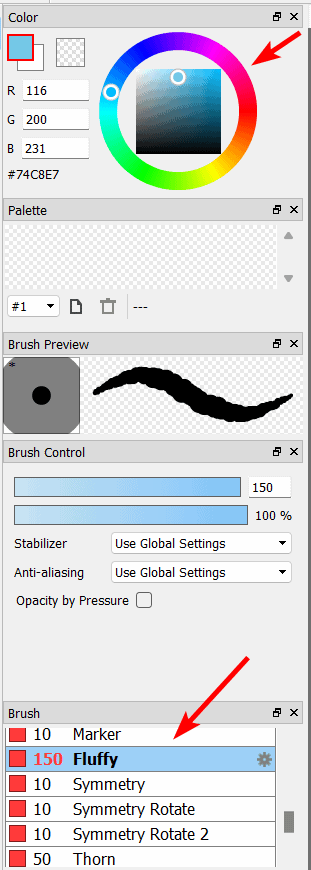
Lastly, you can choose the right brush size in the panel on the right of the program.

Once your brush settings are correct, click on the start of the curve and follow it to add the brush paint to the canvas.

Keep the mouse clicked in or the pen on the canvas and trace until the end of the line to complete the curve.
Once you have added the paint, click on the X in the top right of the curve box to hide the curve line.
You now have your curve on the page and can continue with your project.

How to Use the Curve Tool to Curve Text
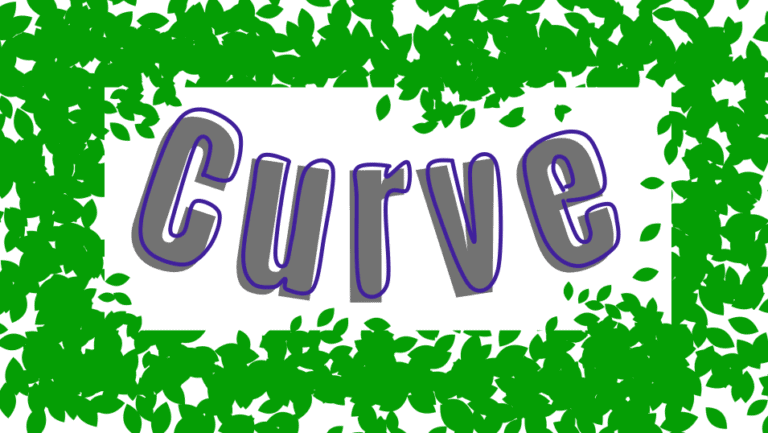
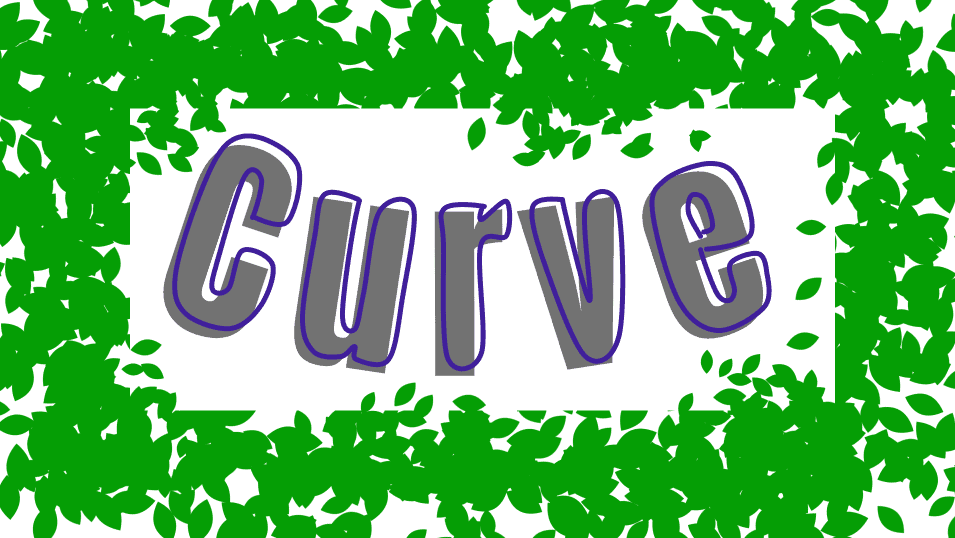
There is currently no way that you can create curved text in FireAlpaca. You can use the Curve Tool to freehand draw curved text. However, this may be tricky to achieve, especially if you work on a laptop rather than a drawing pad.
However, you can use a workaround to add curved text to your project and add brush strokes to blend it into your project. You will need to use another program initially, but there are a few free alternatives if you don’t have a paid program.
Create Curved Text in Another Program
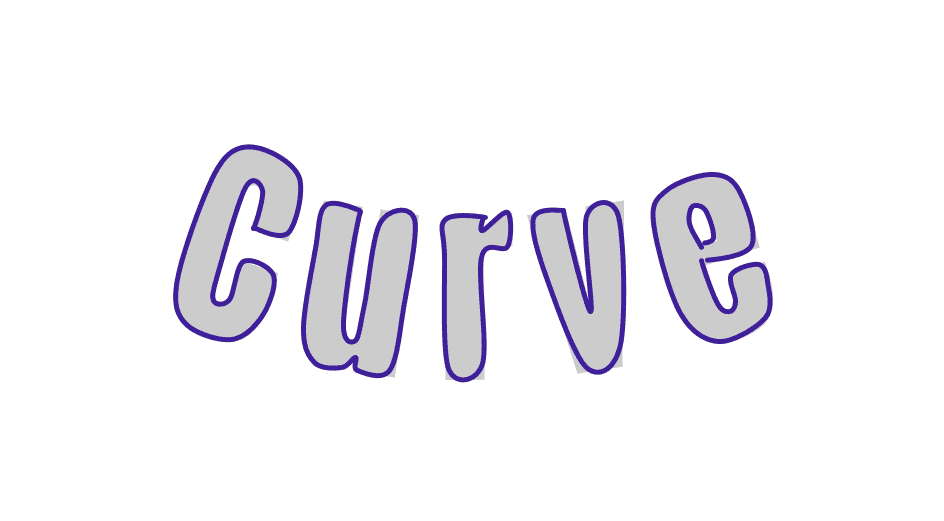
First, you need to create curved text in another program. I suggest you create curved text in GIMP as a free alternative or add text to a curve in Photoshop if you have the program.
There are several other options to try, and for this example, I used Canva to create curved text. Make sure you create and save the curved text on a transparent background to use it on a project.
Open the Curved Text in FireAlpaca

Once you have created the curved text using the program of your choice, open it in FireAlpaca. Then copy the layer of the curved text tab by pressing Control + C on Windows or Command + C on Mac and paste it into your project tab by pressing Control + V on Windows or Command + V on Mac.
You can now use the text in your project as you need.
Lower the Layer Opacity
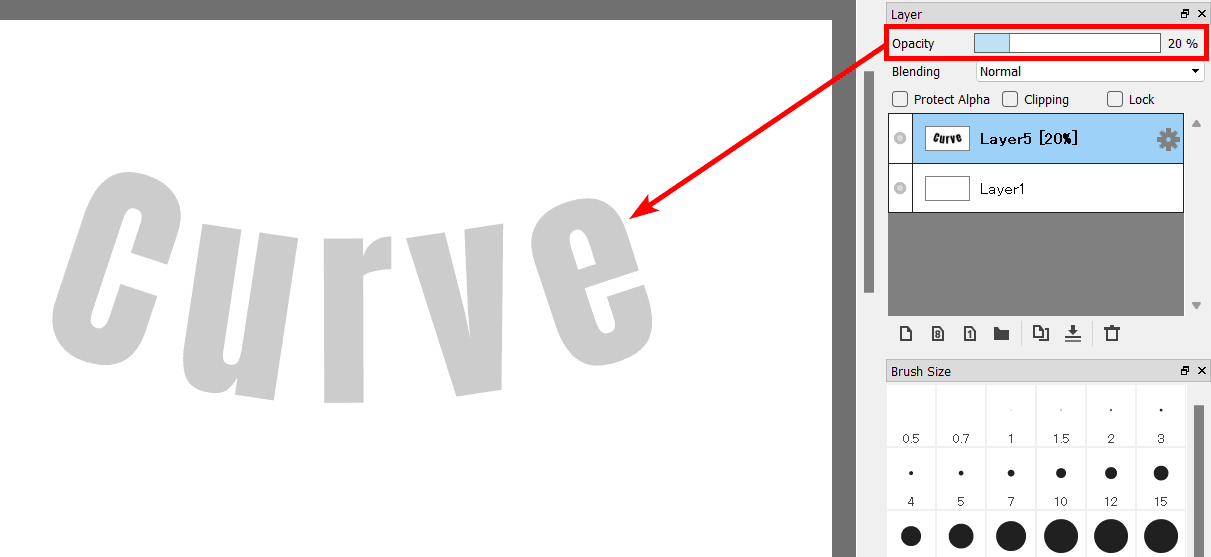
If you want the text to have a painted effect rather than looking like typed text, you can use the curving technique from the previous section to create a more hand-drawn effect.
First, lower the opacity using the Opacity slider in the Layers docker to work more efficiently with the text. Drop the opacity as far as you need.
Add a New Layer
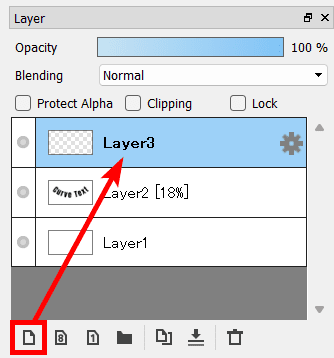
Add a new layer using the icon in the Layers Docker to add the curve paint to a new layer above the text layer.
Add a Curved Line Around the First Letter
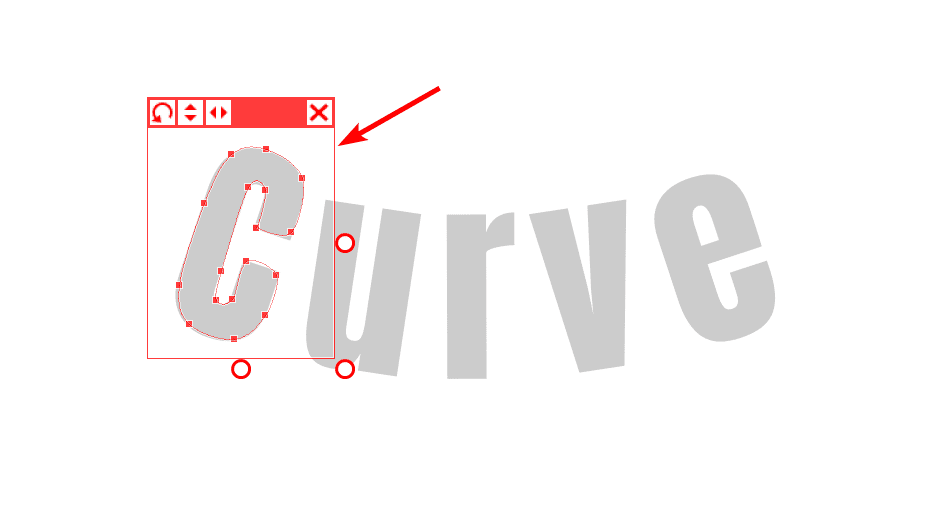
Next, use the instructions in the previous section to create a curve around the first letter. Unfortunately, this method won’t allow you to make more than one curve at a time, so you will need to draw a curve around the first letter and create the paint line before doing the rest.
Add the Brush Paint to The First Letter
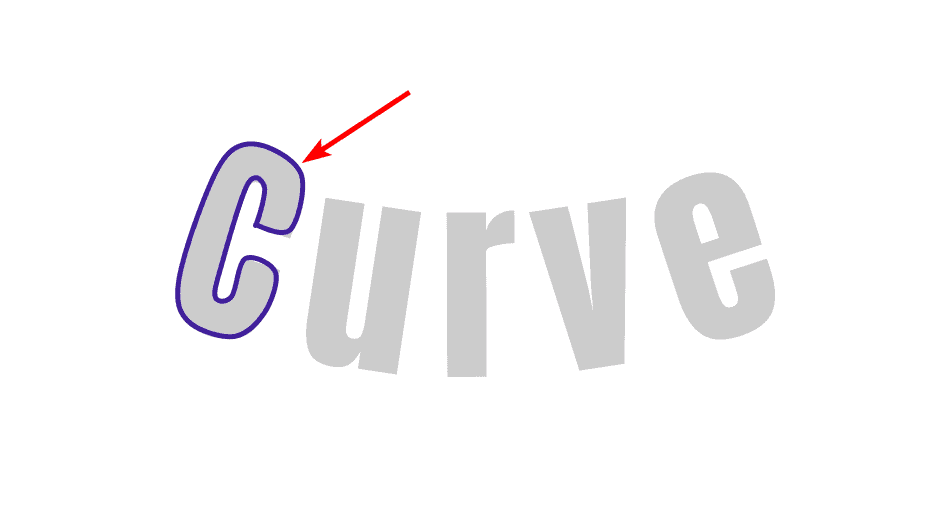
Once you have traced the first letter, select the brush and settings you need, as explained in the previous section, and draw the line around the text. Then, reset the curve line, and you’ll have successfully traced the first letter.
Trace the Remaining Letters
Continue tracing the remaining letters in the text and adding the paint as you need. This may take some time, but you can customize the process as you need by changing colors for different letters or words or using other brushes. For my example, I want all the letters in the same color, with the same brush.
Delete the Text Layer
Once you have traced the text, you can delete the text layer or hide it to only show the drawn text.
Complete the Project
You can now complete the project as you’d like with your drawn text included. You can also combine the typed text with your drawn text to create various effects.
Tools:
- FireAlpaca
👍 Support Us: Subscribe to our channel and help us continue providing these tutorials.
🌟 Regular Updates: We publish how-to videos for FireAlpaca regularly!
🔧 Expert Guidance: Learn FireAlpaca from our professionals and uncover exclusive tips!