When creating digital drawings or artwork, it’s not always easy to keep your lines straight, especially if you are working with a mouse. While I don’t recommend you use a mouse when creating digital art, sometimes you can’t avoid it. Luckily, you can still draw perfectly straight lines in FireAlpaca.
There are two ways you can draw straight lines in the program. Firstly, you can use the snap tool to create a grid across the page, where your brushstrokes will stick to the gridlines.
Alternatively, you can use the Shift key to create a straight line, although this method is better for drawing diagonal lines as you can’t ensure the line will sit at a perfect 90- or 180-degree angle.
Here are both methods so you can choose what works best for you.
What You Need to Do to Draw Straight Lines in FireAlpaca
- Activate the Brush Tool (B)
- Click on the Crisscross Snap icon in the Settings bar
- Click and drag along a gridline to add your brushstroke
- Use the Symmetry option to add more creative lines
- Turn the grid off using the Snap Off icon
- To create diagonal lines, hold in Shift
- Position the line as you want and click to add it
The first method to draw straight lines allows you to make the lines at a 90- or 180-degree angle, which means you’ll end up with vertical or horizontal straight lines on the canvas. To do this, activate the Brush Tool by selecting it from the toolbar or pressing B.
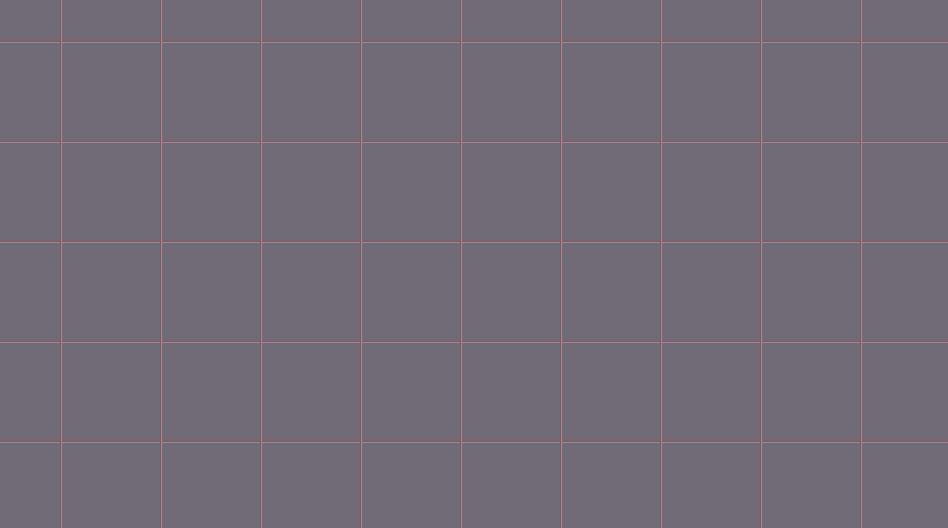
Once the Brush Tool is active, various settings appear in the Setting bar, which includes the different snap options. Click on the Crisscross Snap icon to add the gridlines to the canvas. You can try out the various snap icons to create different types of straight lines.
You will notice that there are gridlines all over the canvas. These lines are temporary and won’t appear in your final design.
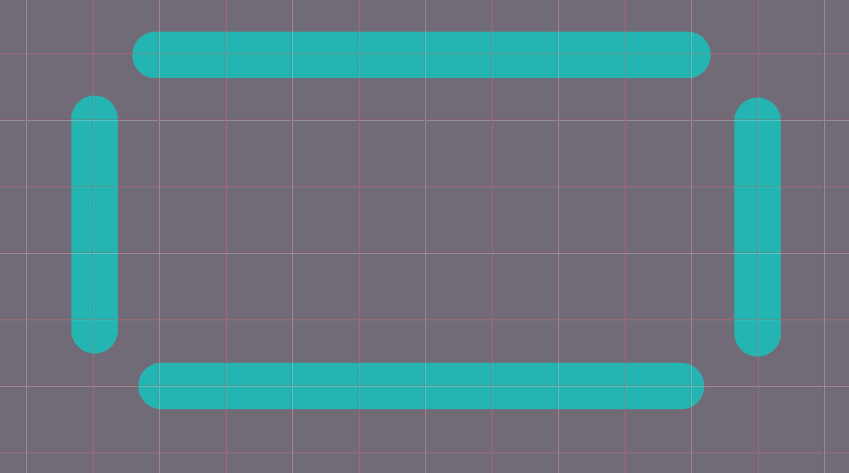
You can now choose the Brush settings, such as the brush type, the size, and the color. Then click and drag to draw the brush stroke on the canvas. The brush will snap to the closest gridline and follow that line to keep the brushstroke straight. You can draw both horizontal and vertical strokes.
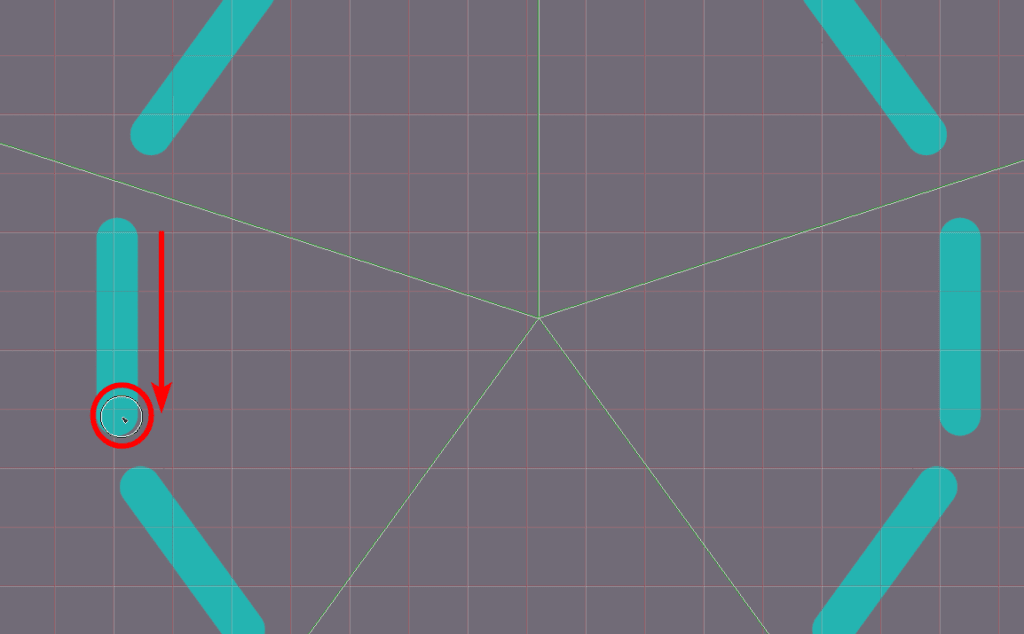
If you want to be more creative with your straight lines, you can activate the Symmetry setting and try a few options. Click on the box next to Symmetry in the Settings bar, then use the drop-down menu to choose a Symmetry option.
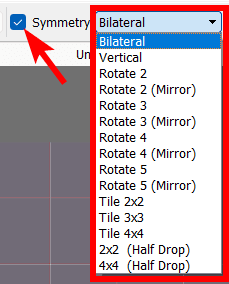
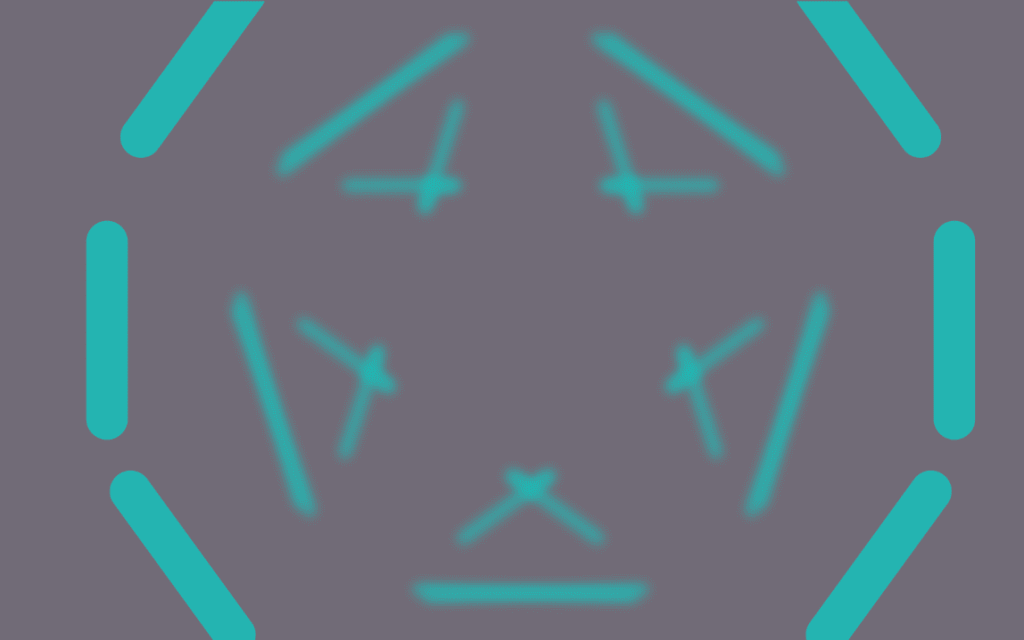
You can split the canvas using the Symmetry option and create mirrored strokes. For example, I have set it to Rotate 5 (Mirror). The canvas has additional lines splitting the page, and when I draw a straight line, it is mirrored in each split area. You can see I only drew one line on the left, and the rest appeared automatically.
Once you are finished adding the straight lines, turn the grid off by clicking on the Snap Off icon in the Settings bar.
If you want to create your own straight lines, you can hold in Shift and make the line. However, it doesn’t create a perfectly vertical or horizontal line, so I suggest you use this technique for diagonal straight lines.
To do this, hold in Shift and move the mouse away from the initial point. A gray line will appear, showing you where the line will be drawn.
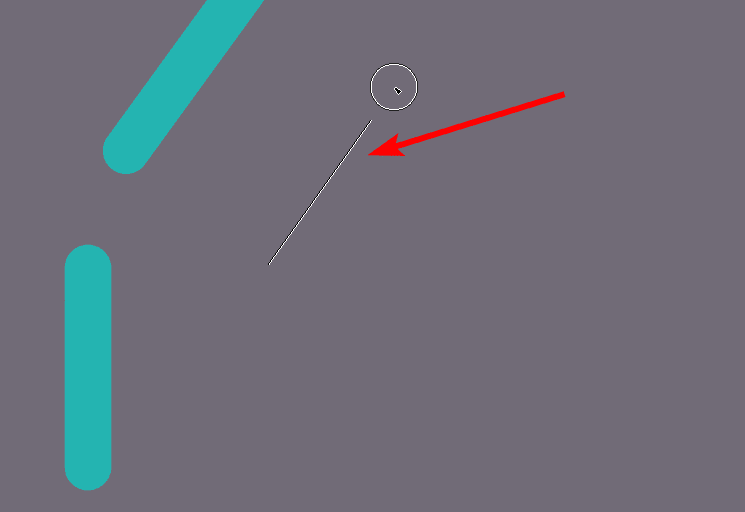
Once you click the mouse at the end of the line, the brushstroke is added using the brush and settings you selected before adding the new line.
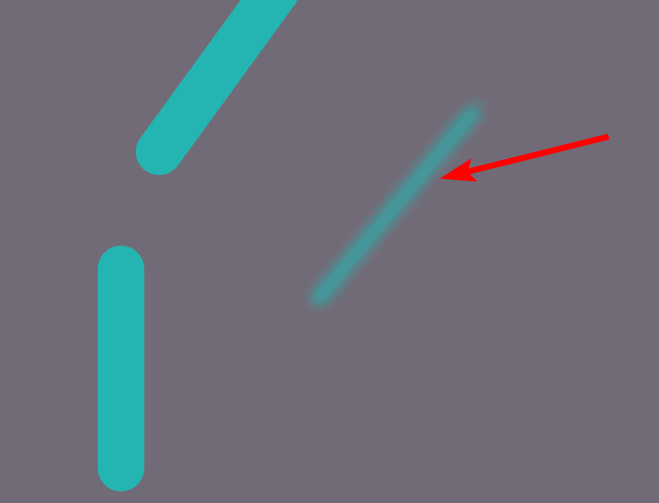
You can add as many lines as you need to complete your artwork.
👍 Support Us: Subscribe to our channel and help us continue providing these tutorials.
🌟 Regular Updates: We publish how-to videos for FireAlpaca regularly!
🔧 Expert Guidance: Learn FireAlpaca from our professionals and uncover exclusive tips!