
You can round the corners of various objects, including the default shapes you can create using one of the shape tools in Inkscape. You can also round the corners of a path you make yourself using the Draw bezier and straight lines tool (B) or even text you convert to a path.
When rounding corners, you can round all the corners together so that the curve is equal on all sides. Alternatively, you can use a slightly longer method, which gives you complete control and allows you to curve individual corners without affecting the rest of the shape.
Here is all you need to know about rounding corners in Inkscape.
Table of Contents
Overview of Adding Round Corners in Inkscape
To round all the corners at once
- Add a shape to the canvas using a shape tool
- Locate the circular anchor
- Click and drag the circle anchor down
To round the corners of paths or individually curve corners
- Create a shape using the bezier tool (B)
- Select the nodes tool (N)
- Go to Path > Path Effects
- Click on the Add Path Effect button
- Select the Corners Effect
- Use the radius setting to curve all the corners
- Use the node tool to add a curved corner
- Adjust the settings as needed
How to Add Rounded Corners to a Rectangle or Square in Inkscape
If you want to quickly round all the corners evenly of a basic shape in Inkscape, you can achieve this using a few steps.
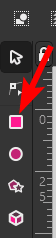
First, you need to add your shape to the canvas, so select the rectangle tool, as this method only works with a simple rectangle or square.
Once you have your shape, click and drag it out to add it to the canvas. You can create a square shape by holding in Control on Windows or Command on Mac when creating the shape.

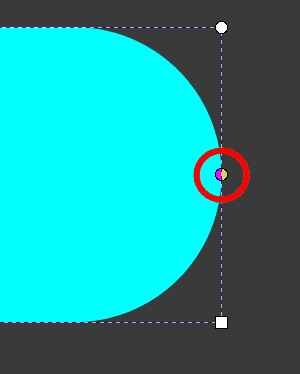
After adding the shape to the canvas, keep the rectangle tool active so that you can see the node points around the shape. You will notice two square nodes, which you can click and drag to resize the shape, and there is one circle node.
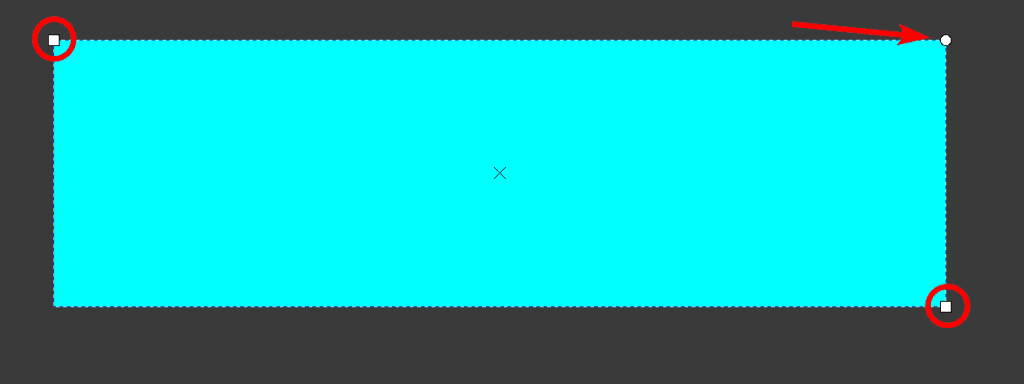
The circle node controls the curve of the corners. Click on the circle node and drag it down to round all the corners. You will notice the further you drag it down, the more curved the corners become.
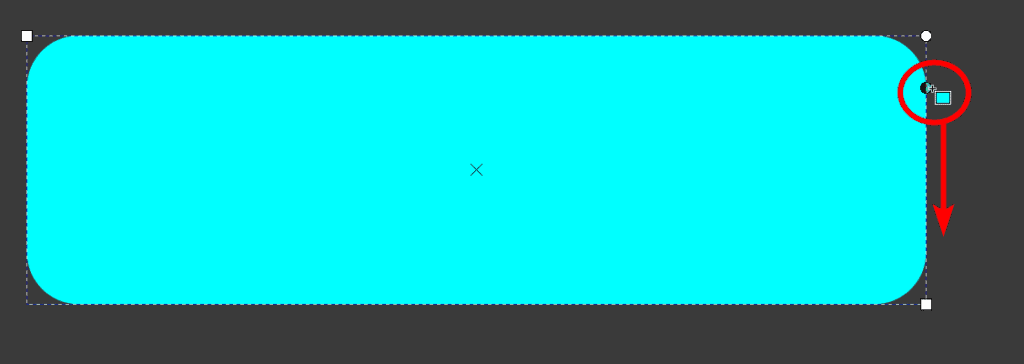
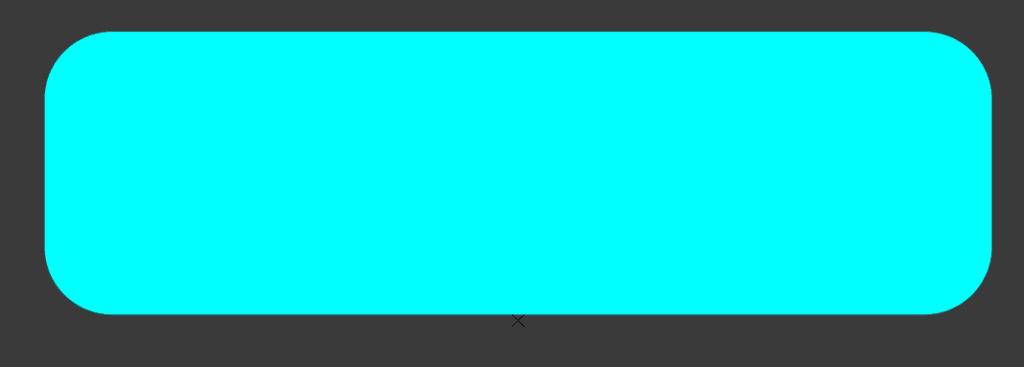
The furthest you can pull it down is to the center of the rectangle (or square).
You can adjust the node at any point and reduce the curves if needed. Here is the most you can curve the rectangle using this method.

You can pull the node up to reduce the effect and have a more subtle curved effect.
Detailed Step-by-Step of How to Curve the Corners of Complex Paths and Individual Corners

When it comes to curving the corner of objects other than a rectangle or square, the process is slightly more complex and requires a few extra steps. However, you can use this method on any other object created with a shape or bezier tool.
Create a Shape Using the Bezier Tool (B)
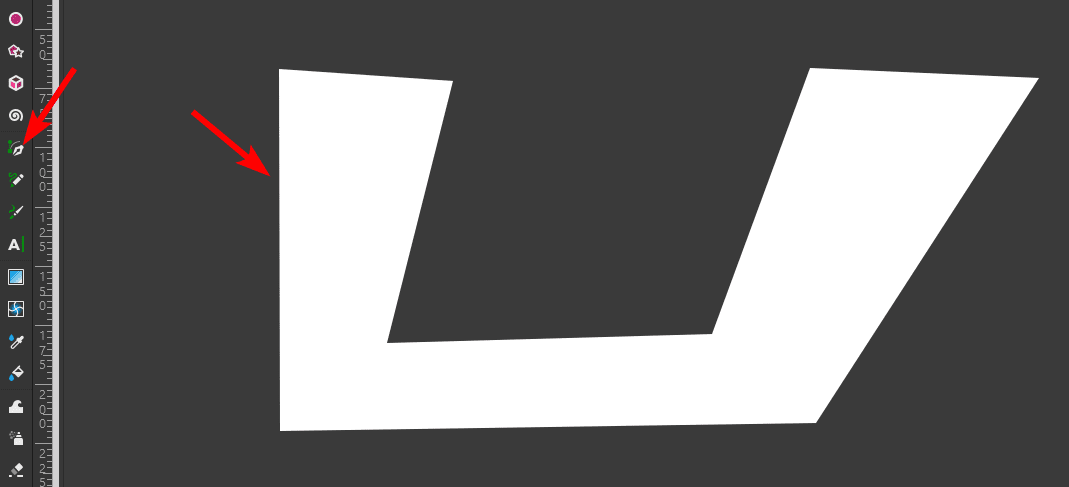
First, add a shape or object to your canvas. You can use the star or polygon tool, or as I will do, you can use the Draw bezier curves and straight lines tool (B).
Note: using this tool, you can create curved corners immediately, but then to adjust it, you would need to move individual nodes. Creating sharp edges and then rounding the corners gives you more flexibility.
Select the Nodes Tool (N)
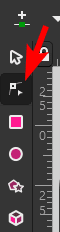
Once your shape or object is added, select the Edit paths by nodes tool (N) from the toolbar. Then click on the shape to ensure it is selected.
Go to Path > Path Effects
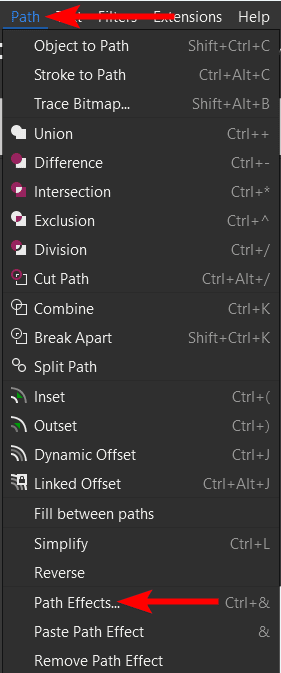
Then, go to Path > Path Effects to open the effects panel in the right-hand settings window. You will see the window appear on the right, which will be empty.
Click on the Add Path Effect Button
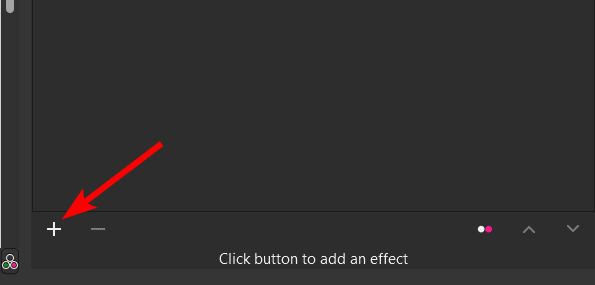
At the bottom of the Path Effects window, click on the Add Path Effect button, which is a plus sign.
Select the Corners Effect
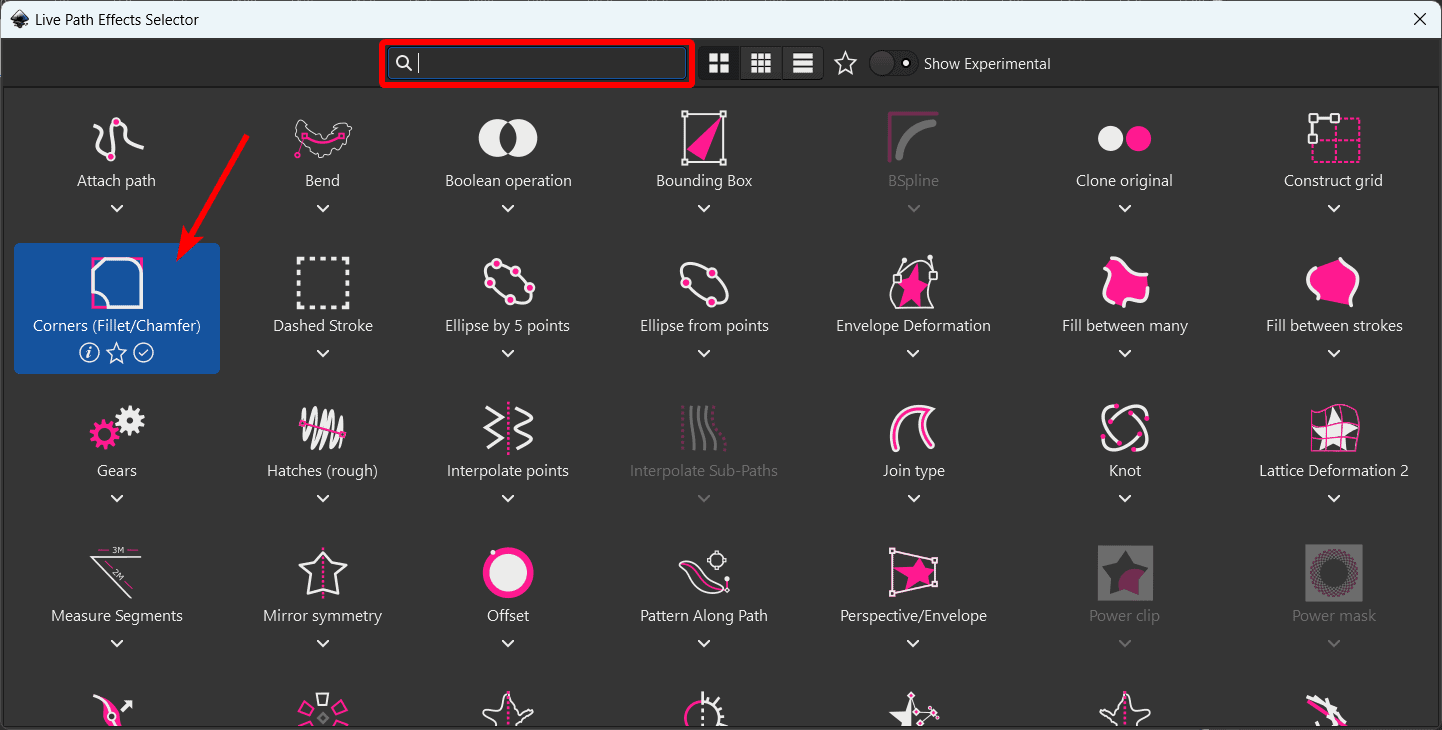
A window with several effect options appears. You can either type in Corners in the search bar or look through the effects to find the Corners (Fillet/Chamfer) effect. Click on the effect to add it to the Path Effects window.
Use the Radius Setting to Curve All the Corners

If you want to curve all the corners by a certain amount, increase the Radius amount in the Path Effects window. This bends all the corners together.
Check the Canvas
You can see on the canvas that all the corners have been rounded equally after increasing the radius amount.
Use the Node Tool to Add a Curved Corner
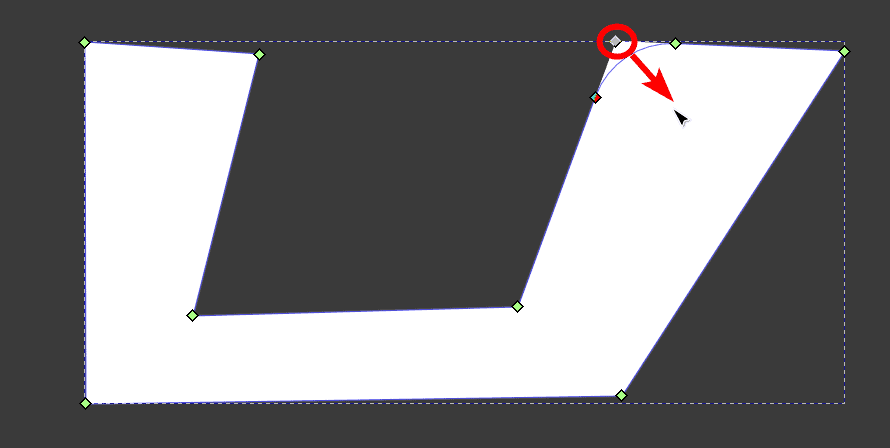
If you don’t want to round all the corners or want to round the corners at different amounts, you can use the nodes to adjust the corners. Ensure the node tool is still active, and you will see green anchor points on the shape.
These anchors work like the circular node in the previous method, as you can click and drag them to create curved corners. As you click and drag the anchor point, two more points appear and make the curve.
Curve as Many Corners as You Want
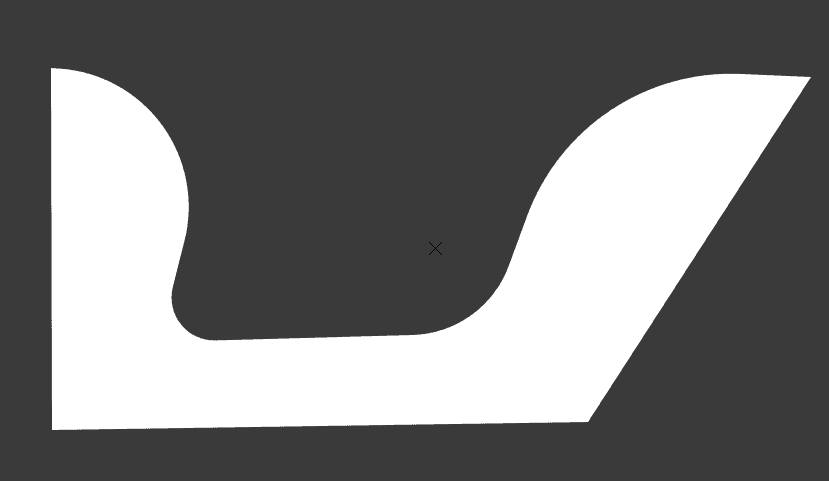
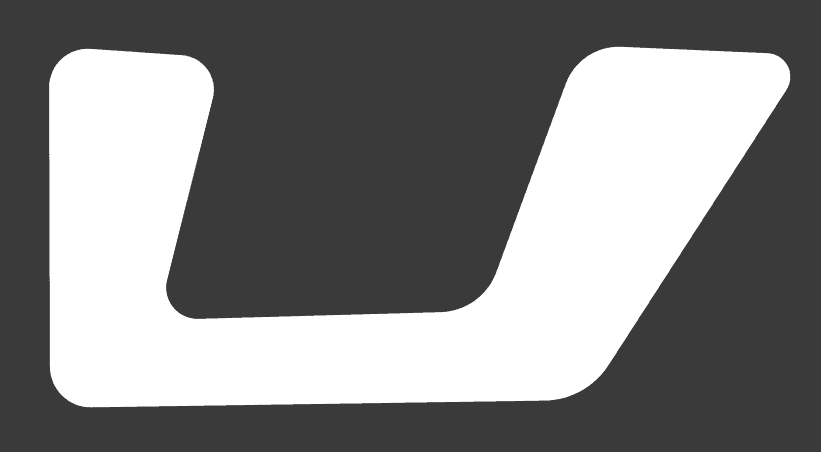
You can repeat the step above to round as many corners as you want to create a unique shape. Note that you need to drag the inside corners upward to curve them. You can see I only bent some corners and left the others sharp.
Adjust the Settings as Needed
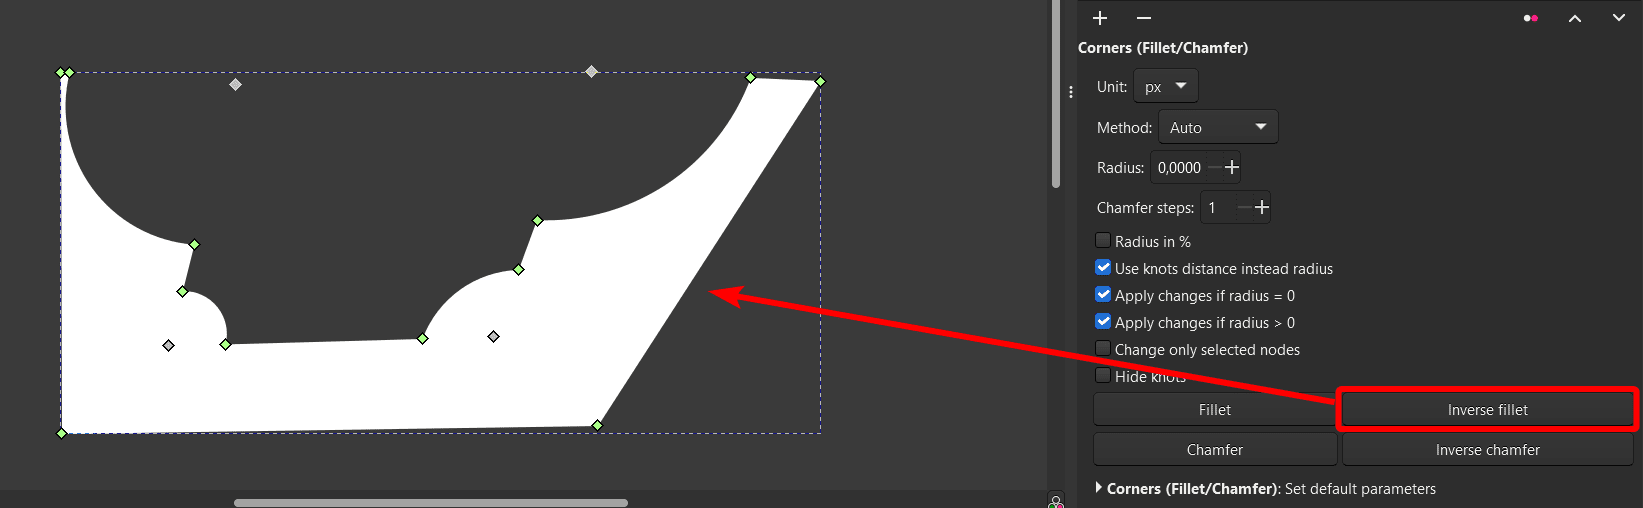
You can also play around with the various settings in the Path Effects window. For instance, you can click Inverse Fillet to inverse the rounded corners.
Try the Technique on Other Shapes
You can use this technique on other shapes and objects. For instance, I have rounded all the corners equally on a star shape and only rounded two corners on a rectangle shape.
Get creative and see what you can design by rounding corners in Inkscape.
Tools:
- Inkscape
👍 Support Us: Subscribe to our channel and help us continue providing these tutorials.
🌟 Regular Updates: We publish how-to videos for Inkscape regularly!
🔧 Expert Guidance: Learn Inkscape from our professionals and uncover exclusive tips!
