One of the most important considerations when designing is alignment. If your elements are slightly misaligned, it can ruin the entire design. Luckily, you don’t need to spend ages trying to place objects directly in the center of the page in Illustrator. You can align an object in just a few clicks.
Here is how to center an object using different methods, one for a shape and another for text on the page.
Table of Contents
How to Center a Shape or Text on the Page in Illustrator
You can use the same method to center any object on a page in Illustrator. However, the location of the alignment options differs when you are working with a shape or with text. Here I will show you how to center both types of objects so you will find the aligned settings no matter what object you are working with.
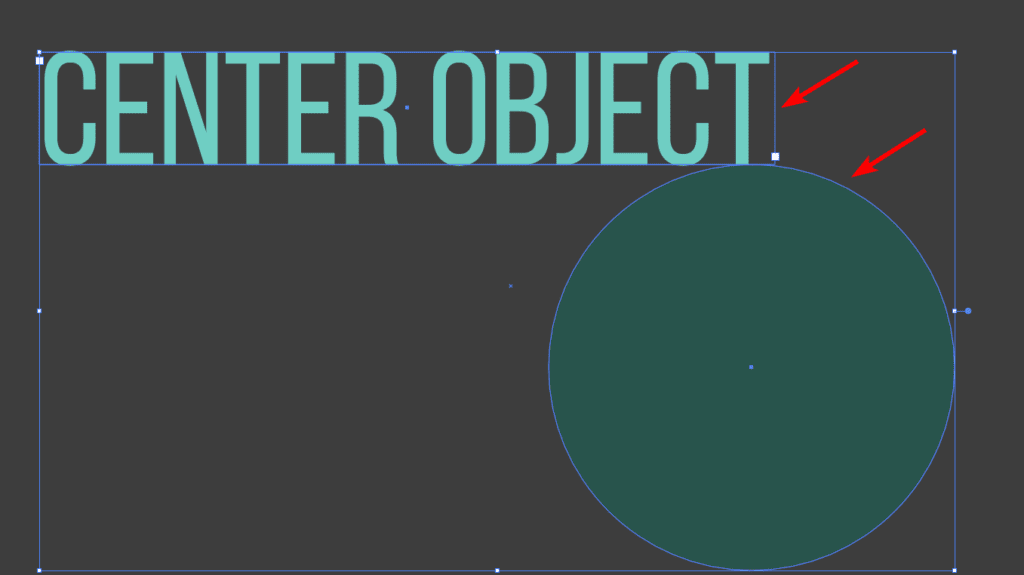
I will align the circle and the text into the center of the page.

Select the Object(s) You Want to Center
To align objects to the center of the page, you first need to select the objects. To do this, activate the Selection Tool from the toolbar or press V.

Then, click on the object, hold in Shift and click on multiple objects, or drag over several objects to select them all at once.

Locate the Align Options
Once the object or multiple objects are selected, you must locate the Align Tools. The location of these settings is different depending on what object you are aligning to the center, but you will find them using one of the three methods below.
Using the Top Settings Bar
If you align a shape, you can find the tools in the top settings bar when the shape is selected. You won’t find the settings here when working with text.

By Going to Window > Align
The next option is to open the Align panel, which you can do by going to Window > Align.

The panel will open as a floating panel, and you can adjust the settings there.

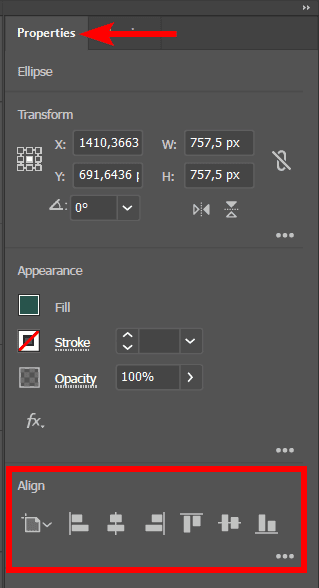
In the Properties Panel
The last location is in the Properties Panel. If the panel isn’t visible, go to Window > Properties.

You can then scroll down the panel until you see the Align Tools.

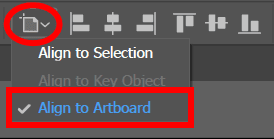
Set the Align To Option to Artboard
The rest of the steps are the same in whichever method you use to locate the Align Tools. First, you need to ensure the alignment is set to the Artboard so that the object moves to the center of the page.
Use the Align To drop-down menu and select Artboard. If you have multiple objects you want to align with each other, you will use the Selection option instead.

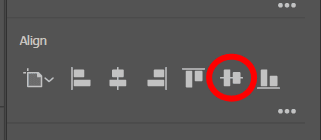
Click on the Align Horizontal and Vertical Icons
Once the Align To option is set, click on the Vertical Align Center icon to center the object vertically.

Then, click on the Horizontal Align Center icon to center the object horizontally.

You can align objects individually or select multiple and do them all at once. You will now have your object(s) centered on the page.


