
To change the text background color in Figma, you can convert the text to a frame and change the fill color, add a separate frame behind the text, or use a slight workaround in the Auto Layout panel, which creates a responsive text background color.
Using any of these methods will enhance the visual appeal of your designs. Here, I will walk you through all three methods so you can find the process that works best for you when adding a background color to text.
Table of Contents
Change Text Background Color Using The Text Frame
1. Add Text to the Page
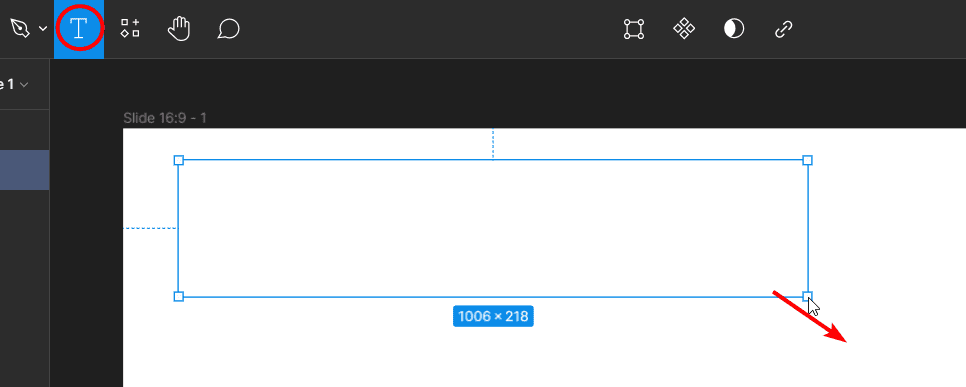
First, select the Text tool in the top bar and click and drag to add a text box to the page.
2. Type and Format Your Text
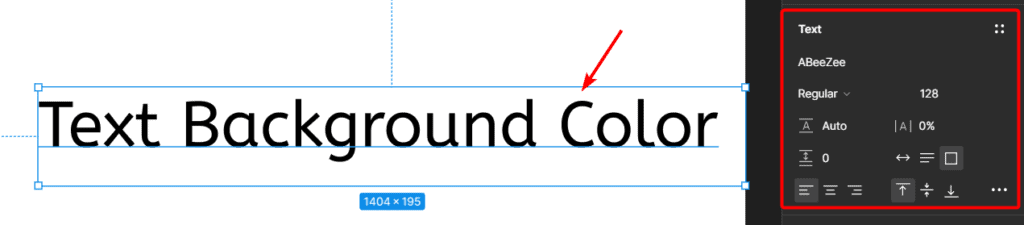
Next, type in the text you want and format it by adjusting the font, size, color, and style using the settings in the Design Tab.
3. Convert the Text to a Frame
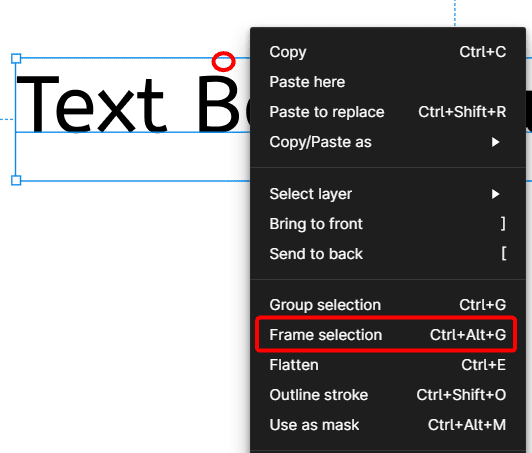
Now, select the text box, right-click, and select Frame Selection, or use the shortcut Control + Alt + G on Windows or Command + Option + G on Mac. The text box becomes a frame that you can still move independently of the text, but the two are linked together.
4. Add a Fill to the Frame
Next, add a Fill color by clicking on the plus sign next to Fill in the Design tab on the right. Then, click on the color swatch under the Fill section to select a new color.

5. Change the Fill Color
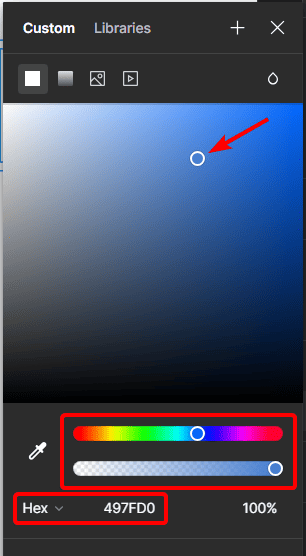
Use the color picker that opens to select a color, either using the color palette, the bars at the bottom to change the color and transparency, or adding a specific HEX code.
6. Check the Canvas
You have now changed the text background color. However, it fills the entire frame and doesn’t highlight the text or move when you re-type or re-size the text.

Change the Text Background Color Using a Separate Frame
1. Add Text to the Page
First, select the Text tool from the top bar, then click and drag out a text box on the canvas.
2. Format the Text
Type your text into the text box. Format the text as needed using the settings in the Design tab on the right.
3. Add a Frame Over the Text
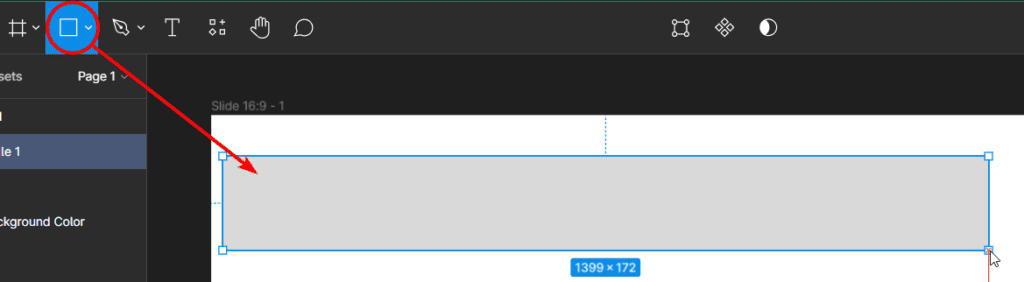
Next, select the Frame tool and click and drag out on the canvas to add a frame on top of the text. You can re-size it as needed.
4. Change the Frame Fill Color
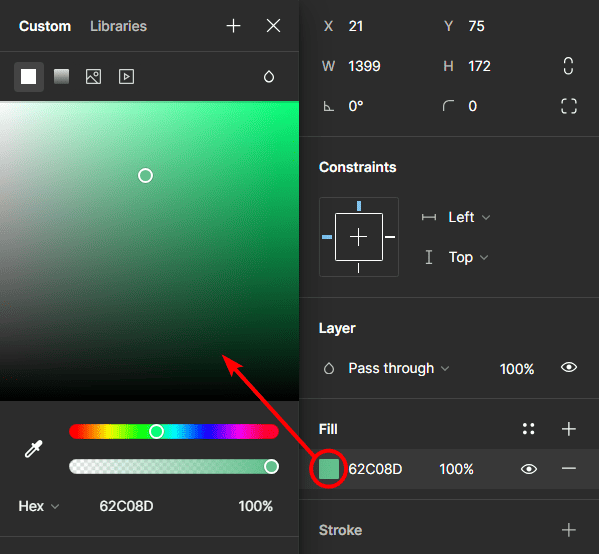
Select the Fill color swatch in the Design tab, and use the color picker to change the background color. You can use the palette and bars to adjust color and transparency or add a HEX code.
5. Move the Frame Behind the Text
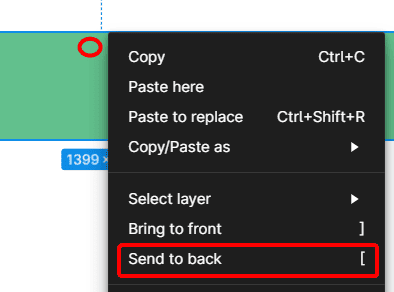
Now, re-position the frame behind the text by right-clicking and pressing Send to Back so the frame sits directly behind the text.
6. Group the Text and Frame
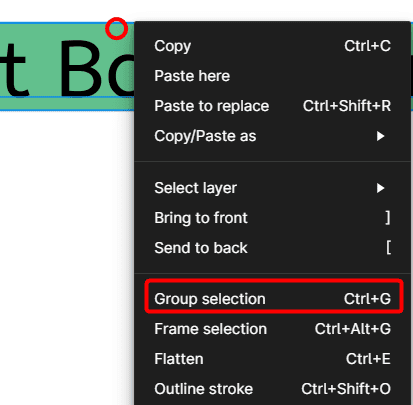
If you want to ensure the text and frame move and resize together, group them by selecting them both, right-clicking and selecting Group Selection, or pressing Control + G on Windows or Command + G on Mac.
7. Check the Canvas
You now have added a text background color, using a separate frame, and grouped them so they can be adjusted together.

Change the Text Background Color Using Auto Layout
1. Add Text to the Page
First, add text to the page using the Text tool and format it using the options in the Design tab.

2. Select the Text and Open the Auto Layout Panel
Next, select the text by clicking on it and open the Auto Layout panel by pressing Shift + A on Windows and Mac.
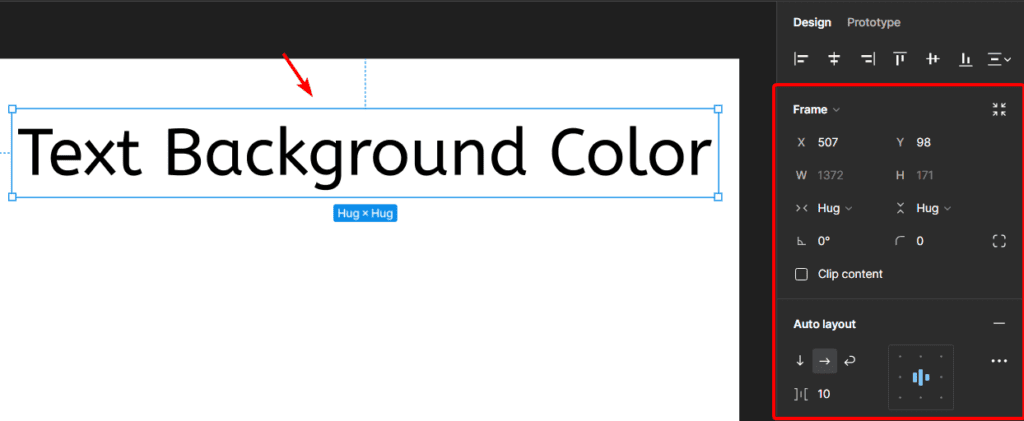
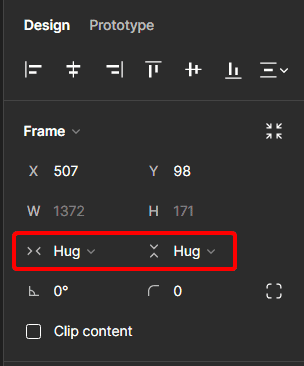
3. Set the Frame to Hug Contents
Next, set the frame to Hug Contents, which you can find under the Frame section in the settings in the right-hand panel.
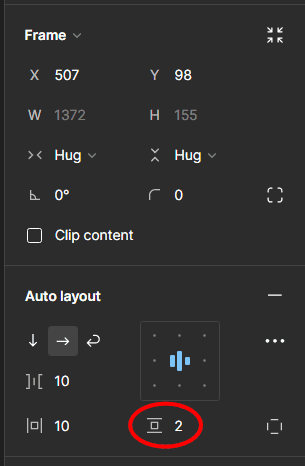
4. Set the Vertical Padding
Next, set the Vertical Padding to 2 under the Auto Layout section.
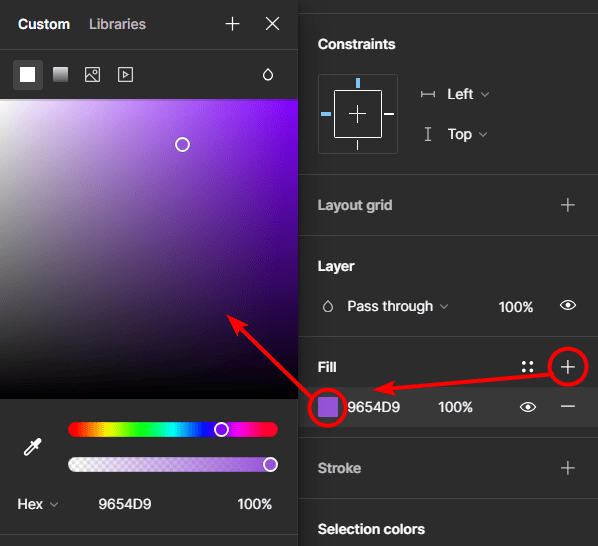
5. Add a Fill Color
Now, you can add a Fill color by clicking on the Plus icon next to Fill, clicking on the color swatch, and then using the color picker to select a background color. You can use the palette, adjust the bars at the bottom to choose a color and transparency option, or add in a HEX code.
6. Duplicate Text to Create New Lines
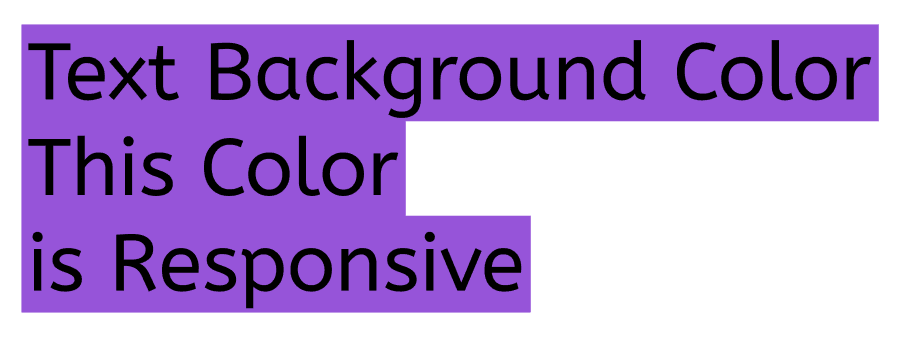
If you want multiple lines of text with the background color behind it, duplicate the text line by holding in Alt on Windows or Option on Mac, clicking the text, and dragging it down. This will copy the text with the settings. You can then type in new text, and the background color will remain right behind the text and not extend out as in the other examples.
You now have a background color behind the text, which is responsive when you type, so it acts as more of a highlight than a simple background.
Changing the text background color in Figma is a straightforward process that can significantly impact the overall look of your designs. By following these steps, you can create visually appealing text elements that stand out in your projects. Experiment with different color combinations, styles, and effects to ensure the background color matches your design, theme, and end goal for the project.