
Figma is useful for various design processes, including interface and webpage design. You can also create presentations in Figma, which you can then convert to Google Slides to present to your team or colleagues.
While you can’t directly convert Figma frames to Google Slides using the default tools in Figma, there are various easy ways to convert the frames. You can find and use several plugins in the program to convert the frames.
Here is my favorite plugin to use when converting slides I’ve created in Figma into slides compatible with Google Slides. This plugin also allows me to add extra animations and transitions before converting the frames.
Table of Contents
Overview of Converting Figma Frames to Google Slides
- Add frames using the Presentation preset
- Add the elements and designs to the slides
- Click on the Resources icon
- Find the Pitchdeck Presentation Studio Plugin under the Plugins tab
- Click Run to open the plugin
- Navigate through the slides on the left
- Add animations using the right-hand side panel
- Press the Export button
- Adjust the export settings
- Click Export for Google Slides
- Download the slides
- Open Google Slides and go to File > Import Slides
- Open the Upload tabs and upload the file
- Select all slides and import the slides
- The frames are now in Google Slides
Step-by-Step of Converting Figma Frames to Google Slides
Figma is a great tool for designing layouts, web pages, and even presentations. Once the presentation is complete, you can’t use the program to present the slides easily. Luckily, here is how to export the slides so you can present them on Google Slides and share them with your clients or team at work.
Add Frames Using the Presentation Preset
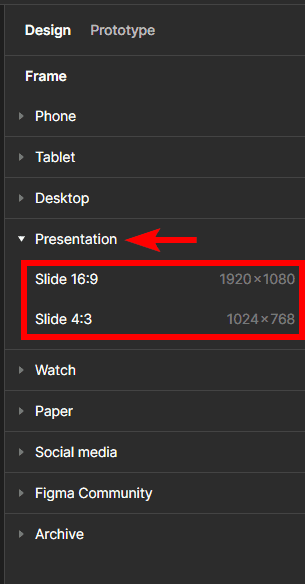
When creating a design to use on Google Slides, it’s important to ensure the size of the design will fit on the Google Slides so the entire presentation is visible when presenting or sharing it. Luckily, Figma has several preset frame sizes, including two slide sizes for you to choose from.
To open a frame at the correct size, select the Frame Tool from the top settings bar or press F. Then, look through the preset frame options on the right-hand side of the interface and open the Presentation tab. You can then choose either of the slide sizes to set the frame size to.
Add the Elements and Designs to the Slides

You can add as many frames as you need to the design by repeating the step above. The frames line up next to each other in the workspace. You can also move the frames around in the workspace depending on what works best.
Then, add your elements to the slides using the tools and features available in Figma.
Click on the Resources Icon
Once you have added enough slides with the designs you need on them and are ready to move the design into Google Slides, you can export the frames. To export the frames as a presentation, you can’t use the regular export function but instead need a plugin designed for exporting presentations.
To look through the available plugins, open the Resources tab by clicking on the icon in the top settings bar.
Find the Pitchdeck Presentation Studio Plugin Under the Plugins Tab
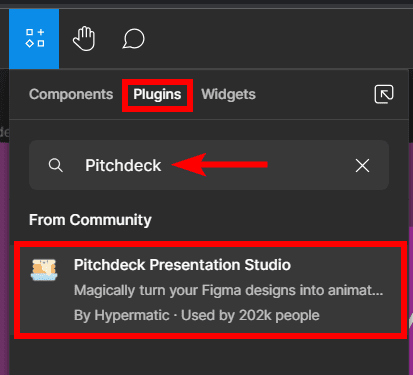
To look through the available plugin options, click on the Plugins Tab. Then, type Pitchdeck Presentation Studio into the search bar and click on the plugin when it appears.
Note: There are various plugins to use to export the frames to google slides.
Click Run to Open the Plugin
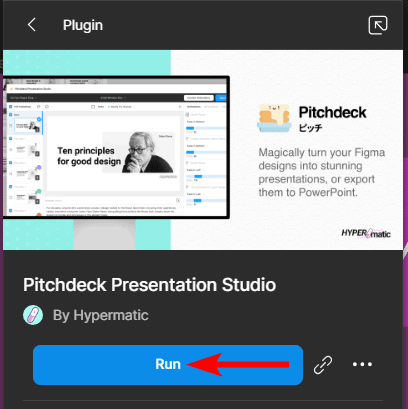
Once the plugin opens in the tab, it shows details about how it works. Click on Run to start the plugin.
Note: The plugin offers free trials and paid options to use the plugin for longer.
Navigate Through the Slides on the Left

When the plugin opens, you will see a preview of all the slides on the left, which you can navigate through to check if everything is correct.
The middle window shows the slide you have selected, and on the right are settings to edit the animations for each slide.
Click through the slides to see them in the middle section.
Add Animations Using the Right-Hand Side Panel
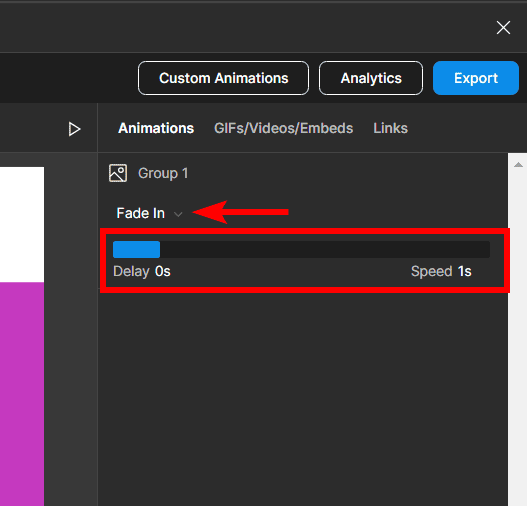
Use the right-hand panel to add animations to the slides. You can edit the settings of the animations below the drop-down with animation options.
Press the Export Button
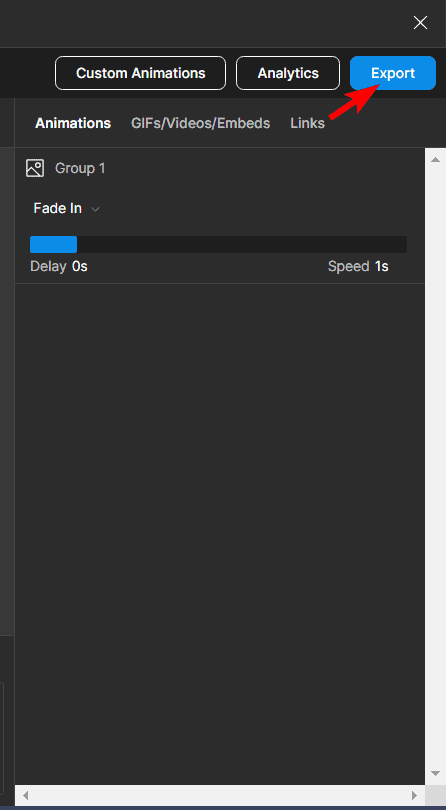
Once you have added any animations you want for the presentation, you can begin exporting the frames. First, click the Export button in the top right corner.
Adjust the Export Settings
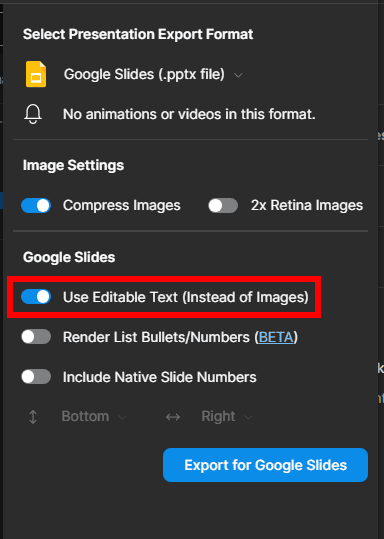
You can then adjust the export settings depending on how you want the frames to look after exporting. The main setting to turn on is the Use Editable Text option so that you can edit the text in Google Slides after exporting.
Click Export for Google Slides
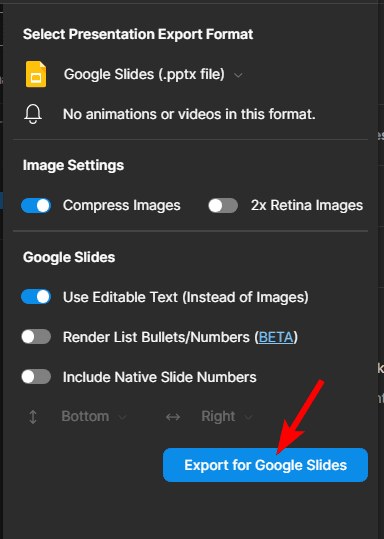
Once the settings are set, click the Export for Google Slides button.
Download the Slides
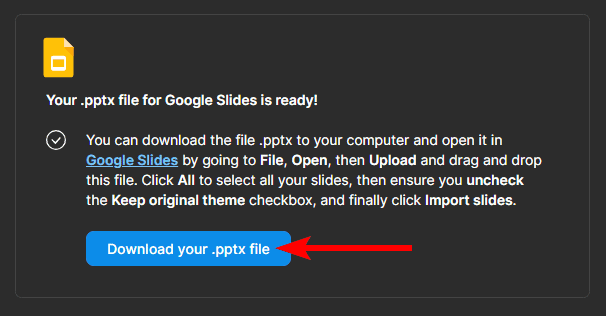
Once you start the export, the plugin will explain how to move the frames into Google Slides. First, click on Download your .pptx file.
Open Google Slides and Go to File > Import Slides
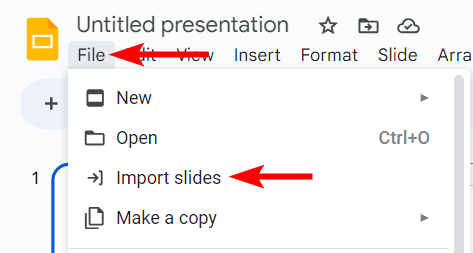
Once the slides are downloaded to your device, open Google Slides in your browser. Then click on File > Import Slides.
Open the Uploads Tab and Upload the File
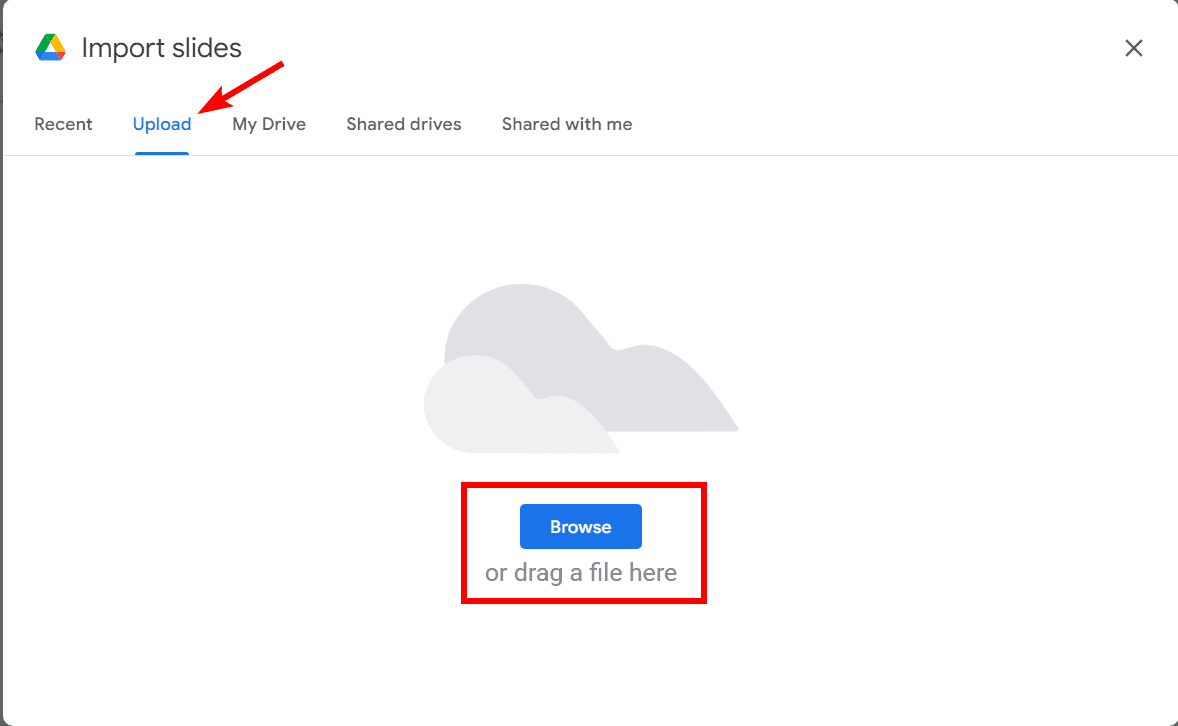
When the Import Slides window appears, click on the Upload Tab. You can then drag and drop the file into the window or browse and locate the file where you saved it on your device.
Select all Slides and Import the Slides
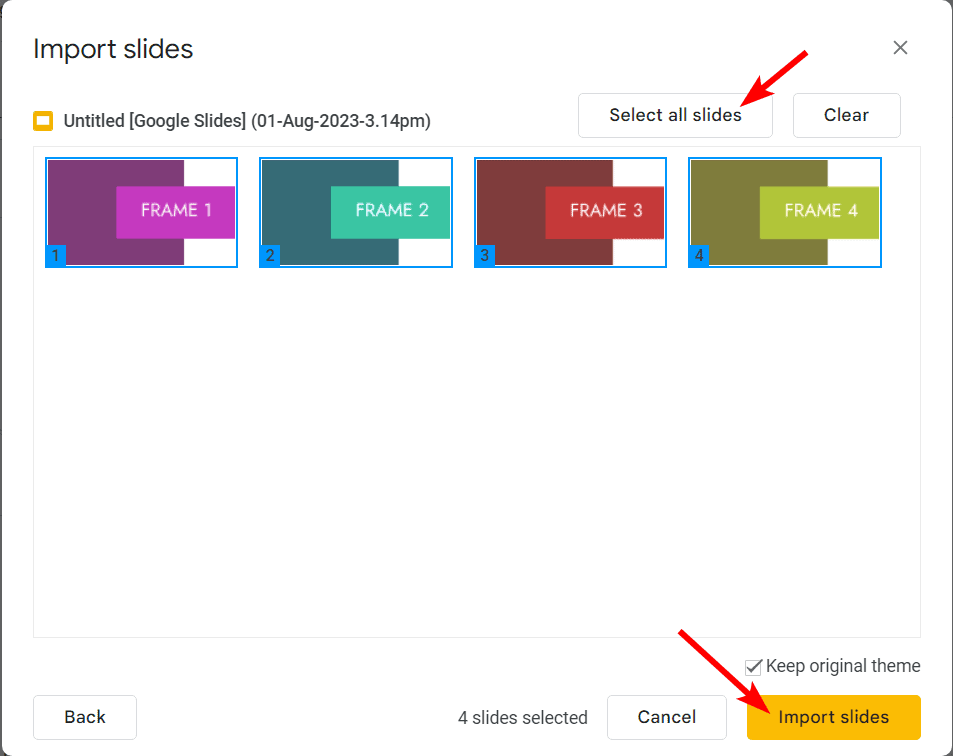
Click on Select All Slides to select them all, or click on the individual slides you want to upload. Then click on Import Slides to upload them into Google Slides.
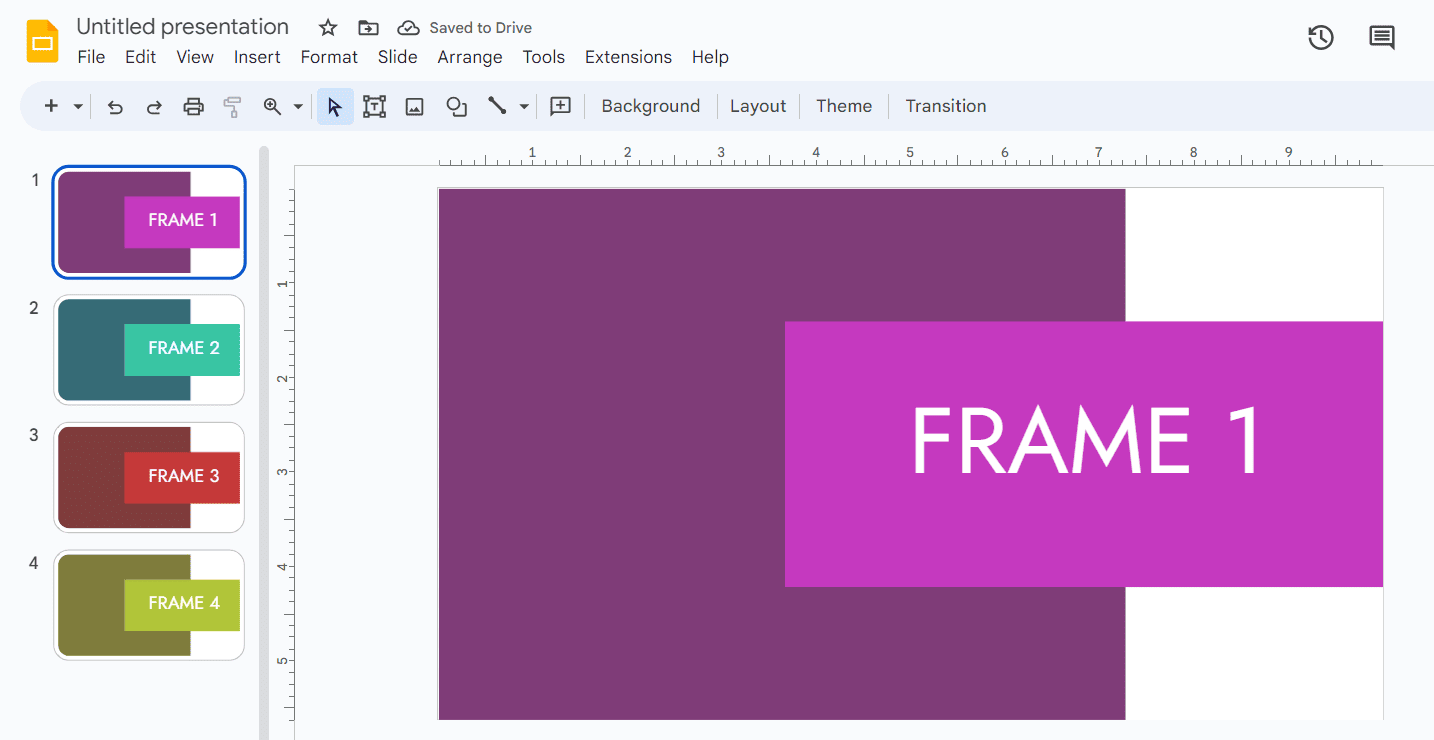
The Frames Are Now in Google Slides
The frames will now be in Google Slides, where you can edit them, add more elements, or start a presentation with them.
Tools:
- Figma