Many tutorials suggest that you need to work in Medibang to use this technique, but I have a way for you to create a glitch effect in FireAlpaca. It only takes a few steps to create this effect, but you can adjust the steps slightly and create unique results on your image or drawing.
The Glitch Effect is a great technique to learn if you want to add depth and movement to your images or drawings. The effect makes it seem as though the photo has glitched and areas have slightly moved with different colors showing around the edges of your subject.
Table of Contents
How to Create a Glitch Effect
I will show you how to create this effect in an image, but you can also use the same techniques on a drawing you’ve created. If you’re using a graphic, make a copy of all your drawing layers and merge them, keeping the background layer separate.
You will work on the merged layer to create the effect, and keeping the separate layers is a backup in case you need to go back and edit any elements in your drawing.
Follow these steps and use your creativity to mix it up a bit and create your own glitch effect using these techniques as a guide.
Open Your Image or Drawing and Merge the Layers

Start by opening your image or drawing in the program. If you use an image you edited or a drawing with various layers, merge them until you have one layer.
When using an illustration, you can keep the background layer separate, and you don’t need to duplicate the layer in the next step.
Duplicate the Image Layer
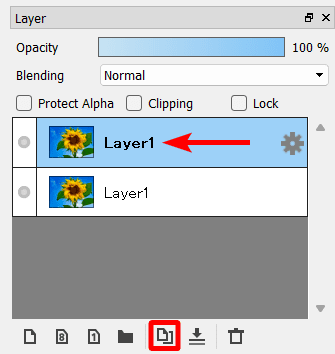
When working with an image, you need to duplicate the layer. The original layer at the bottom acts as the background that will show through around the pieces you move on the top layer. You can also add a colored background layer instead if you want a color to show through the glitched areas.
To duplicate the layer, click on the Duplicate Layer icon at the bottom of the Layers window.
Add a Chromatic Aberration Filter
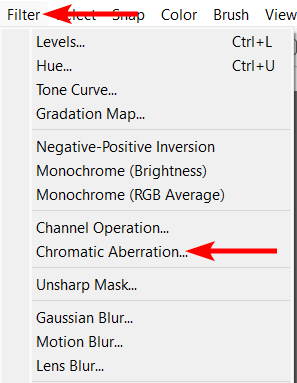
To create the different colors that appear around the image and the objects in the picture, you need to add a Chromatic Aberration filter. This separates the Red, Green, and Blue channels in the photo or drawing to create the effect.
To add this filter go to Filter > Chromatic Aberration.
Adjust the X and Y Values
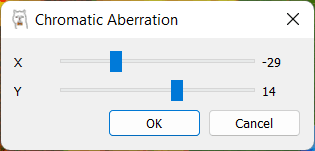
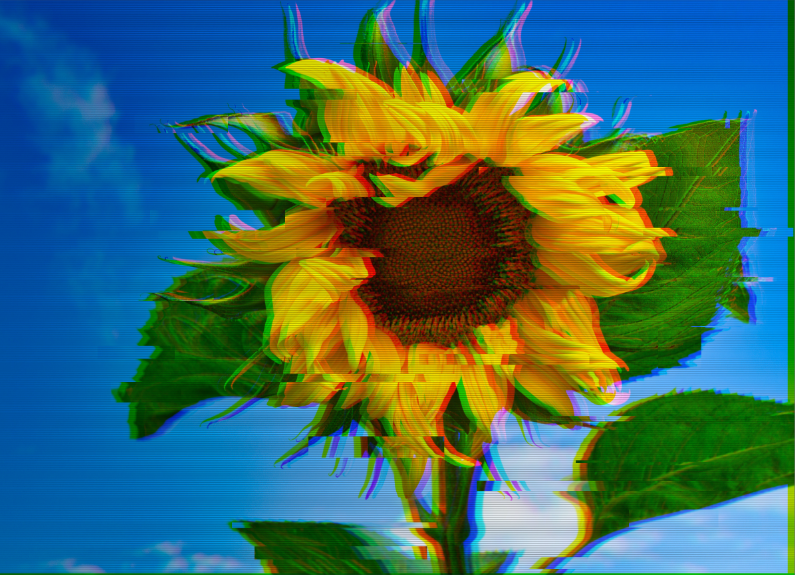
When adding the filter, the Chromatic Aberration window appears. It only has two options, which are an X and a Y slider. The X slider shifts the colors left or right and adds green and purple-colored halos to the image.
The Y slider shifts the colors up or down and adds blue and red colored halos. Play around with the sliders to see which effects you can create on your image. The image changes as the sliders are readjusted. Click OK when you are happy with the result.

You can see if you’re happy with the effect on the canvas before moving on. If you don’t like the effect redo the last step to change the effect.
Duplicate the Filtered Layer
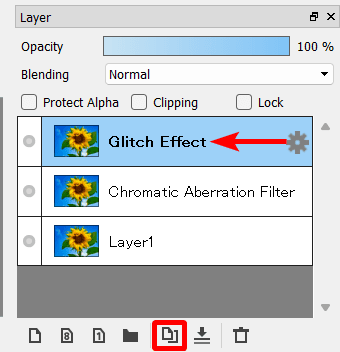
Now, you need to duplicate this layer again to add the next effect. Adding the following effect on a separate layer makes it easy to delete and redo the glitch effect later if you change your mind.
Duplicate the layer by clicking on the Duplicate Layer icon at the bottom of the Layers window. I have renamed the duplicated layers to keep track of the various layers.
Activate the Select Tool (M)

To create the Glitch Effect, activate the Select Tool (M) by clicking on it in the lefthand bar. Set it to a Rectangle shape using the options in the Settings bar near the top.
Create the First Glitch Box
Click and drag a rectangular selection onto your image. This selection is the first piece you will move to shift the image pixels and create the glitch effect. So keep in mind where you want the glitch to appear.
I recommend keeping away from important features such as faces.
Change the Setting to Add to Selection
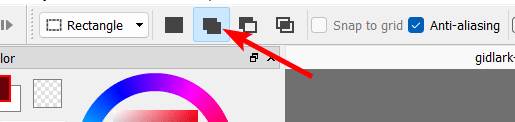
To add more selection boxes to move them all together, change the Select Tool settings in the top bar by clicking on the second box icon. This will add your new selections to the original one keeping them all together.
Create the Rest of the Glitch Boxes
Click and drag around the canvas to make more selection boxes. Create a variety of sizes when adding the boxes to make the glitch effect more realistic.
The boxes will all move in the same direction, so keep that in mind. In the next step, you can create separate boxes to move in the opposite direction.
Create as many selections as you’d like, depending on how bold you want the effect to be.
Activate the Move Tool (V)
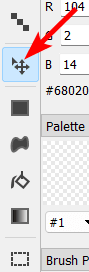
Once your selections are created, activate the Move Tool (V) by clicking on it in the lefthand bar.
Move the Selected Pixels

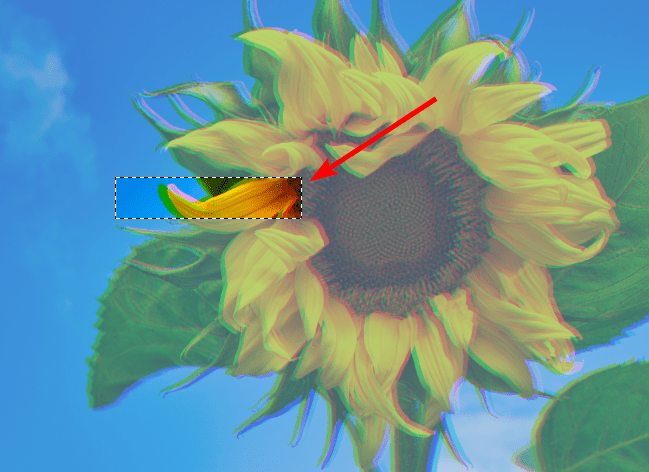
You can now click inside any of the selections you created and drag the pixels to create the glitch. I will start by moving the pixels to the right.
Press Control + D on Windows or Command + D on Mac after moving the pixels to deselect the areas. You can see the various pixels that have been moved.
Repeat the Glitch Effect to Move the Pixels in Different Directions

You can now repeat the steps above to select new areas and move them to the left. Then you can repeat the steps to shift other pixels up and down. The amount of pixels you shift depends on how you want the glitch effect to appear.
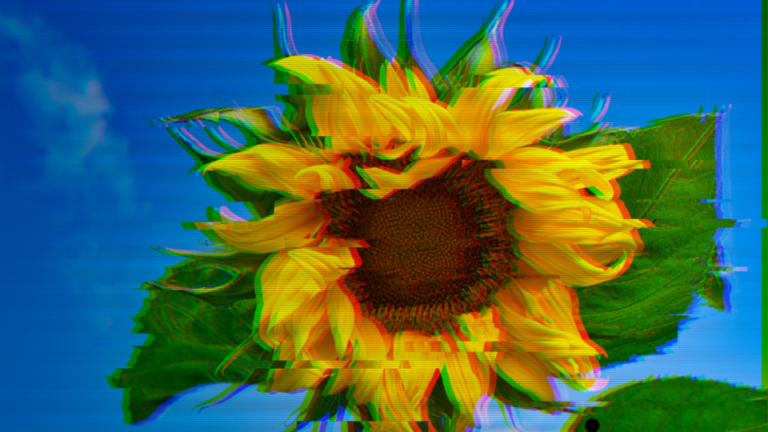
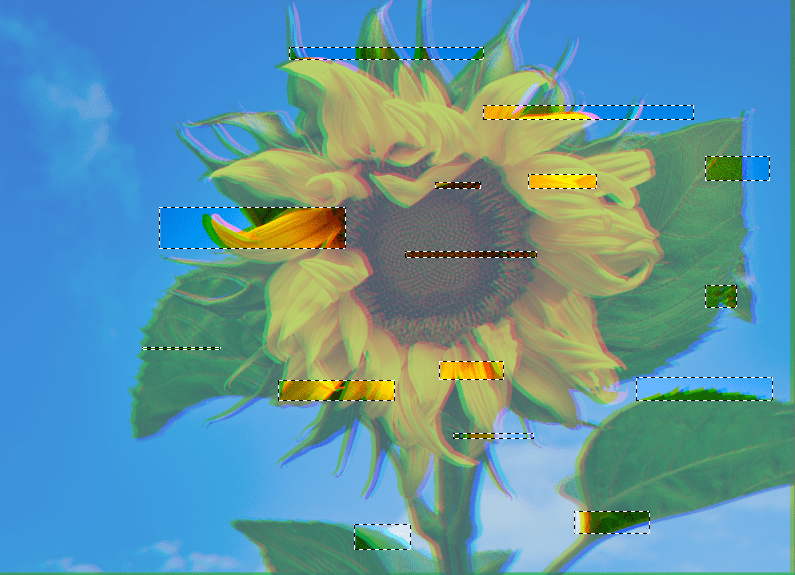
I have repeated the steps twice to shift a few areas to the left and to shift some areas up. This is how it looks after I have added all my glitches.
Duplicate the Glitch Layer
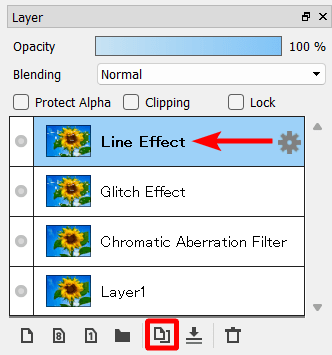
You must duplicate the layer one more time to add a line effect that completes the glitched look. This step is optional and depends on if your image needs the additional effect. You must create a new layer since you will need to lower the opacity of the line effect without reducing the glitch effect.
Click the Duplicate layer icon at the bottom of the Layers window. I renamed the new layer.
Add a Line Filter
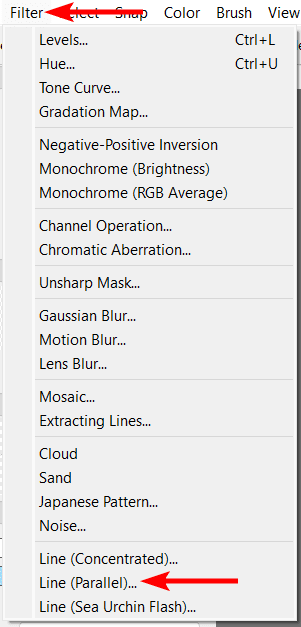
Add a line filter to the new layer by going to Filter > Line (Parallel).
Adjust the Line Filter Settings
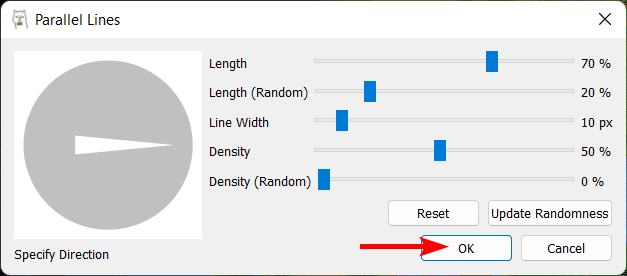
Change the line settings as follows to create thin lines across the entire image.
Length: 70%
Length (Random): 20%
Line Width: 10 px
Density: 50%
Density (Random): 0%
Click OK once you have adjusted the settings.
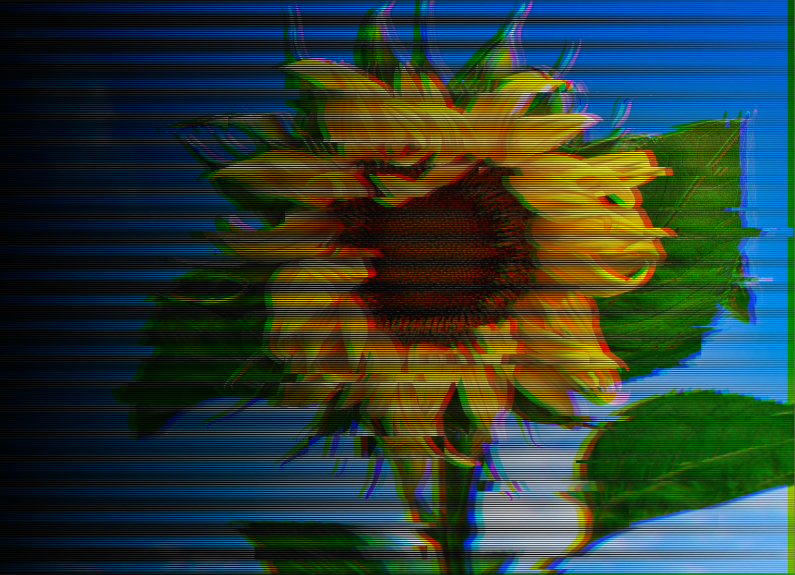
Your image will have dark lines across it, which I will show you how to reduce in the next step.
Lower the Layer’s Opacity
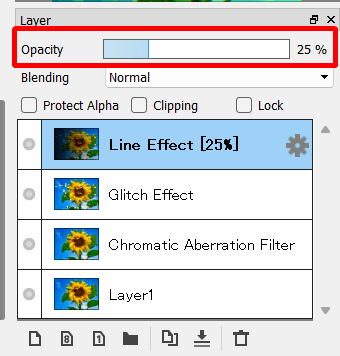
Reduce the Line Filter Layer’s opacity by dragging the Opacity slider down at the top of the Layers window. You can decide how bold you want the effect on your image.
Check the Completed Glitch Effect
You have now completed the Glitch Effect in FireAlpaca. You can customize these steps however you’d like to create unique results. You can also try out different blend modes on the Line Filter layer or add a blur layer to further the glitch effect.
Tools:
- FireAlpaca
👍 Support Us: Subscribe to our channel and help us continue providing these tutorials.
🌟 Regular Updates: We publish how-to videos for FireAlpaca regularly!
🔧 Expert Guidance: Learn FireAlpaca from our professionals and uncover exclusive tips!