
To create a prototype in Figma, you must first complete several elements, such as creating starting points, adding interactions, making connections, and adjusting the prototype settings before viewing a prototype.
This may sound like a lot, but I break it all down in easy steps below, which will have you prototyping in no time.
Table of Contents
What Is a Prototype in Figma?
Simply put, Figma’s prototyping features enable you to make interactive elements and allow you to test how a user may interact with these elements on a web page or design. The elements all “work,” meaning you can click on menus and hover over buttons, and the prototype shows you exactly how the end user will see it.
The benefits of a prototype include:
- Sharing ideas
- Preview user flows and possible interactions
- Test flows and interactions
- Provide or receive feedback
- Present your designs to clients
The prototype will work like an actual webpage or application. To create this, follow the sections below, briefly detailing how to add the interactive elements and then working with the prototype.
How to Add Starting Points (and Flows)
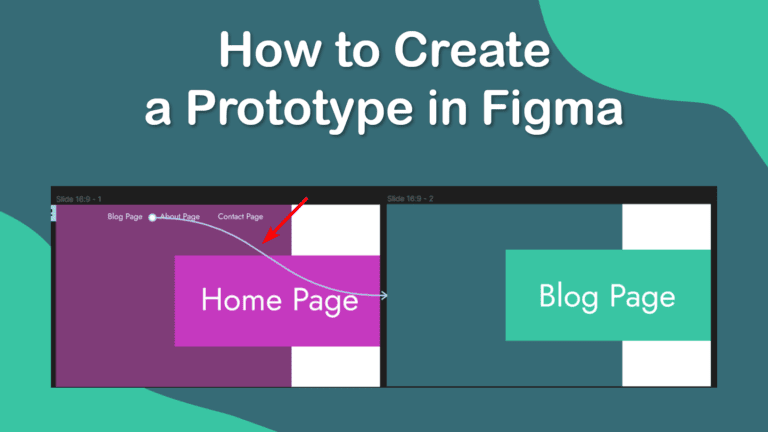
A starting point is created when you add a connection between two frames, which starts the flow. This becomes a user's journey. For instance, the Blog menu item is the starting point, and the user’s flow is when they click it and end up on the website’s blog page.
You can create multiple flows on one page to show a user's entire journey. The prototype can show and test a user’s entire journey through a website or app or focus on a specific element.
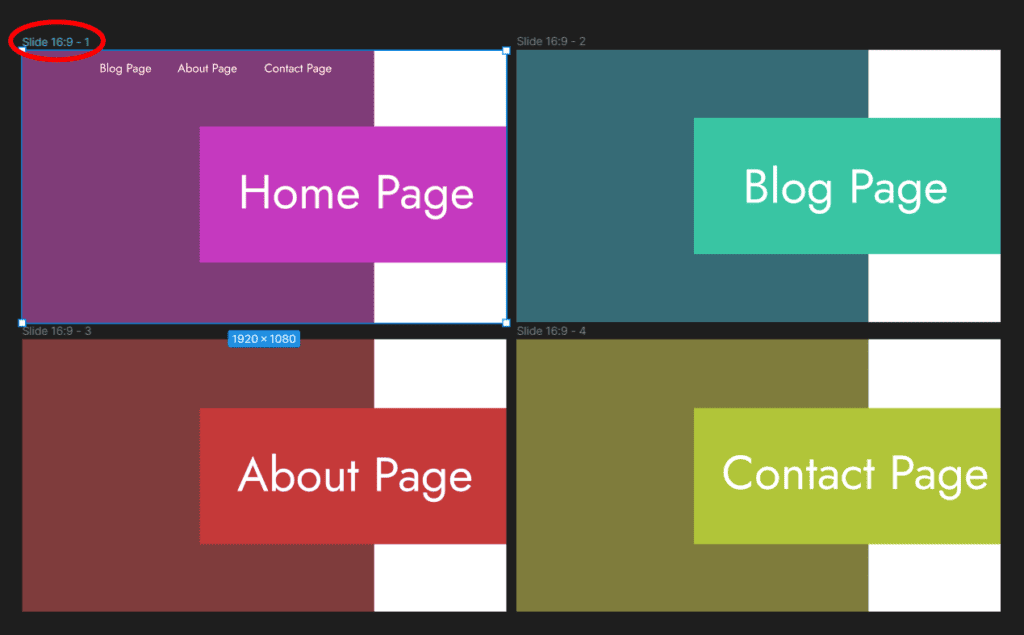
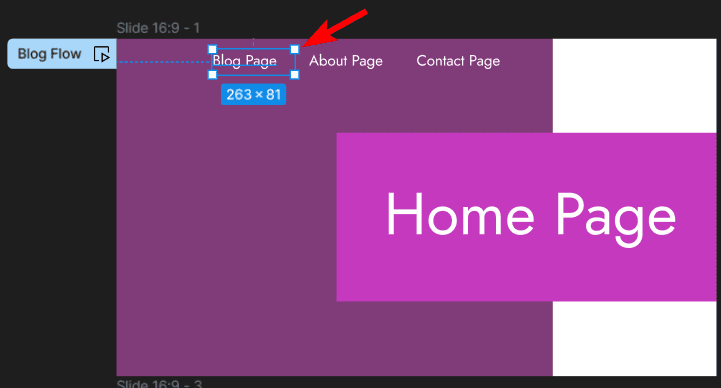
To demonstrate, I have created a few frames as pages for a website and clearly marked the pages for easy viewing.
Each flow should have its own starting point and name. To create a flow, click on the frame you want as the starting point. Remember, this must be the page frame, so I will select the Home Page as the starting point.
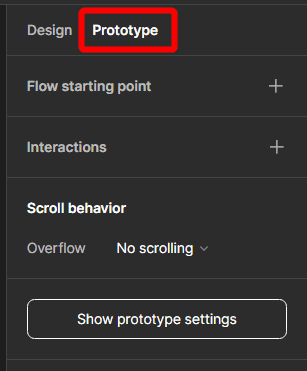
Then, open the Prototype Panel on the right-hand side of the workspace by clicking on it.
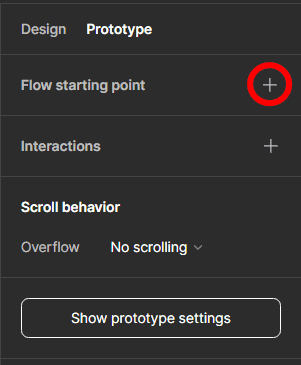
Next, click on the plus sign next to the Flow Starting Point section. You can also create a starting point by right-clicking on the frame and selecting Add Starting Point or duplicating a frame that is already a starting point.
Then, rename the Flow to ensure you keep track of multiple flows in your document. You can also click on the Edit icon to add a description for the flow if needed.
How to Create Connections
The next step when creating a prototype is to make a connection from the starting point to the page or frame where you want the interaction to take the user. So, in this case, I want to link the Blog Page button to the actual blog page, so when a user clicks on the button, they end up on the blog page.
To create a connection, select the frame that’s within the starting point frame.
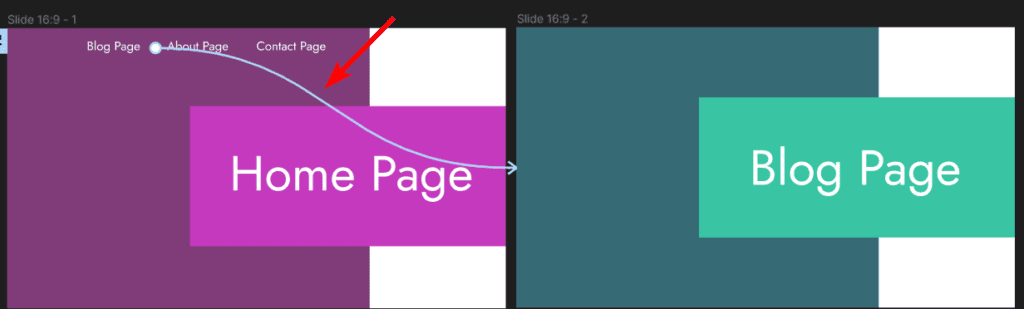
Then, hover your mouse over one of the bounding box lines until a plus icon appears.
Click the plus icon and drag it to the page or frame you want the button to take the user to. You will now have an arrow from the button to the frame.
You can connect multiple sources to a single frame, so I can create various blog page buttons that all direct the user to the same blog page.
How to Add Interactions
Next, you can add interactions to the connections. This determines what happens between the transition from the user clicking on the starting point and the new frame appearing.
When you create a connection, a block will appear, allowing you to set interactions. However, if you want to make all your connections first, you can ignore the block and set the interactions later.
To access and set interactions later on, click on the connection line or select the interaction in the Prototype panel, and settings will appear.
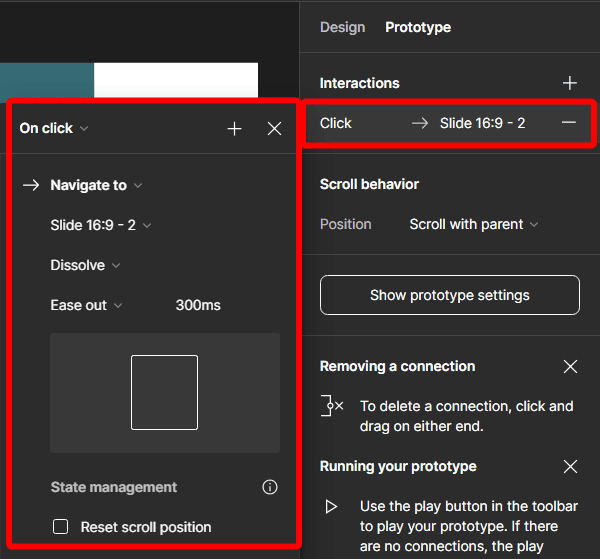
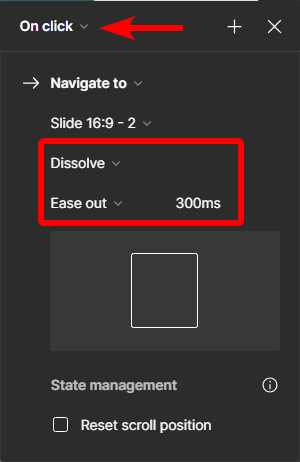
You can then go through the settings and adjust them as needed. You can choose whether the interaction needs a click or a mouse hover and set an animation for how the two frames transition.
How to Adjust the Prototype Settings
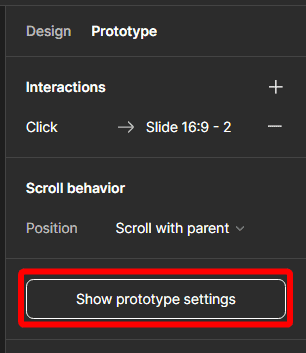
Once you have created all your starting points, connections, and interactions, you can move on to work on the Prototype. First, you can adjust the prototype settings, which determine how it’s displayed when previewing it.
Click on Show Prototype Settings in the Prototype Panel.
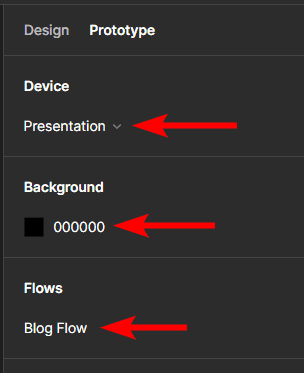
You can then set the device type or screen you want to view the design on, then adjust the background color behind the device, and lastly, you will see a list of all the flows you have created.
How to Preview the Prototype
Finally, you can preview the prototype to see how the user will interact with the webpage or application and note if the flows work well for the design.
When previewing the prototype, there are two ways you can view them. You can choose to present the prototype, which opens it in a new tab and shows the prototype on the whole screen. Alternatively, you can view it as a preview, which opens a small tab over the design for you to view the prototype.
To present the prototype, click on the play button at the top of the right-hand panel. If you want to preview it, click on the arrow next to the icon and select Preview.
You can click on your elements and view the flows and interactions you have created.
