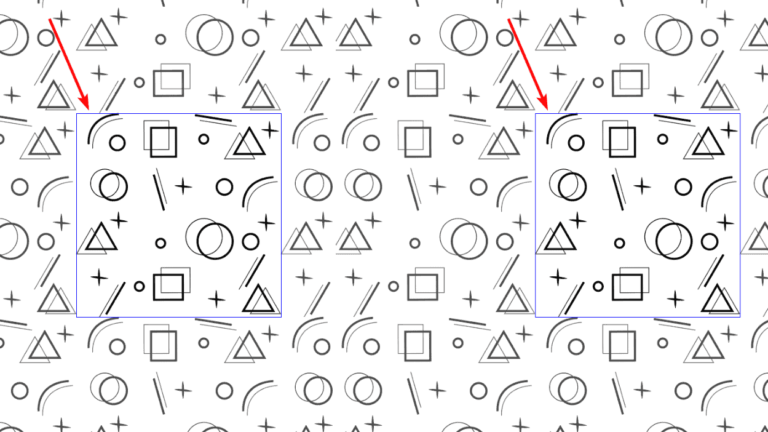
You can use a pattern as a background for your artwork, fill it into the text for a different style, or use it in various shapes. Whatever your reason for needing a pattern, here is how to create patterns in Adobe Illustrator.
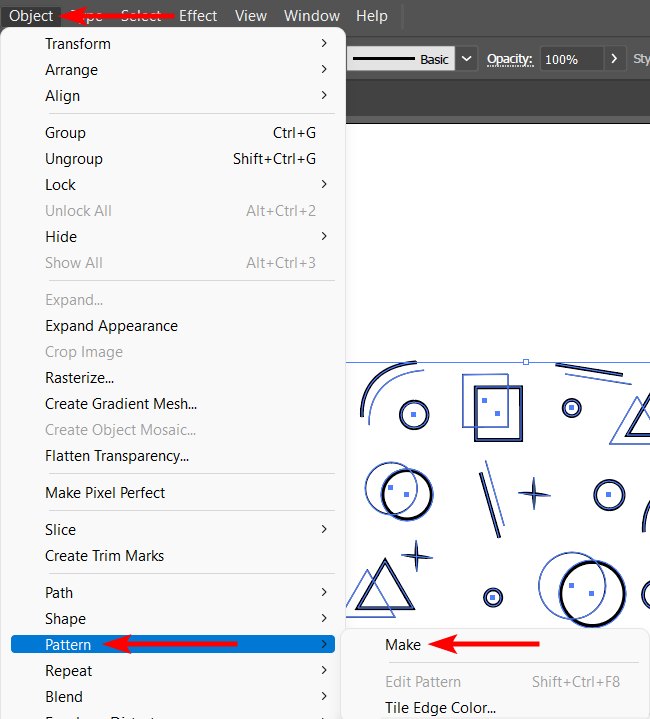
To create a pattern, make the various shapes you want in the pattern, then go to Object > Pattern > Make. After completing the pattern, you can adjust a few settings to set the design up as you need.
Making a pattern is much easier than duplicating your shapes and trying to line them up correctly. Using the pattern feature in Illustrator, you can create a never-ending pattern in only a few steps.
Table of Contents
Overview of Steps to Create a Pattern
- Create the shapes for the pattern
- Select all the objects you’ve created
- Go to Object > Pattern > Make
- Adjust the settings and save the pattern
Create Patterns in Adobe Illustrator
Creating patterns in Illustrator is simple. First, you must make the shapes or objects you want in the design. You can create your own objects, use vector icons from free online websites, or use parts of an image. However, vector graphics work best when designing patterns.
For this example, I have created a few shapes to make a pattern with.
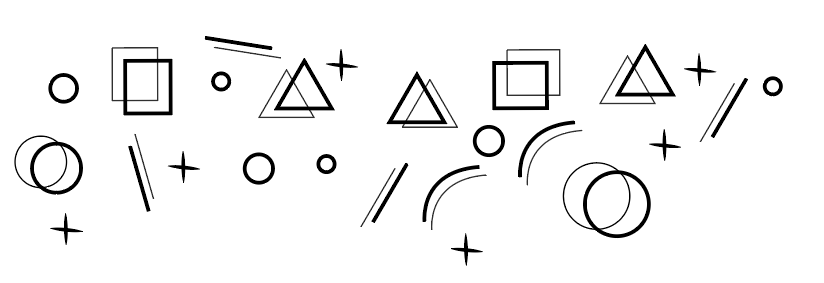
You can rearrange the shapes however you’d like to create a rectangular, repeating pattern or square pattern. I arranged my shapes into a square shape. You can create a temporary block around the shapes to determine how the edges will look on the pattern.
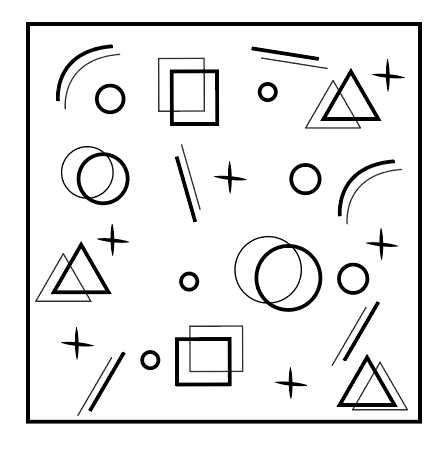
Delete the square you created around the shapes, then select all the shapes. You can do this by choosing the Selection Tool in the toolbar or pressing V. Then click and drag around the shapes.

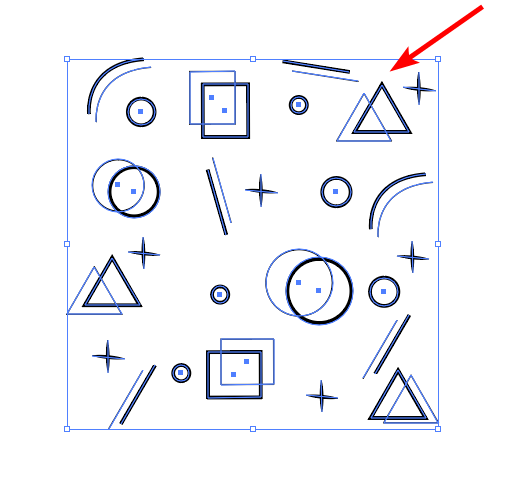
Once you have selected your shapes, go to Object > Pattern > Make.
A dialogue box immediately opens to let you know that the pattern has been added to the swatches panel. You can still edit the settings of the pattern.

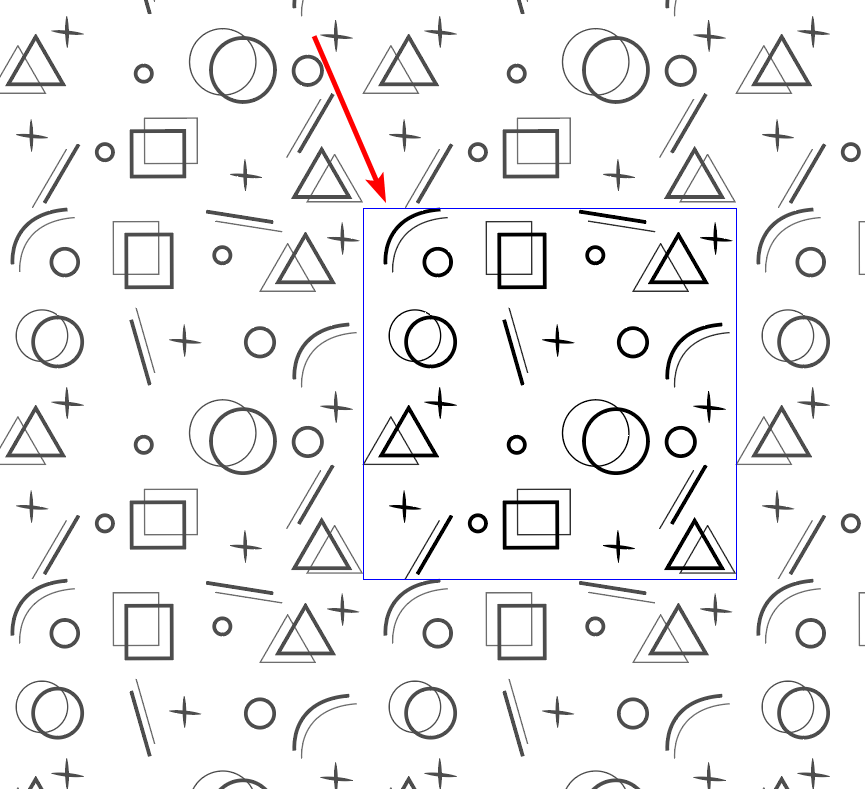
Click OK on the message. You will see the pattern repeated on the canvas with the tile type box surrounding your original shapes or objects.
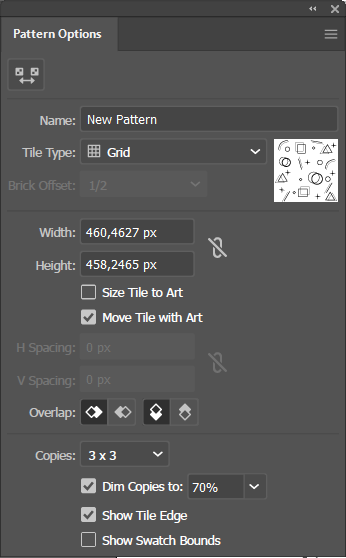
Next, you can edit the pattern settings in the panel that has also opened.
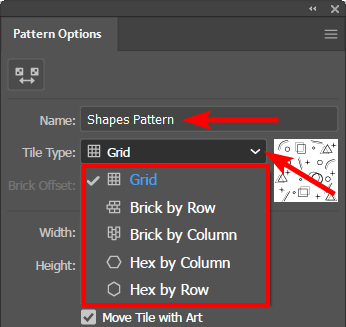
Firstly, you can name your new pattern and select the Tile Type from the options in the drop-down menu. The Grid option is best if you want your shapes in a repeating square pattern.
You can then adjust the size settings, whether you want the tile type of the pattern to be a specific size. You can check the box next to Size Tile to Art if you want the tile type box to sit on the edges of the shapes.
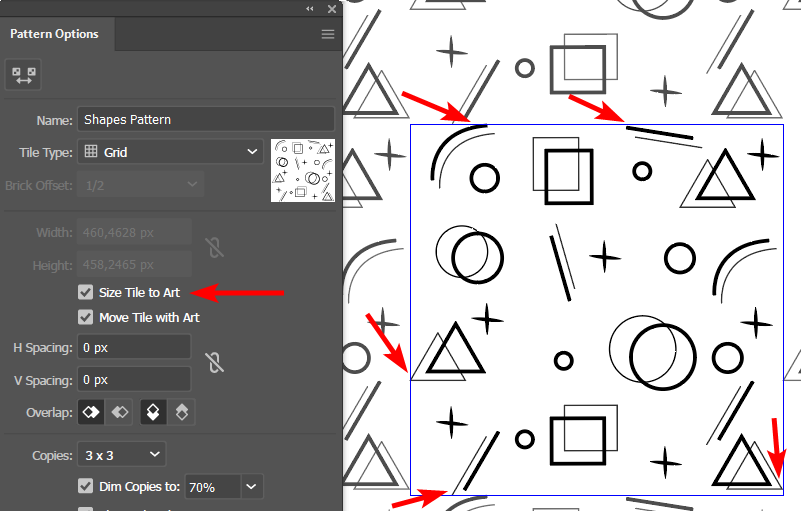
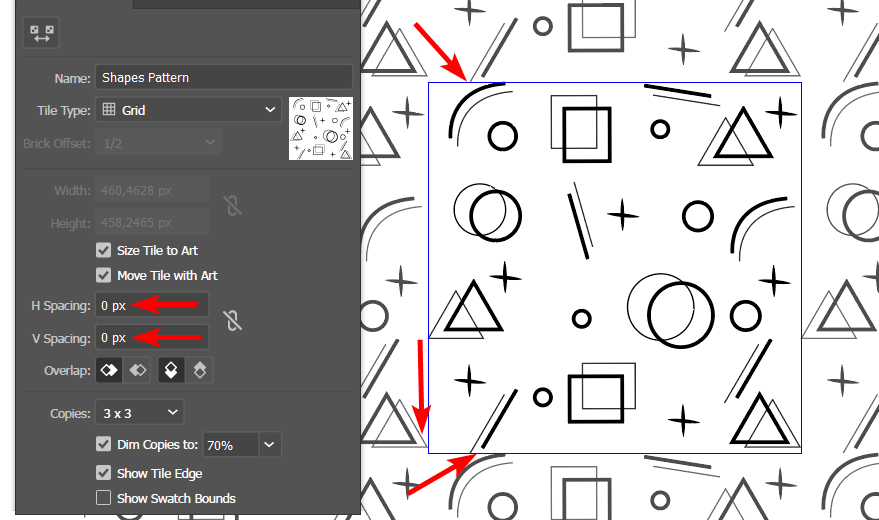
You can also choose how the pattern is spaced. Set the H (horizontal) spacing and the V (vertical) spacing as needed. If you add 0 pixels for both options, the repeating patterns will touch the tile type box.
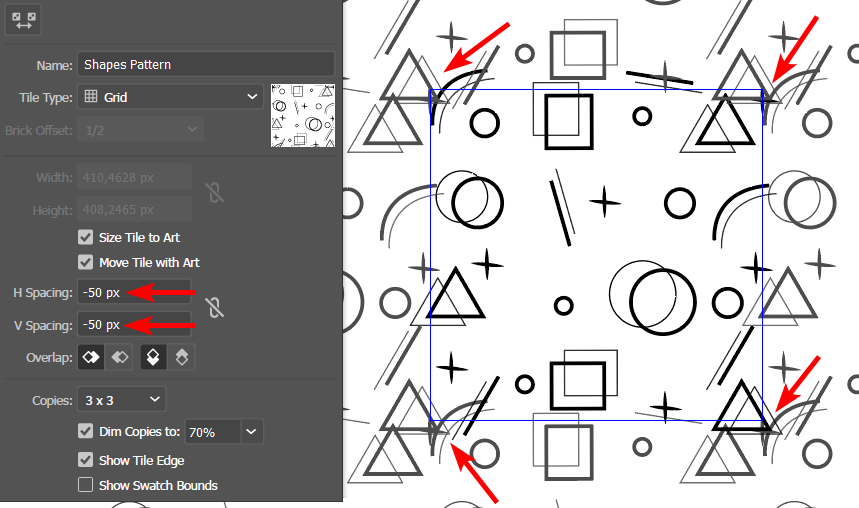
If you set a negative value, the shapes overlap when the pattern is repeated.
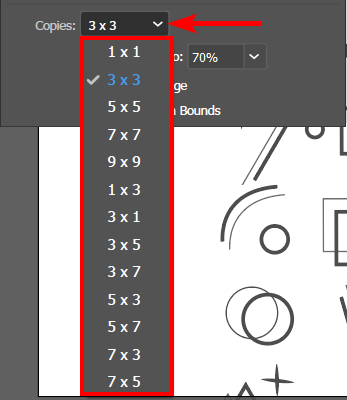
Lastly, you can choose how many times the pattern is repeated using the Copies option. By default, the pattern is repeated in a 3x3 grid. Select the drop-down menu to change the number of copies.
Once you have adjusted the settings and are happy with the pattern, click on Done at the top of the document window.

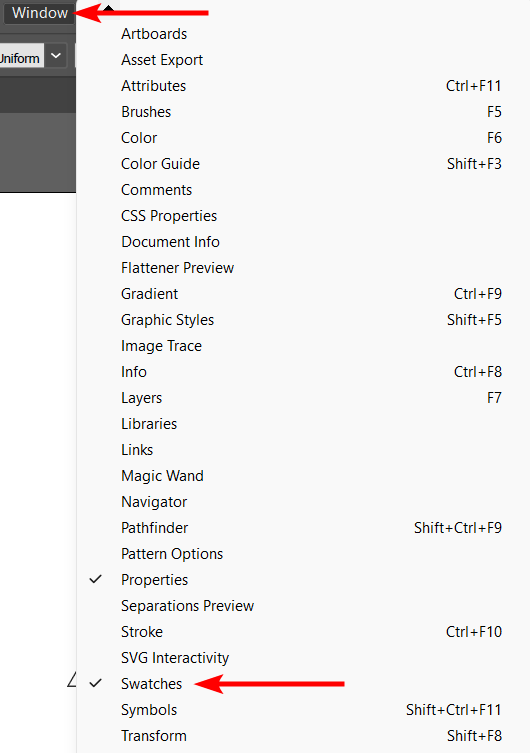
Once you click done, the pattern disappears from the document window, and you are left with your original shapes. However you can find your new pattern in the Swatches panel, but if you can’t see the panel go to Window > Swatches.
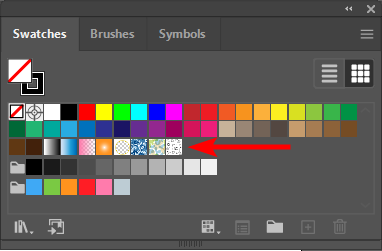
You’ll find your pattern at the end of the swatches.
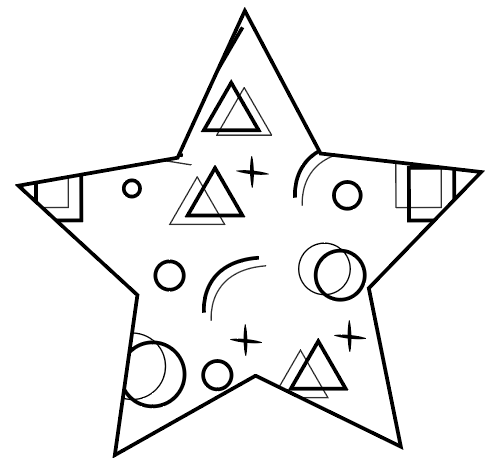
Now, you can add shapes or other elements and fill them with the pattern you created.
Frequently Asked Questions
How can I Edit a Pattern?
You can easily edit a pattern even after you have created and saved it. To edit a pattern, double-click on it in the swatches panel to re-open the pattern setting options.
How to edit a shape within a pattern in Illustrator?
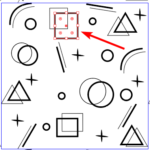
If you need to edit an individual shape in a pattern or if you’d like to add more shapes, you can do that while the pattern settings are open. Select any shape within the tile type box and edit it as needed. You can also add more shapes to the tile type box, and the changes are added to the repeating patterns.

