Figma offers a few different ways to crop your pictures, including cutting the photo into a specific shape.
You can use the standard shapes, such as a square or circle, or you can get creative and make your own custom shape to place the image in.
We'll show you three methods for cropping in Figma. However, if you need to crop an image online, check out our free online image cropper. It requires no registration and can handle various shapes.
Table of Contents
3 Ways to Crop Your Image in Figma
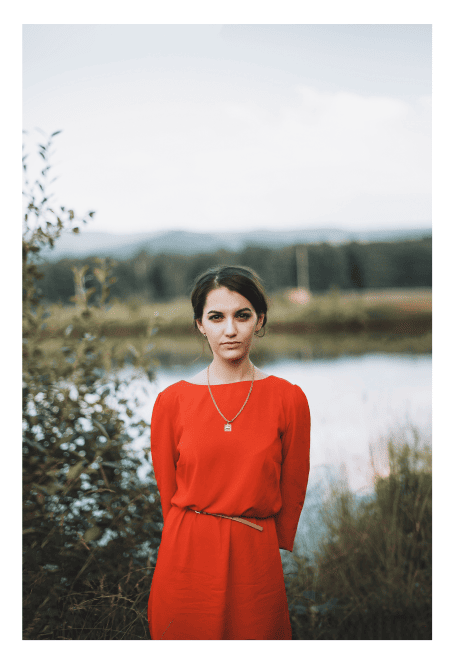
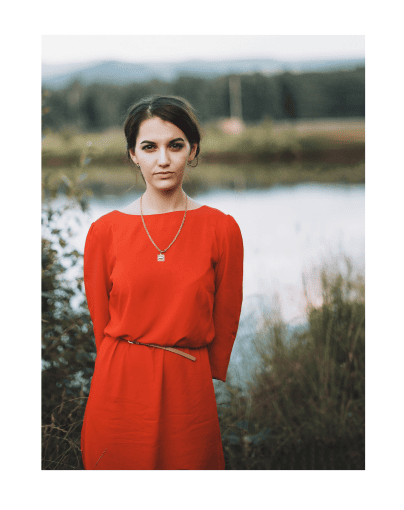
When you simply want to crop the image by pulling in the sides of the picture, whether it’s to remove distracting objects or change the aspect ratio, there are three ways to do this. I will demonstrate the three ways using this Woman Standing in Front of Water image from Unsplash that I have uploaded to Figma.
Option 1: Using the Crop Tool
Like many other photo editing or design programs, Figma has a Crop Tool which enables you to crop the image by activating it.
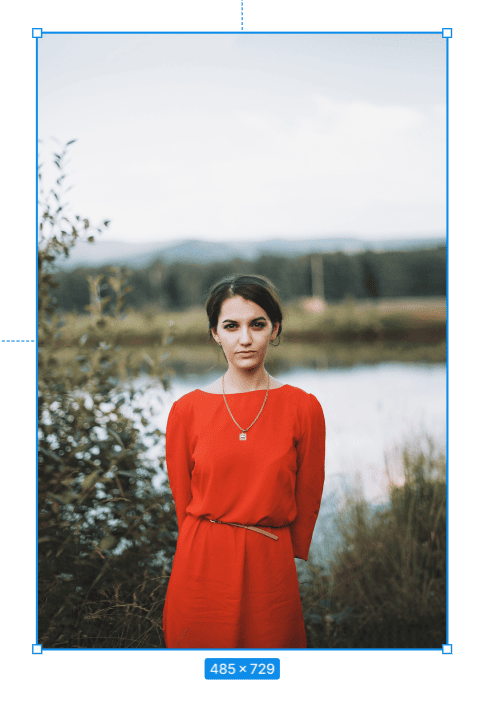
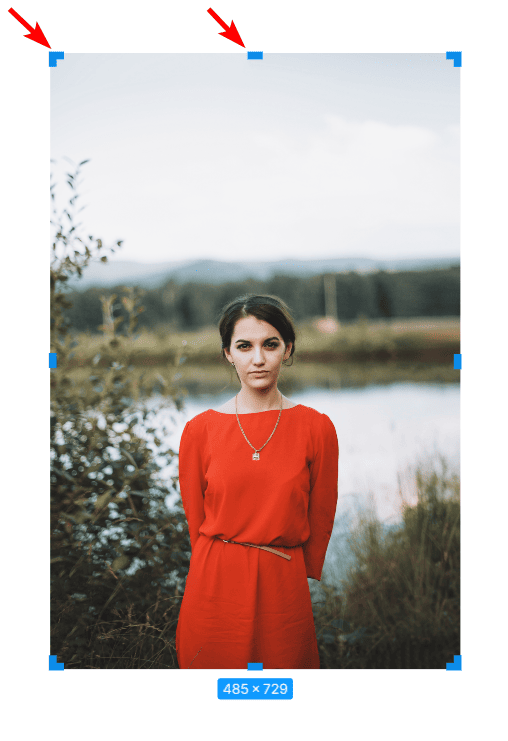
To use this method, first, select the image by clicking on it. You will know the photo is selected when there is a blue box around the picture, with white anchor points on each corner.
Once the image is selected, you can activate the Crop Tool by clicking on the icon in the middle of the toolbar at the top.
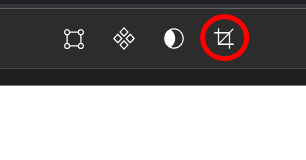
When you activate the Crop Tool, the anchors around the image will change to blue blocks, which indicates that you can crop the image.
You can crop the image by pulling any of the crop handles inwards, and the photo will crop on that side. The parts of the image that will be cut will become semi-transparent to help you determine the right crop for the picture.
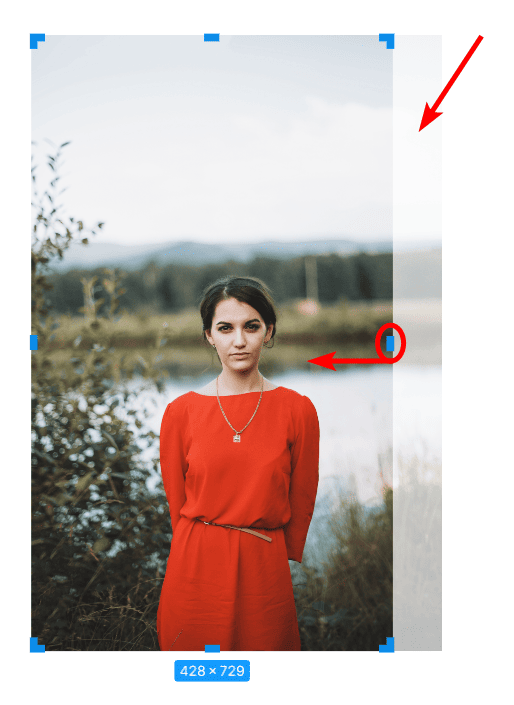
You can repeat this process on any side to cut out the pieces of the image you’d like to.
If you want to keep the original aspect ratio when cropping the image, hold in Shift on Windows and Mac as you drag the handle, and the aspect ratio will remain unchanged. The sides of the image will crop as needed to prevent any changes.
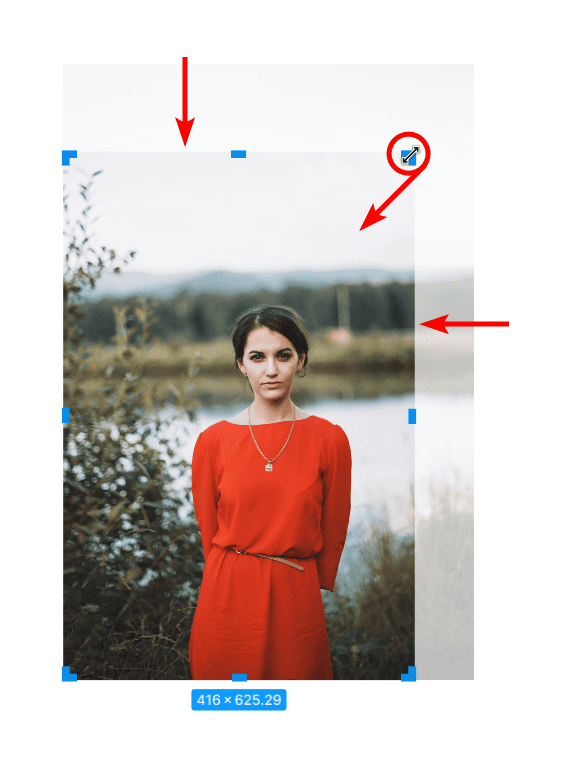
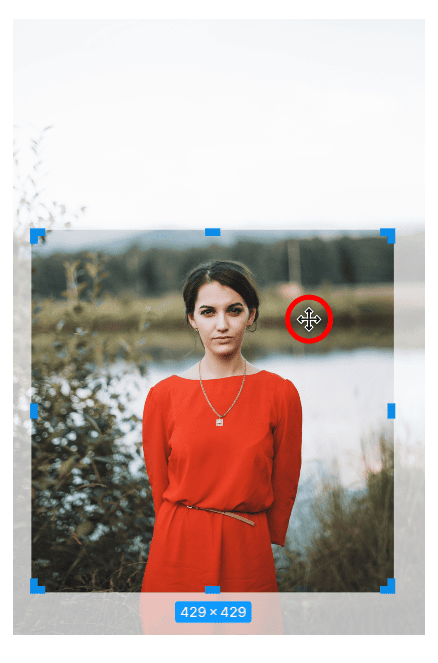
If you want to crop the photo to a specific size, use the size box at the bottom of the picture to see the size. You can also use this box to crop to a particular aspect ratio.
For instance, I want my image to end up as a square. To do this, I will crop the image until the size at the bottom reflects a square.
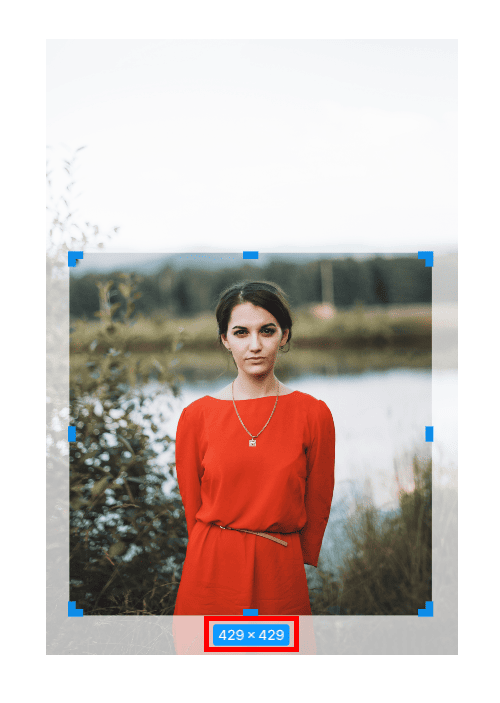
You can also move the image around inside the crop box if you want to reposition the crop. To do this, click inside the image when the four-point arrow appears and drag the image.
Once you are happy with the crop, you can click anywhere outside the image or crop frame, and the crop will be confirmed.

Option 2: Using the Keyboard Shortcut
The second method of cropping an image is to use the keyboard shortcut, which allows you to quickly crop an image without changing tools or breaking your workflow.
To use the keyboard shortcut, select the image.
Next, hold in Control on Windows or Command on Mac. Then, click one of the side handles and drag it inward to crop the photo.
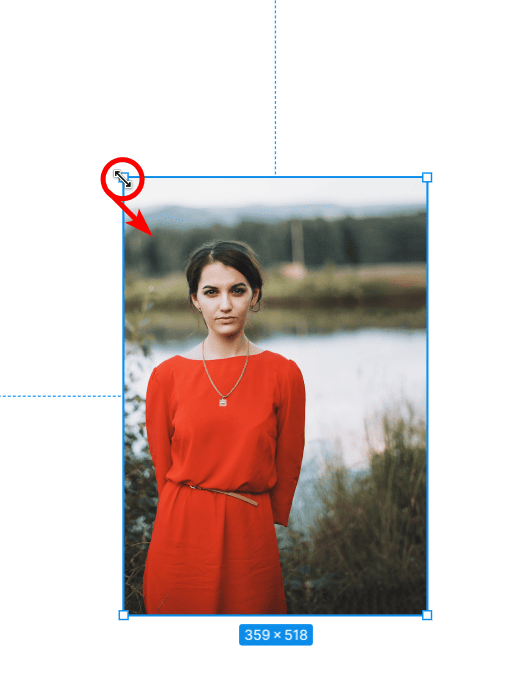
When using this method, you won’t see the semi-transparent pixels outside of the image. However, you can use the box at the bottom to set it to a particular size and hold in Shift to keep the original aspect ratio as detailed in the previous method.
Click anywhere off the image to confirm the crop.
Option 3: Using the Image Editor and Fill Mode
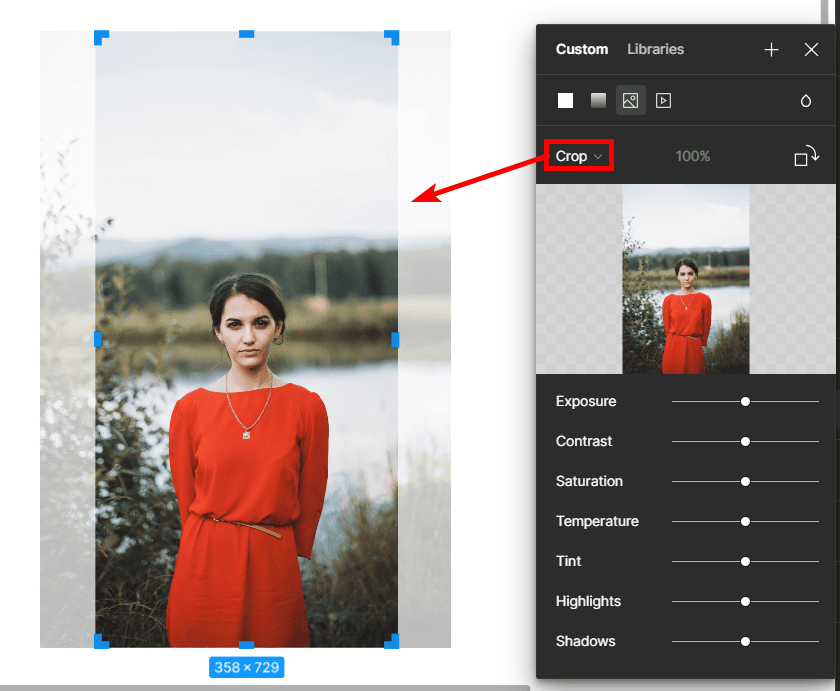
The last method to crop an image is by using the Image Editor. The Editor allows you to make simple edits to an image, such as exposure, contrast, and of course, cropping the image.
Double-click on the image you want to crop to open the Image Editor. You will see the editor open on the side of the workspace with several controls you can use to edit the photo.
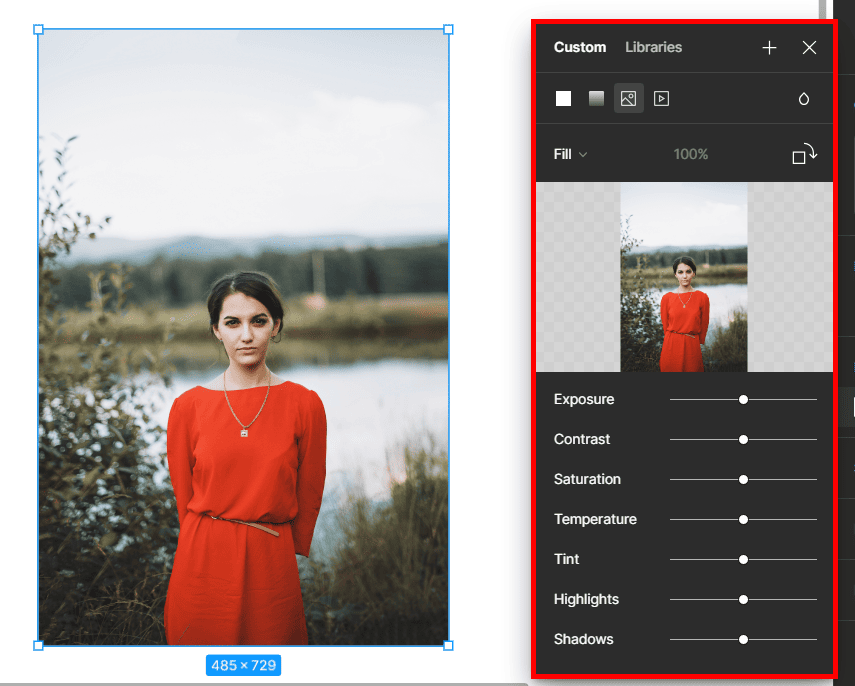
Near the top of the editor, you can change the Fill Mode, which is usually set to Fill by default but will be set to the last used setting. Click the Fill drop-down and select Crop.
You can now crop the image as you would when using the first method.
How to Crop an Image Into a Shape in Figma
If you want a more creative crop beyond the usual rectangle or square photos, you can crop the image into any shape using a non-destructive masking method. Here I will show you how to crop the image into a circle, but you can use any shape you create using a shape tool or the Pen tool.
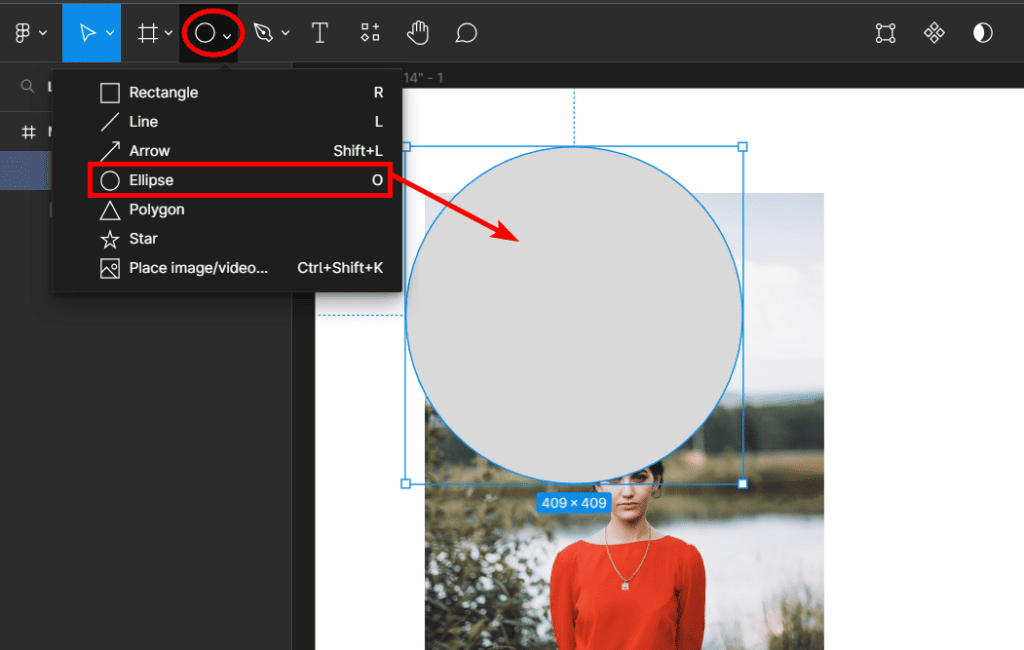
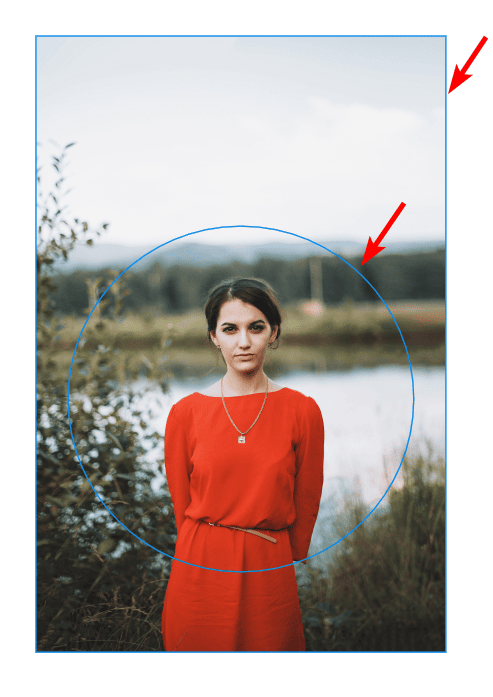
To mask an image into a shape, add your image to the page. Then add a shape to the page using one of the shape tools. If you use the Rectangle or Ellipse tool, hold Shift on Windows and Mac to create a square or circle shape.
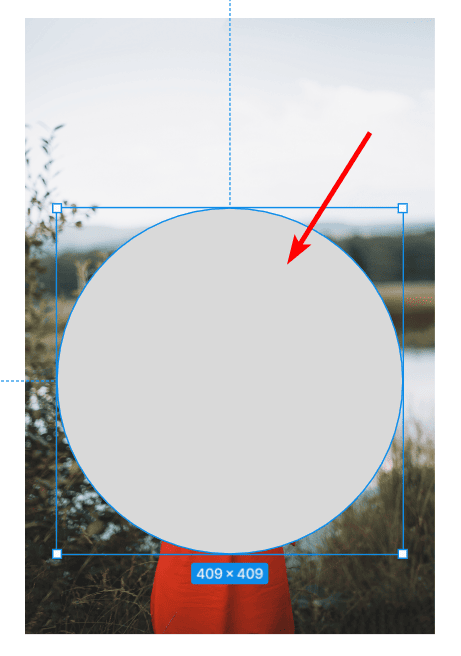
Next, position the shape over the image where you want the photo to remain visible. The areas the shape covers will remain, and the rest will be cropped.
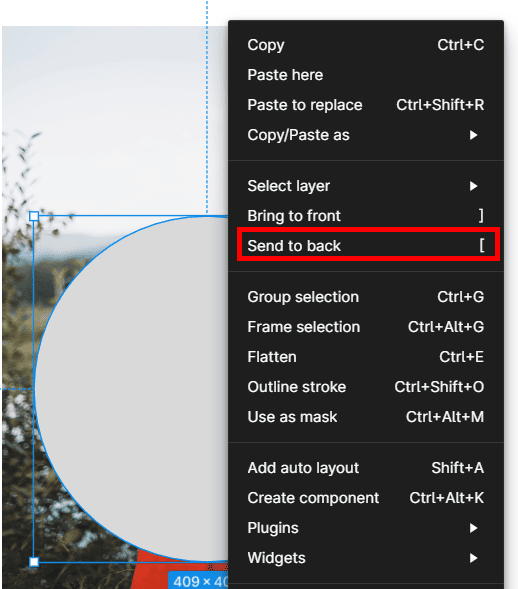
The shape must be behind the image for the masking to work. Once the shape is in position, select it, right-click, and select Send to Back. You can also use the shortcut [ on Windows and Mac.
You won’t be able to see the shape anymore. Select both the shape and the image by clicking and dragging over the two elements.
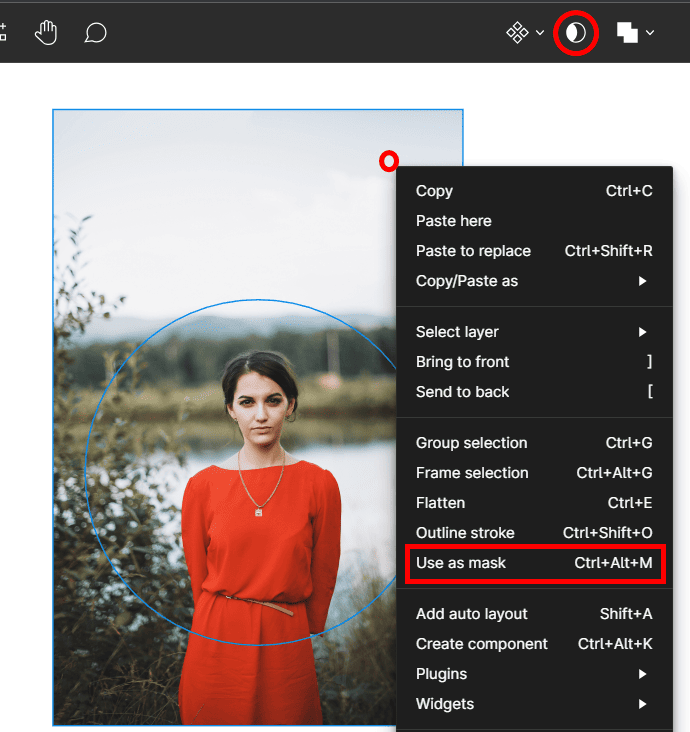
Now you can mask the two objects in one of 3 ways. You can right-click and select Use as Mask, click on the Use as Mask icon at the top of the workspace, or use the shortcut Control + Alt + M on Windows or Command + Option + M on Mac.
Your image will now be cropped into the shape you used.

To move the image around inside the shape, double-click on the image and use the four-pointed arrow icon to move the photo around.
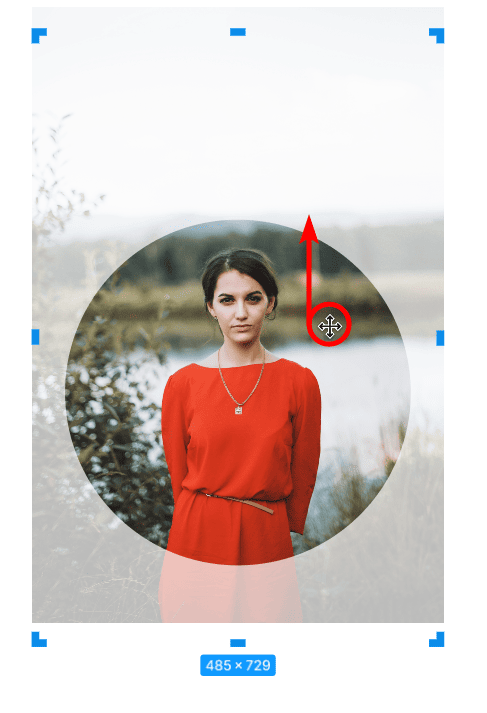
You can click anywhere outside the shape to accept the new crop and position of the image.