
In this step-by-step guide, we will review how to crop images in Illustrator.
It should be noted that the instructions here apply to Adobe Illustrator 2017 and newer. If you are searching for a quick way to crop an image outside of Illustrator, consider using our online image cropper.
To crop in Illustrator, the steps are as follows:
- Open your document and load the image
- Click on the crop image tool
- Drag edges to crop the image
- Apply changes.
Total Time: 14 minutes
Table of Contents
Open New Document and Load Image
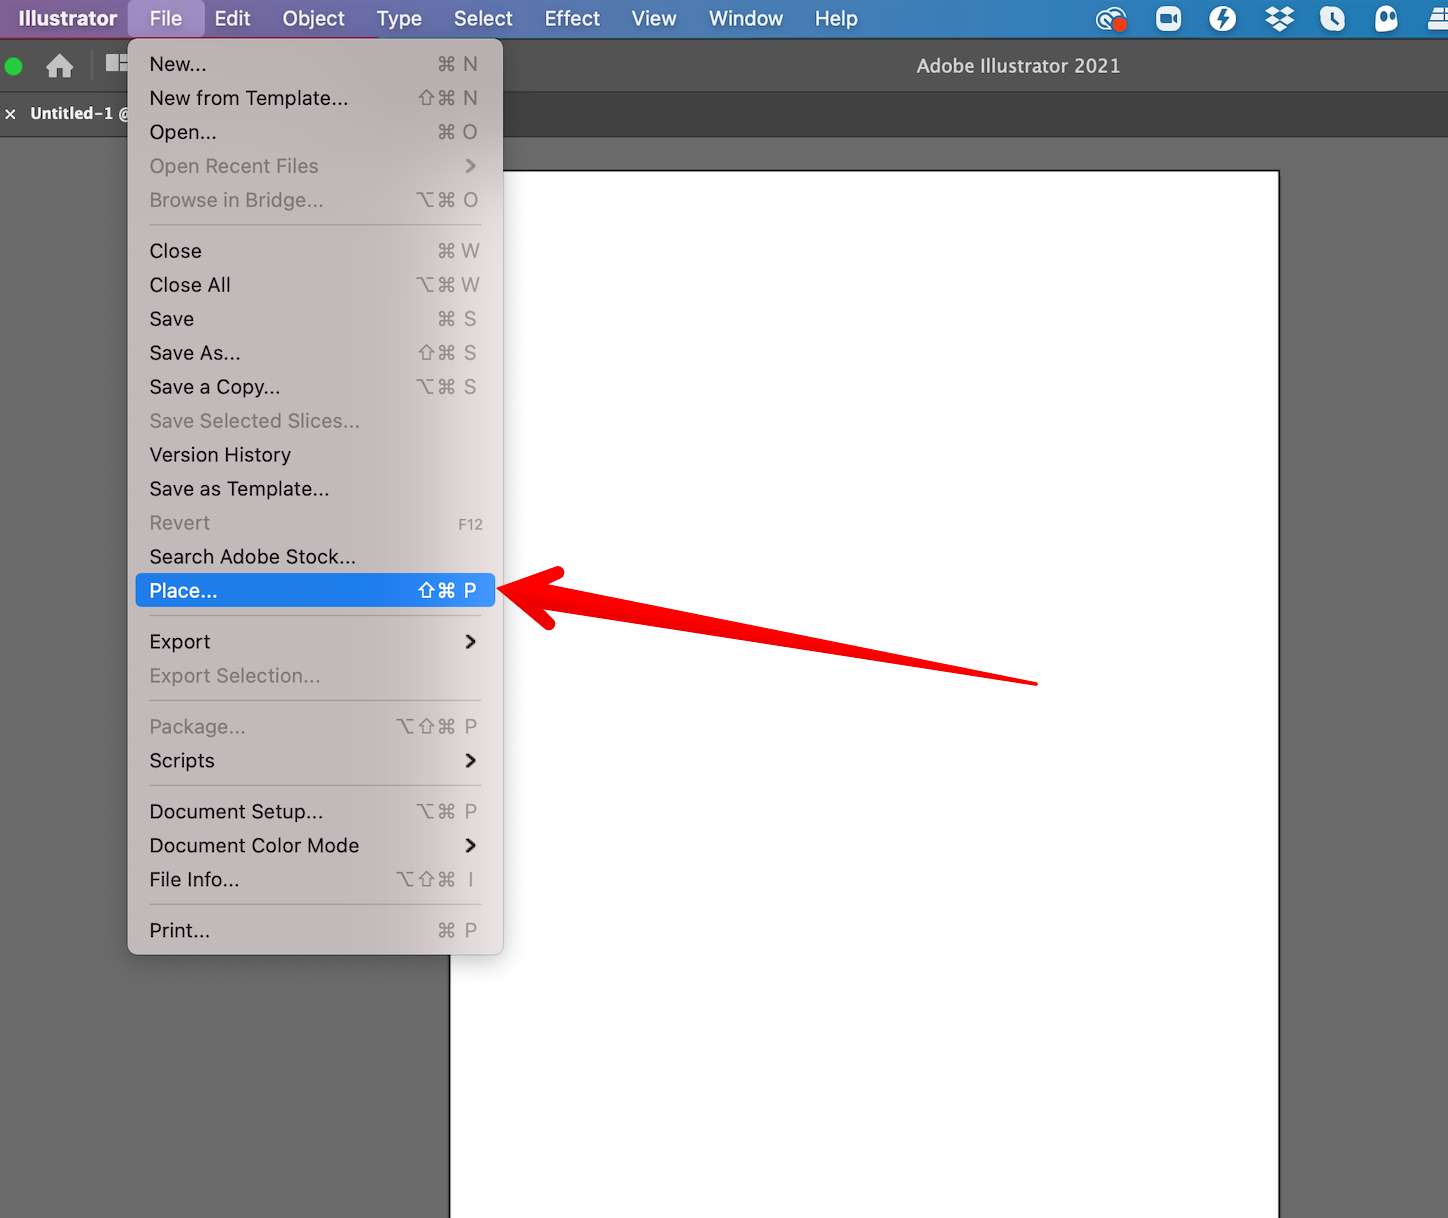
The first thing you want to do is to load your image onto a new document. To do that, simply click on File. You can find this at the very top of the upper left-hand side of your program window.
When you click on File, you will be presented with a drop-down menu bar that contains a host of options you can use.
To get your image (if it's part of your hard drive), scroll down the drop-down menu bar until you come to an option labeled Place.
When you click on Place, you will be presented with an option where you can find the image. Simply search for the image you want to manipulate on your hard drive.
When you find it, click on it to highlight the option, then click Place. Once you click Place, the options will disappear, but the image will remain on your clipboard.
The next step is to go to the open page on your Adobe Illustrator program and while holding down the left mouse button, drag the image across the page and then simply let go. That will place the image on the page in your crop area.
Click on the Crop Image Tool
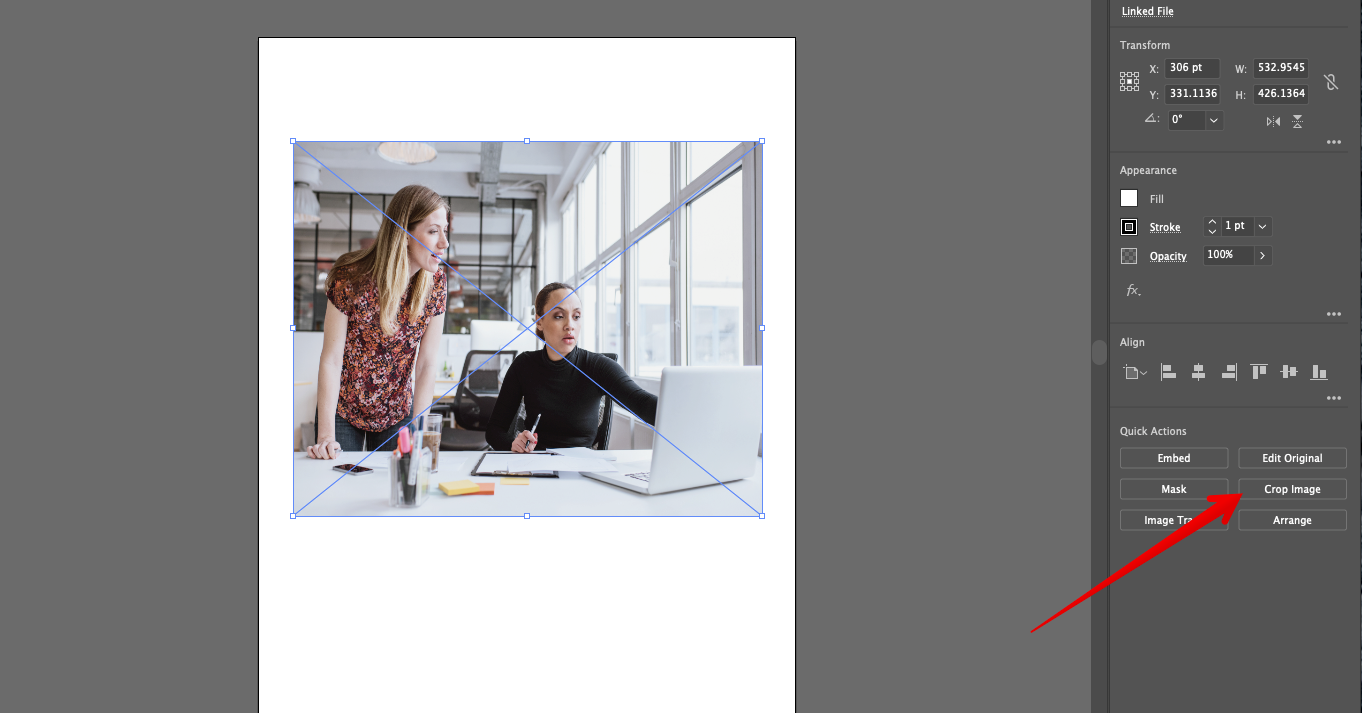
When using Adobe Illustrator, any time you click on the selected image with the crop image tool, you will see a grid appear over the image, and with it, you will see an additional toolbar on top of the grid. This additional toolbar disappears with the grid any time you click outside the image.
On this additional toolbar, you will see a host of options such as Embed, Edit Original, Image Trace, Mask, and so on. One of the options there is Crop Image. This is the tool you are going to use to crop the selected image.
When you click on the Crop Image button, a warning window will appear in the middle of your page. Click Okay on that warning window, and with that, you will be ready to crop the image.
Drag the Crop Edges to Crop Image
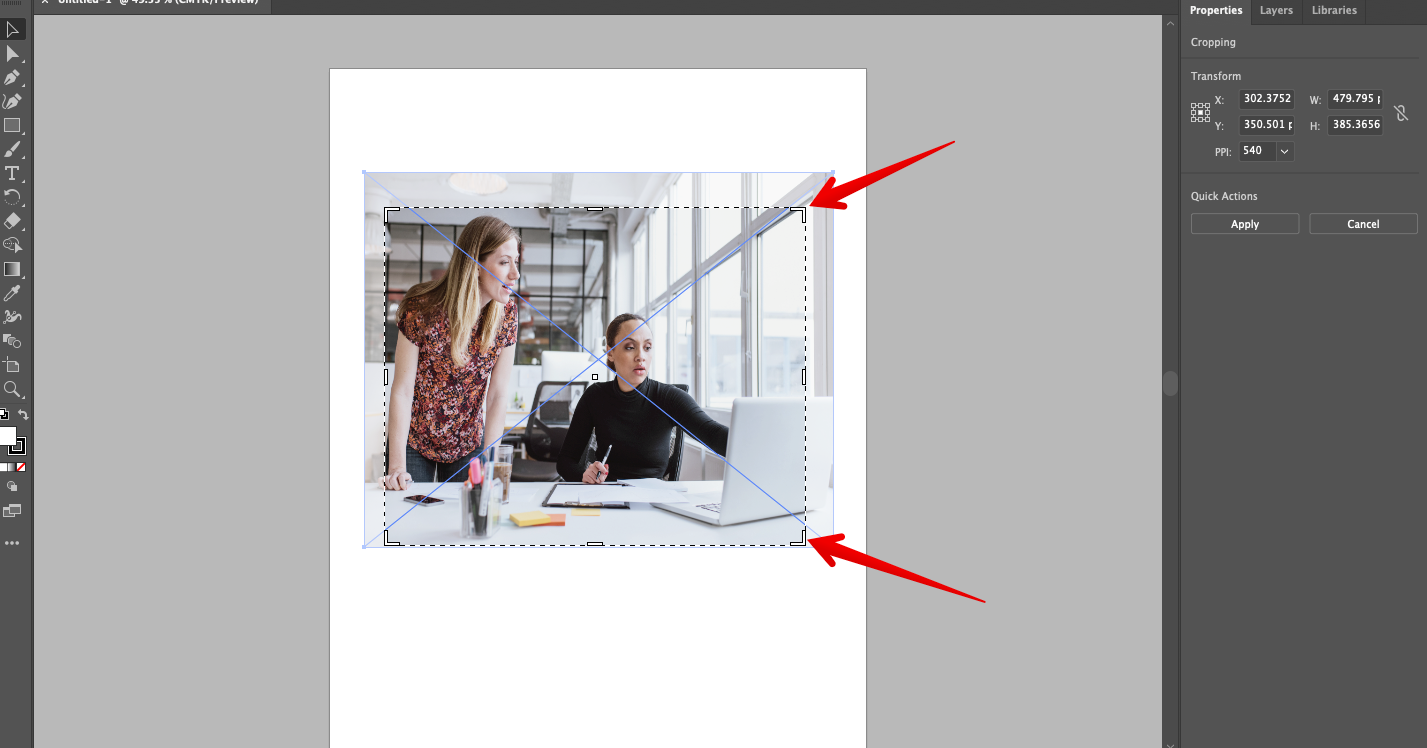
As is the case with almost every other image manipulation tool available, when you select the cropping tool, all you have to do is drag the edges to crop the image as desired. Simply click on one edge and drag it across the image to crop it as you see fit.
Click Apply
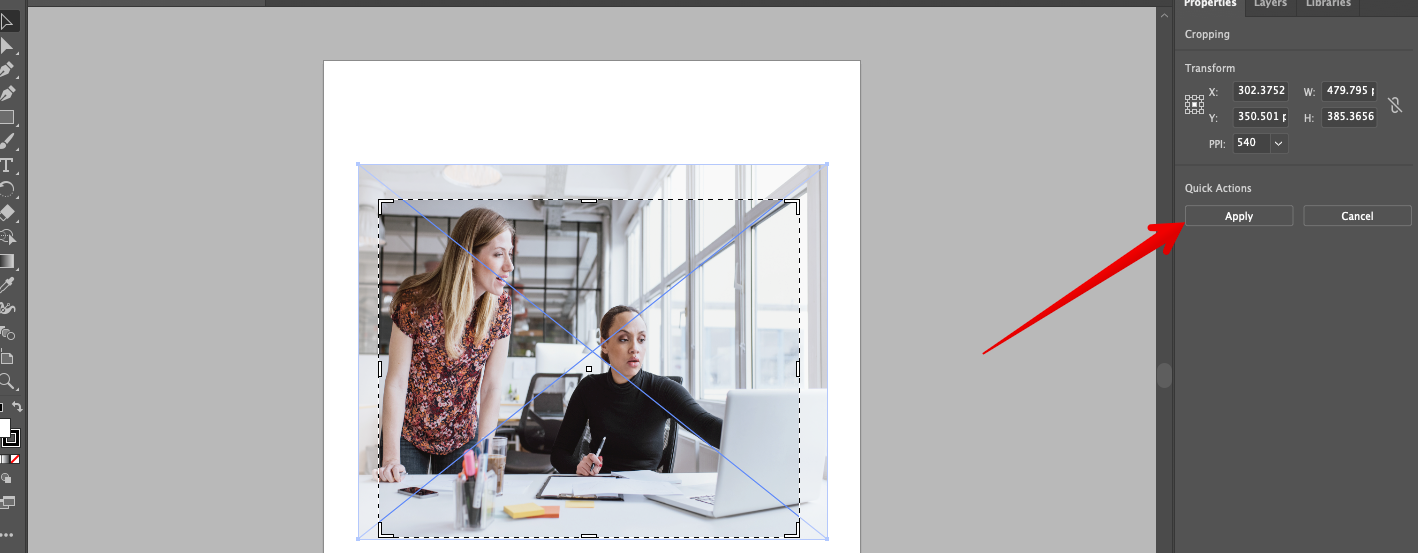
When dragging the edges of the cropping tool, you may notice that the top toolbar has changed yet again, and this time, there are a host of different options, with the final two being Apply and Cancel.
Once you are done dragging the edges of the cropping tool across the image and are satisfied with the results, simply click on Apply for the cropping to take place. At this point, you should be left with only the cropped image.
And that's how you crop an image in Illustrator.
However, as you would expect, it's not the only way to crop out an image in Illustrator. Like most excellent tools, Adobe Illustrator offers you a raft of options through which you can do the same thing. This is all to improve usability. That being said, here is another simple alternative you can use to crop images in Illustrator.
Alternate Method: Go to Properties Window
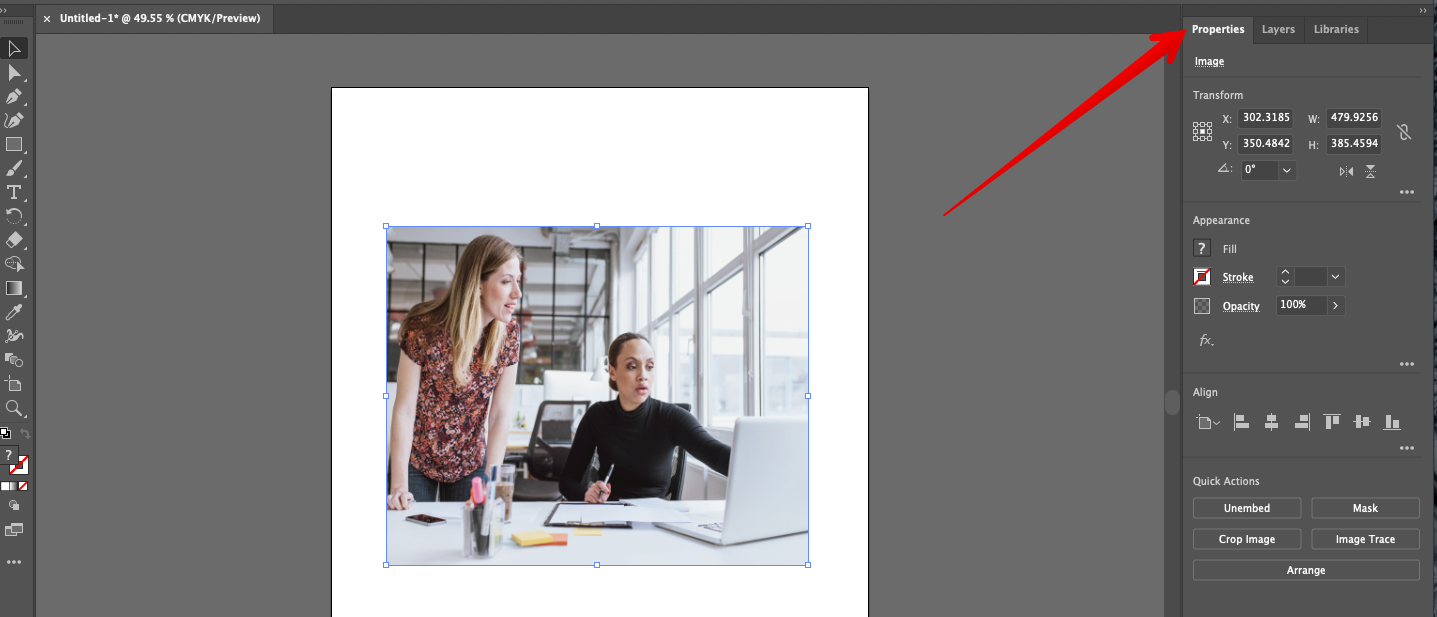
You could also simply click on Window, which can be found in the toolbar at the top of your program window. A drop-down menu will appear, and among the choices you have on this drop-down menu bar is CSS Properties.
Simply click on that to get the same options as above.
At this point, there still is no Crop Image button available.
To activate that button, simply click on the original image you want to work on, and it will appear to the right of your program window.
Once you do that, the Crop Image button will appear in two places: at the top of the window in the toolbar where it was before, as well as on the right side of the program window, near the bottom of the other artboard tool options.
Simply click on it and follow the same process as above to crop the original image.
When you are done, all you have to do is save the image file by going to File and choosing Save As.
That's it! You now know how to crop in Illustrator using this easy-to-follow tutorial.
👍 Support Us: Subscribe to our channel and help us continue providing these tutorials.
🌟 Regular Updates: We publish how-to videos for Adobe Illustrator regularly!
🔧 Expert Guidance: Learn Illustrator from our professionals and uncover exclusive tips!
