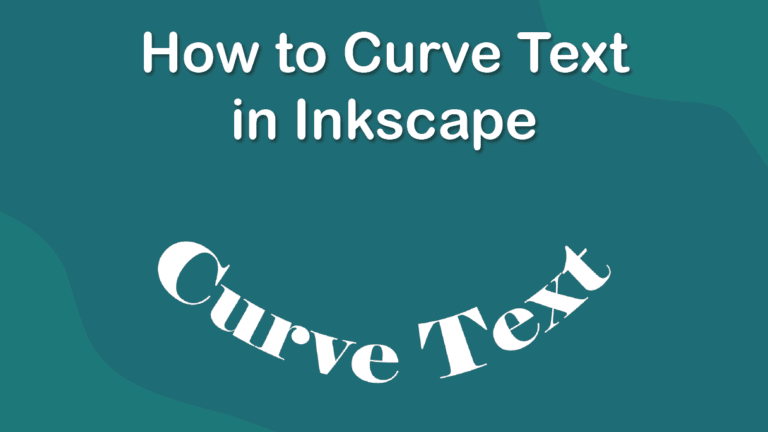
Curving text is a great way to add a unique touch to your project and to help your text fit onto designs with circle or oval elements. You can easily curve text in Inkscape in a few simple steps.
While many tutorials detail how to curve text using a circle or oval path, this method gives you more control over how the text is bent. However, this method won’t allow you to edit your text font or words after converting it to a path.
Step-by-Step to Curve Text in Inkscape
- Add Text to Your Canvas Using the Create Text Tool (T)
- Edit the Text Font and Size as Needed
- Convert the Text to a Path
- Open the Path Effects Panel
- Select the Add Path Effect Button
- Select the Bend Option
- Select the Edit-on-Canvas Option From the Panel
- Click and Drag to Bend the Text
- Check the Canvas
Follow these steps to bend your text using the path effects method. This process gives you more control over the bend of your text.
Remember that you won’t be able to edit the text after converting it to a path, so ensure you are happy with the font and the words of the text. I recommend you copy the text and keep a separate version in case you want to edit the text later. Then, you can follow these steps again to curve the edited text.

Add Text to Your Canvas Using the Create Text Tool (T)
First, you must add text to your canvas. Select the Create and edit text objects tool from the toolbar or press T. Then click and drag to add a text box to the canvas and type in your desired text.

Edit the Text Font and Size as Needed
Next, edit the text as needed and ensure you are happy with the result. You can change the font using the top settings bar or the color using the Fill and Stroke Panel. Ensure that all the words are spelled correctly and there are no typos. Make a copy of the text if needed.

Convert the Text to a Path
Now, you can select the text and convert it to a path by going to Path > Object to Path or using the shortcut Shift + Control + C on Windows or Shift + Command + C on Mac.

Open the Path Effects Panel
Once the text is a path, open the Path Effects panel by going to Path > Path Effects or using the shortcut Control + & on Windows or Command + & on Mac.

Select the Add Path Effect Button
At the bottom of the panel, click on the Add path effect button (a plus sign icon) to open the Path Effects option.

Select the Bend Option
When the Path Effect window opens, you will see several options to add to your path. Click on the Bend option to add it to the path.

Select the Edit-on-Canvas Option From the Panel
At the bottom of the Path Effects panel, you will see different options to edit the effect. Click on the Edit-on-canvas icon, which is the icon on the left.

Click and Drag to Bend the Text
On the canvas, you will see a green line going through the text. Click and drag the line up to curve the text upwards or drag it down to turn the text downwards.

Check the Canvas
You will see your newly curved text once you click off your text on a blank spot on your canvas. You can edit it using the Path Effects panel at any stage.

