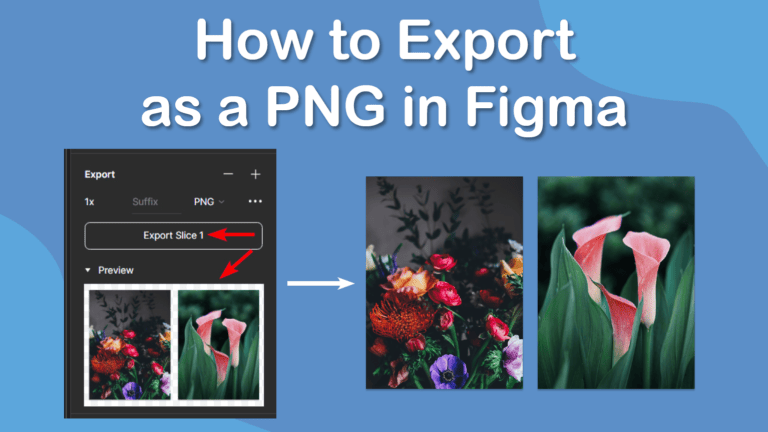
When you have completed a design or element in Figma, you can export it to share with clients or test it on a website or app. One of the most common files to export is a PNG, which is high-quality and compressed to save space and reduce website load times.
Exporting as a PNG in Figma is simple, and there are a few ways to export depending on how much of the project you want to export. However, if you are trying to export with a transparent background, that can get tricky.
Here is how to export a PNG as well as exporting with a transparent background if you are exporting a full page and don’t want any background showing.
Table of Contents
How to Export as a PNG in Figma Overview
- Select the element you want to export
- Add a new Export setting under the Export Section
- Uncheck Show in Exports under Fill (Optional)
- Select PNG from the dropdown menu
- Set the PNG quality
- Open the Preview dropdown to check the export
- Click the Export button
- Find a location on your device, name the export, and click Save
- Check the export on your device
Step-by-Step to Export as a PNG in Figma
When you are ready to export your file as a PNG, follow these steps. You can export any element using the method, including an entire frame, one element, or a selection of elements.
The default PNG export in Figma is a 32-bit PNG with an RGBA color mode. This mode allows you to control the opacity. You can increase the quality during export but generally, the default mode results in high-quality PNG exports.
I will demonstrate this process using images sourced from Unsplash.
Select the Element You Want to Export
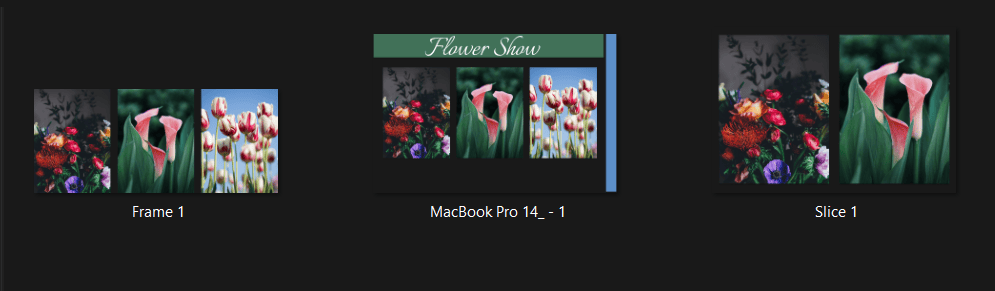
When you are ready to export your project, select the elements you want to export. You can simply click on a frame inside the canvas if you only want to select that element. You can also select multiple elements inside the frame.
Note: When selecting multiple elements for export, they will be exported on separate PNGs. If you want them to be exported onto one PNG, you need to group the elements before exporting by selecting them all and pressing Control + G on Windows or Command + G on Mac.
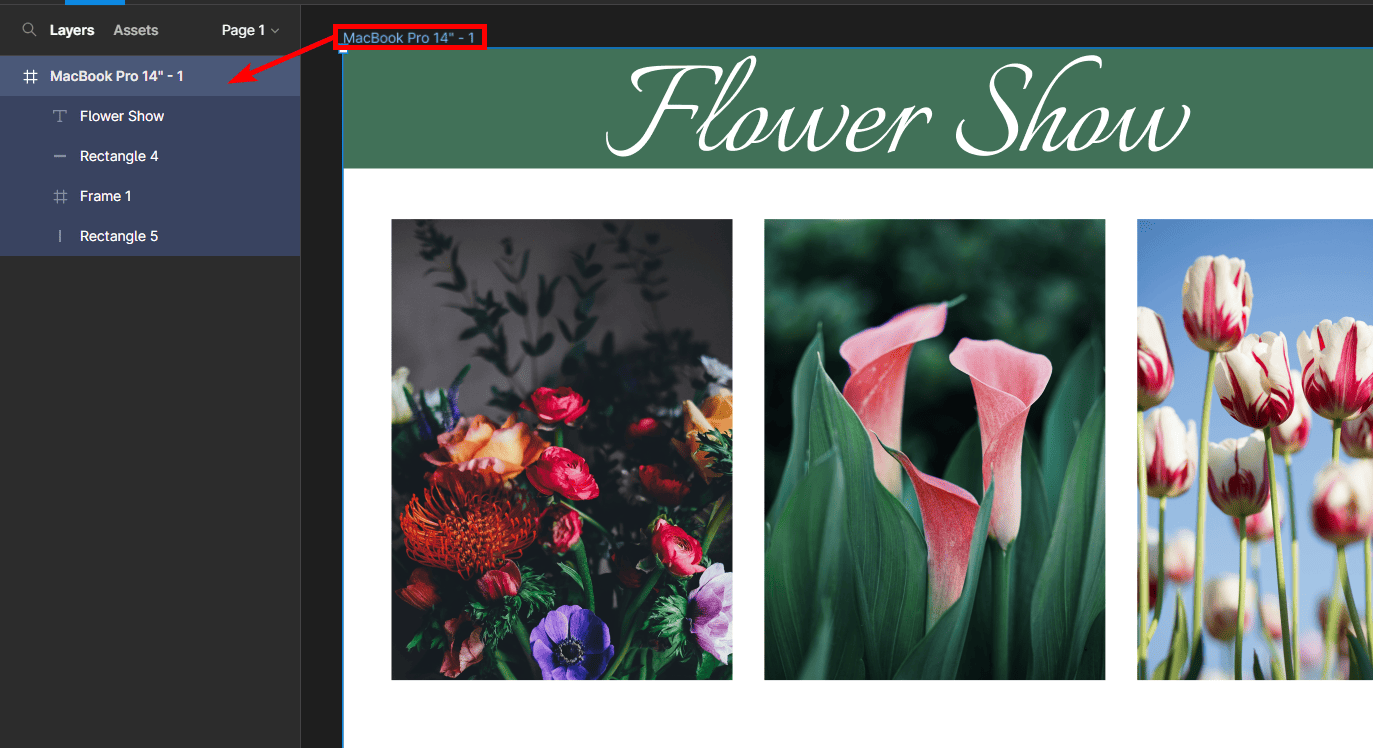
You can also export the entire frame without grouping the elements, which can be done by selecting the frame. To choose the frame, click on the frame’s name at the top left. You will see all the selected layers highlighted in the Layers Panel.
Add a New Export Setting Under the Export Section
Once your elements are selected, you can add a new export setting to determine how the elements must be exported. To do this, click the plus icon next to the Export section in the Design Tab. More options will appear under the section.
Uncheck Show in Exports under Fill (Optional)
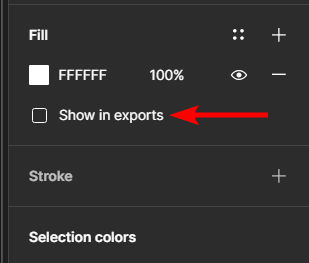
By default, the frame has a white background that lets you see the elements you add and the bounding edges. However, you may want a transparent background when you export your project, so you need to remove this fill color.
Luckily, you don’t have to remove the fill color. Instead, you can tell Figma not to include it in the export. To do this, find the Fill section in the Design Tab and uncheck the box next to Show in Exports. This box only appears once you’ve added the new Export settings in the step above.
Select PNG From the Dropdown Menu
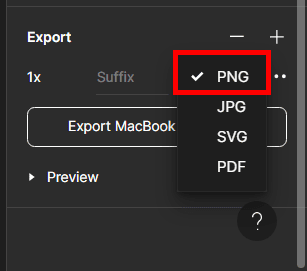
You can now move back to the Export section if you followed the step above. Select PNG from the dropdown menu of file formats. It may be set to PNG by default, or you may need to select it from the list.
Set the PNG Quality
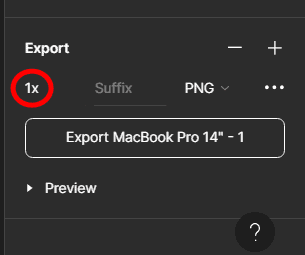
If you want to adjust the PNG quality, select the 1x on the left of the export section and select a different quality level.
Open the Preview Dropdown to Check the Export
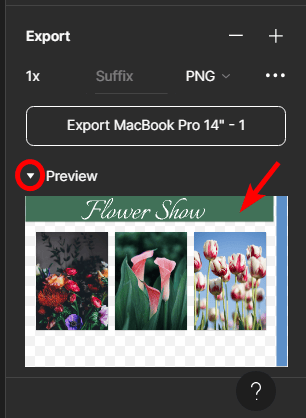
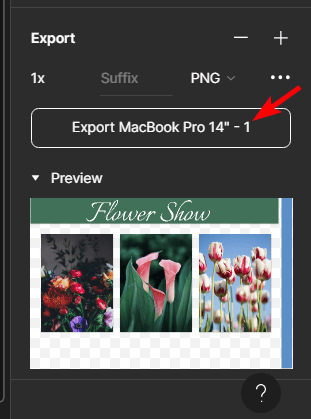
Once you are happy with the export settings, click on the arrow next to Preview to see how the export will look before you commit to it. You will be able to slightly see the checkerboard pattern on the background indicating a transparent background if you chose this setting.
Click the Export Button
If you’re happy with the export settings, click the Export button, which will describe what you are exporting. In my case, the button shows that I am exporting the MacBook Pro frame.
Find a Location on Your Device, Name the Export, and Click Save

When you click the Export button, a new window will open from your Explorer or Finder. You can now choose a save location, name the file, and click Save.
Check the Export on Your Device

You can then locate the file on your device and ensure it is exported correctly. You can also check whether the transparency setting worked. In my case, the dark background indicates transparency.
Tools:
- Figma
How to Export Using the Slice Tool
If you want to export parts of your project that don’t fit into a particular frame, selection, or group, you can use the slice tool.
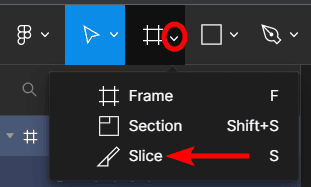
First, select the Slice Tool by clicking the arrow next to the Frame Tool or pressing S on your keyboard.
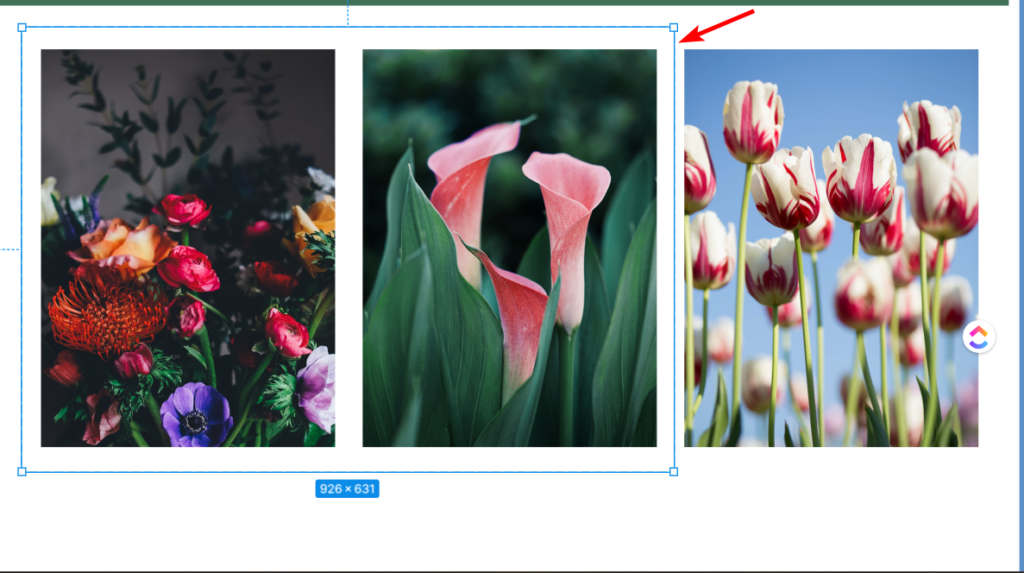
You can then click and drag to create a sliced selection on the page, shown by a blue box.
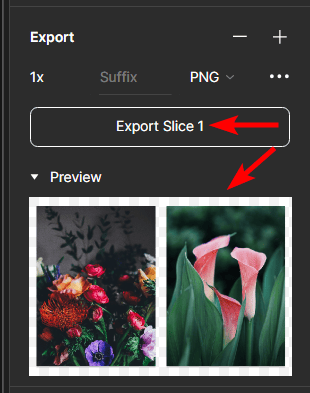
You can now follow the export process as mentioned in the section above. You will see the slice preview, and the Export button shows you are exporting the sliced area. The background of the slice will be transparent unless you add a rectangle box behind it with a color fill.
You now have exported the sliced section with a transparent background.

How to Bulk Export
If you want to export multiple objects onto separate PNGs, you can bulk export the elements so that you don’t need to export each section individually.
First, you must add export settings for each element or object you want to export separately. Follow the normal export process to add settings to each object. After selecting an object or section, click the plus sign to add new export settings.
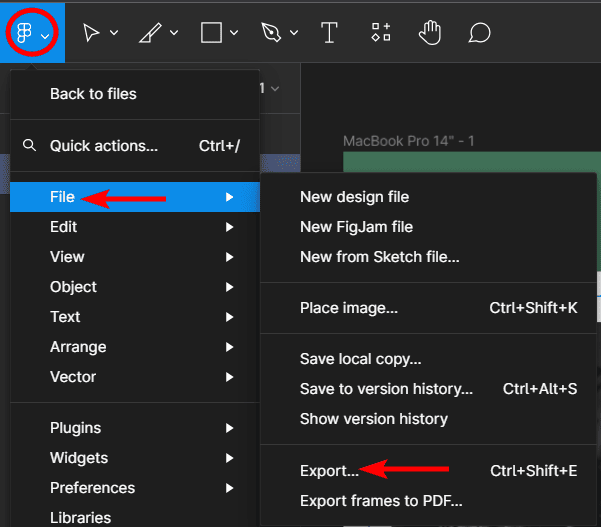
Once you have added all the export settings, go to the Figma Main Menu, then click on File > Export. You can also use the keyboard shortcut Shift + Control + E on Windows or Shift + Command + E on Mac.
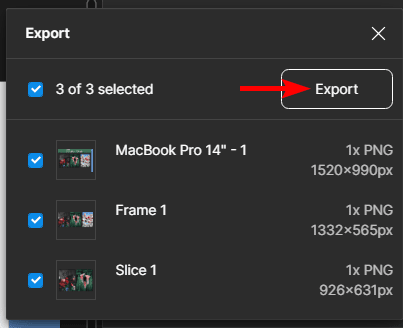
The export panel will appear on the right, showing your selections or groups with export settings. My panel shows each of the three export settings I added for this tutorial. If the settings are correct, select the ones you want to be exported and click the Export button.
Save them to your desired location on the device. The sections will be exported as separate PNGs and placed in a Zip folder. You can extract the folder, and you will have your separate exports.