One of the great things about FireAlpaca is just how easy it is to use. This free digital painting software is super-fast even on low-spec computers. Here’s how to flip an image in FireAlpaca in 5 easy steps.
Total Time: 1 minute
Table of Contents
Upload the Image
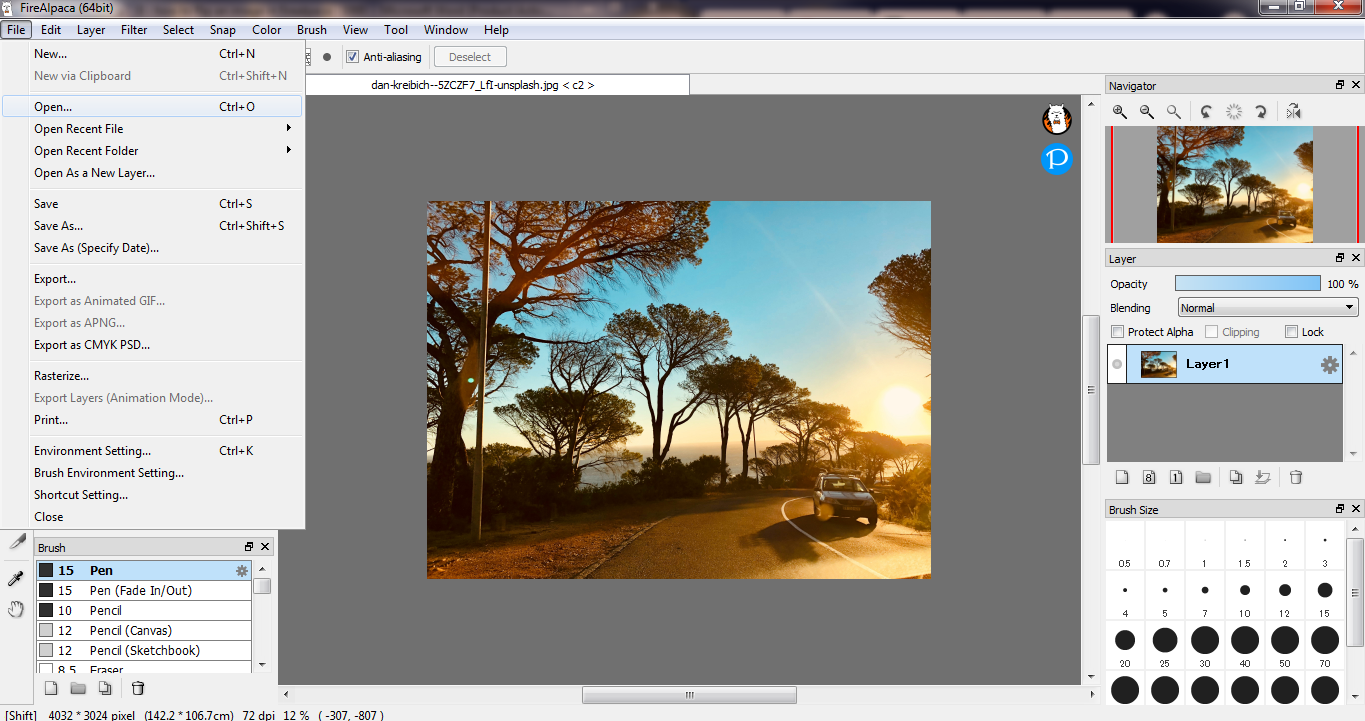
The first thing you’ll need to do is fetch the image you want to flip from your computer’s file repository. Launch FireAlpaca and go to the File menu in the main toolbar. Next, select Open, choose the image you want to flip, and click on the Open button to upload it to your workspace.
Select the Image
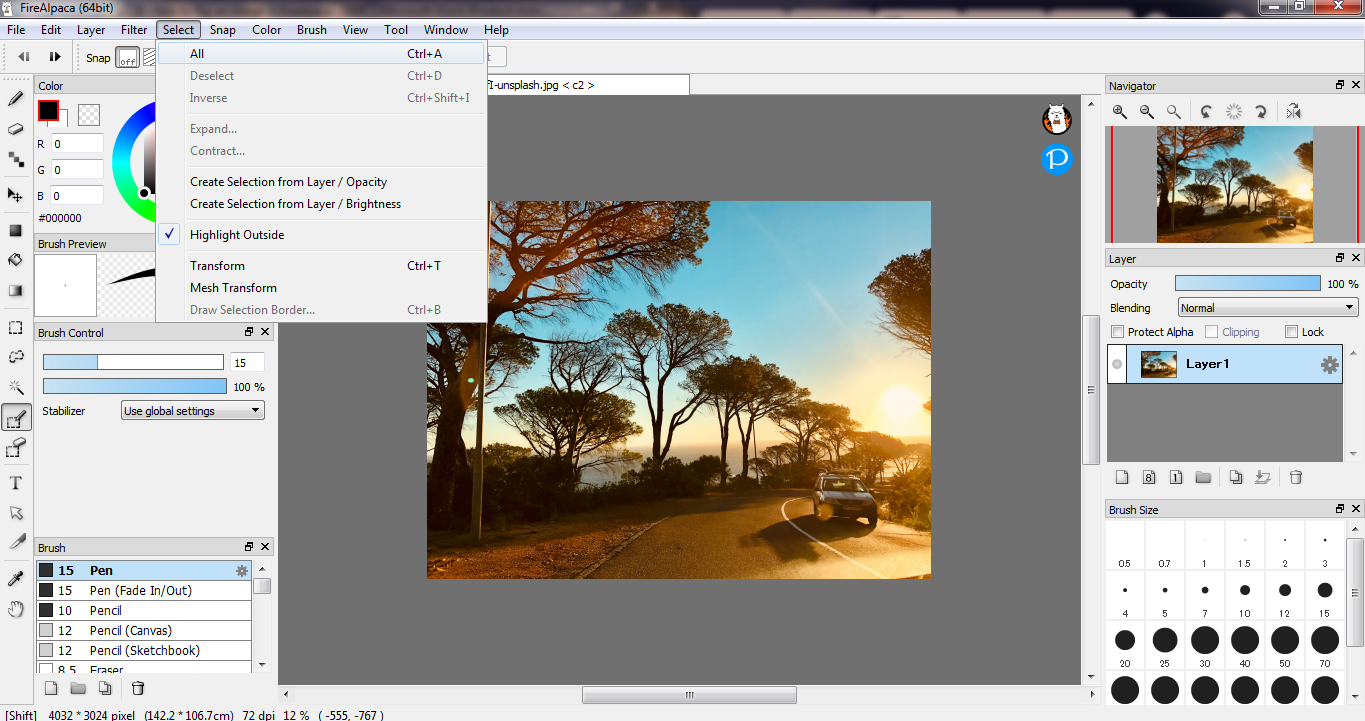
Next, go to the Select menu on the main toolbar and click All to select the entire image.
Flip the Image Horizontally
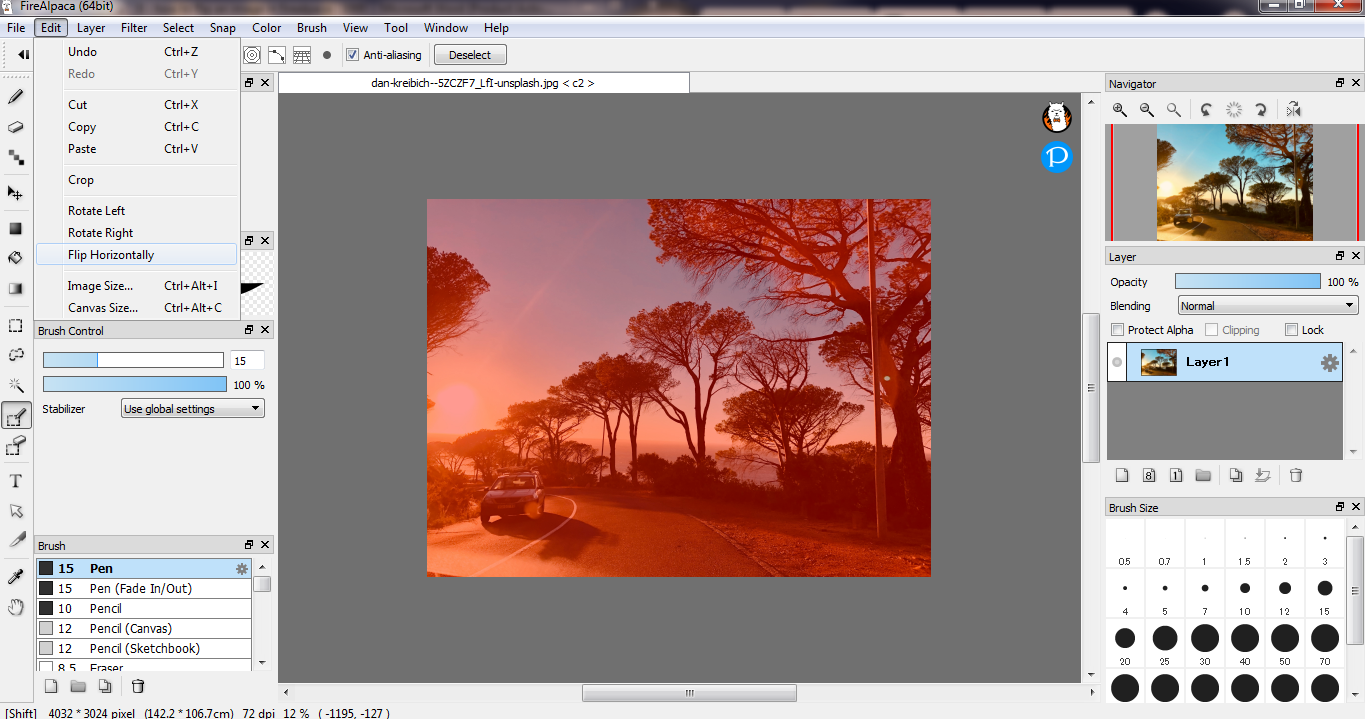
Once you’ve highlighted the image, go to the Edit menu on the main toolbar, and select Flip Horizontally. This will transform the image into its mirrored version.
Flip the Image Vertically
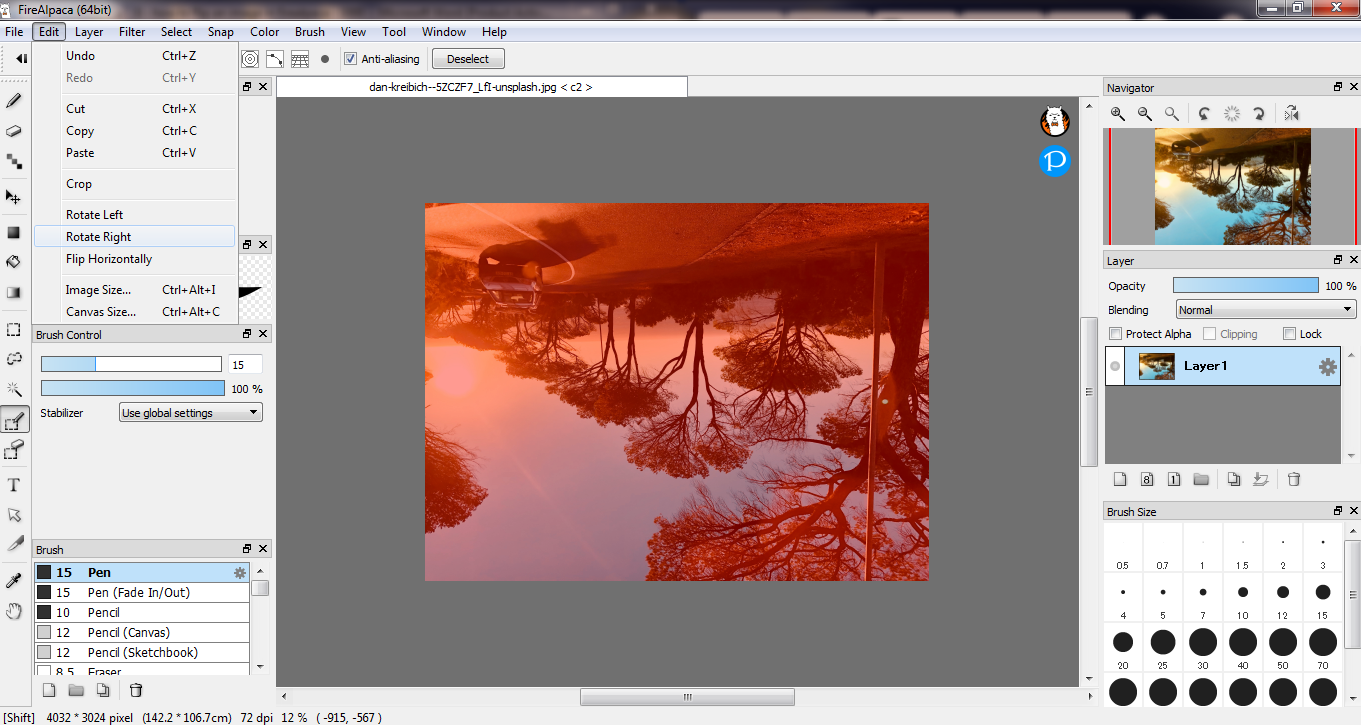
FireAlpaca does not have a native function that flips images vertically. However, you can use the rotate feature to do this. Once you’ve selected your image as outlined in Step 2 above, go to the Edit menu on the main toolbar and select Rotate Right.
This will rotate the image by 90°. Repeat this step once more to rotate it by an additional 90°. Your image will now be vertically flipped.
Save the Image
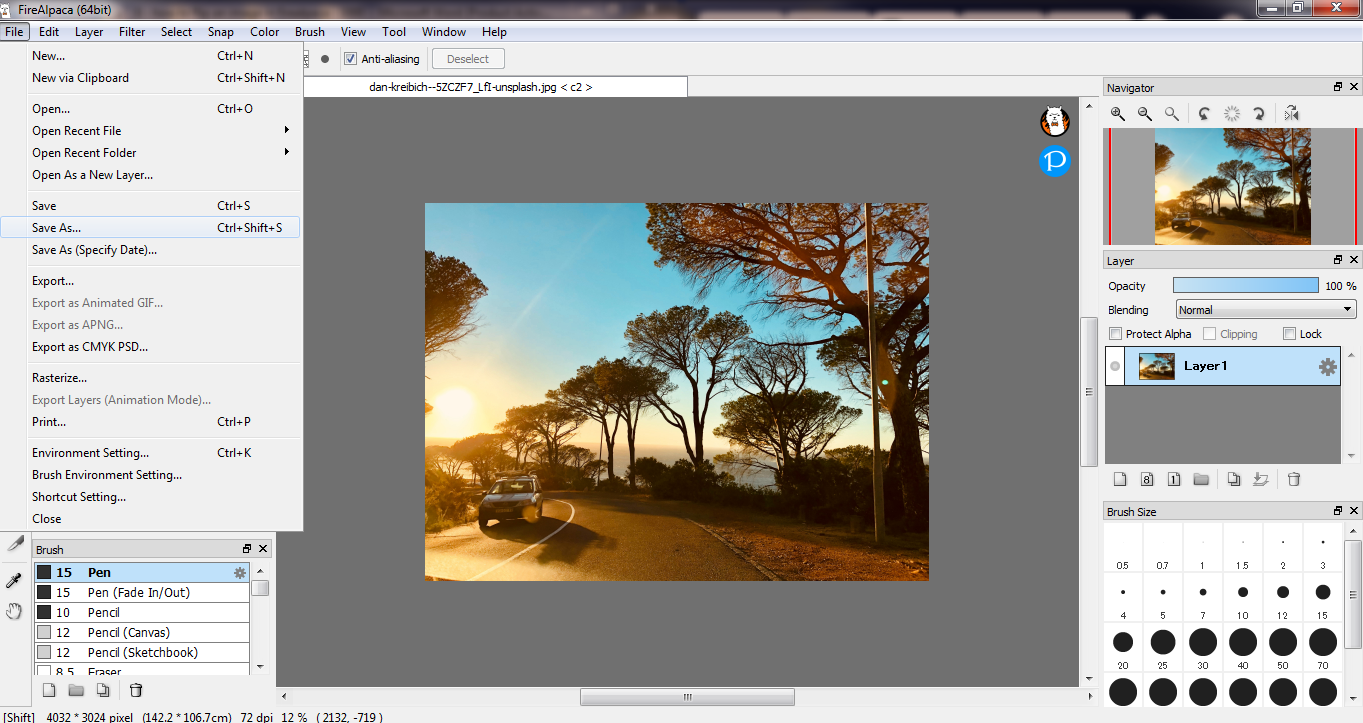
Once you’ve successfully flipped the image, go to the Select menu on the main toolbar and click Deselect. Next, go to the File menu and click on the Save As button. Retain the existing name if you want to overwrite the old file. On the other hand, if you want to keep both versions, edit the existing file name and change it to a different one. You’ll then need to choose the file format you want to save the image in. You can choose from .mdp, .jpg, .png, .bmp, or .psd file types.
That’s how to flip an image in FireAlpaca. It’s that quick and easy. We hope you found this tutorial helpful for your next project.
Watch YouTube Video Tutorial
👍 Support Us: Subscribe to our channel and help us continue providing these tutorials.
🌟 Regular Updates: We publish how-to videos for FireAlpaca regularly!
🔧 Expert Guidance: Learn FireAlpaca from our professionals and uncover exclusive tips!