After you work with Illustrator for a while, you'll find that the number of layers in larger projects can become overwhelming.
Grouping layers together can save time when working on a project and will keep your layer panel cleaner.
Table of Contents
Here's how to do it
- Open your Adobe Illustrator project
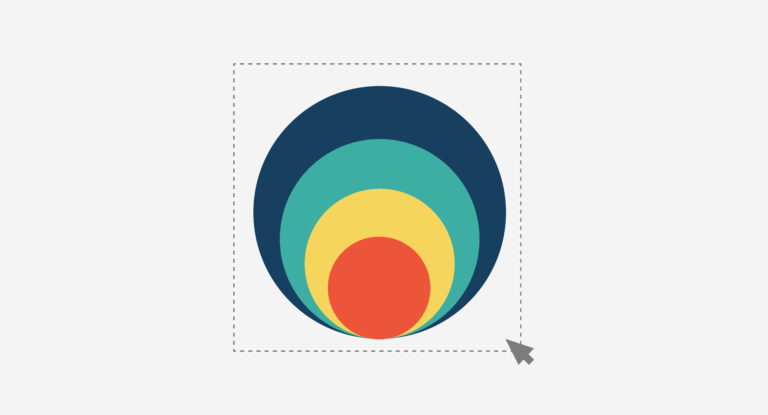
- With the Selection Tool (V) selected all objects you want grouped together (you can also select the object layers in the layers Panel)
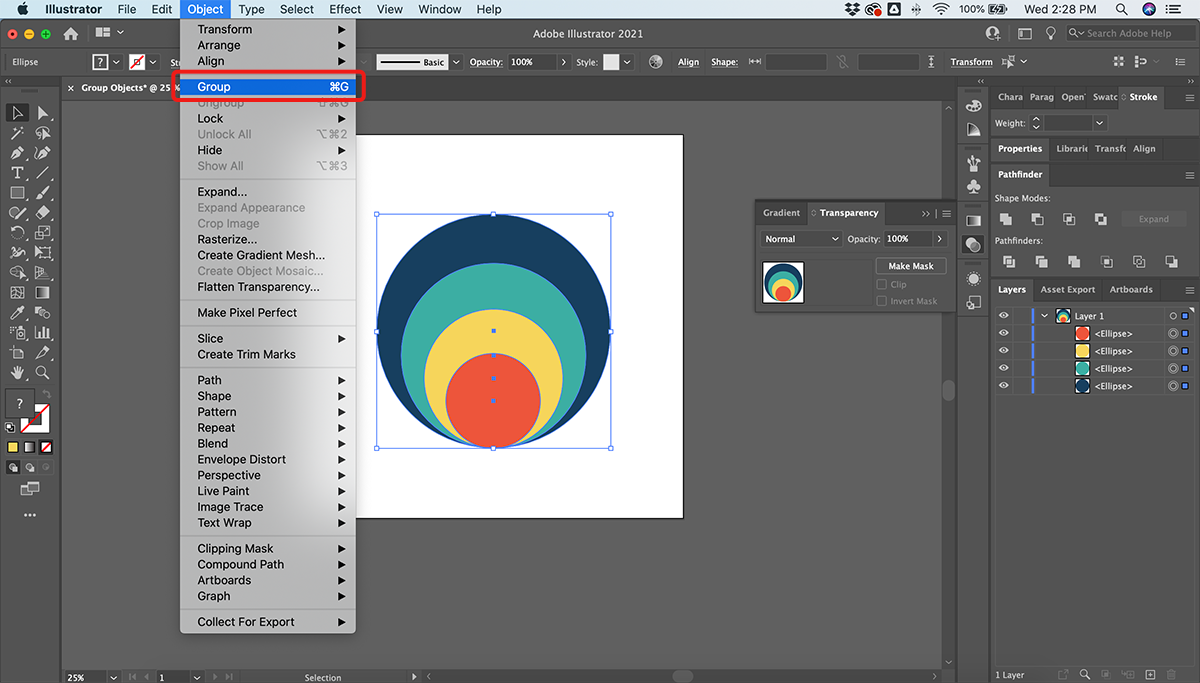
- From the top Menu Bar, choose Object > Group, or use keyboard shortcut Command G (Control G on PC)
- To ungroup object layers, choose Object > Ungroup, or use keyboard shortcut Command G a second time

Why you need to group layers
Grouping layers is an important skill when you are working with complex graphics or logos.
Once you have a set of images or shapes in an order or placement you like, grouping them will allow you to move the layers as a single unit rather than have to adjust them individually.
Grouping layers are also important in larger projects if you are hoping to remove unwanted objects.
If you find a portion of your project is no longer needed, it can be faster to group them and delete them as one rather than individually removing them.
How to group layers in Illustrator on IPad
If you are working on an IPad instead of a laptop or desktop, there are some key differences to using Illustrator.
One of those differences is how you will group layers.
While on a desktop or laptop, you can utilize the menu bar to group layers (the IPad does not provide such an option).
Here is how you can group layers in Illustrator on an IPad:
- Click and Hold the Modifier Key
- Select the layers you wish to group
- Select the Object Menu
- Click the Group Icon
For a visual representation of this how-to, click here.
If you want to learn more about the differences of using Illustrator on an IPad beyond grouping layers, check out this article here.
How to ungroup layers
Once you are done with the now-grouped layers, you can easily ungroup them using the same method.

Here is how you ungroup layers after you’ve grouped them:
- Select the grouped layers you wish to ungroup
- In the Top Menu, click Object
- Select Ungroup (Shift + Command + G)
Protip: Once you’ve finished editing the layers you had grouped, you can also lock them in place to prevent any accidental changes.
Simply select Lock under the Ungroup tab in the Object menu to lock the layer or layers in place.
How to merge layers
If you want to merge layers or groups in a project, follow this simple key shortcut to easily merge two or more layers.

- Hold Command (Mac) or Ctrl (Windows)
- In the Layers Panel, click the layers you wish to merge
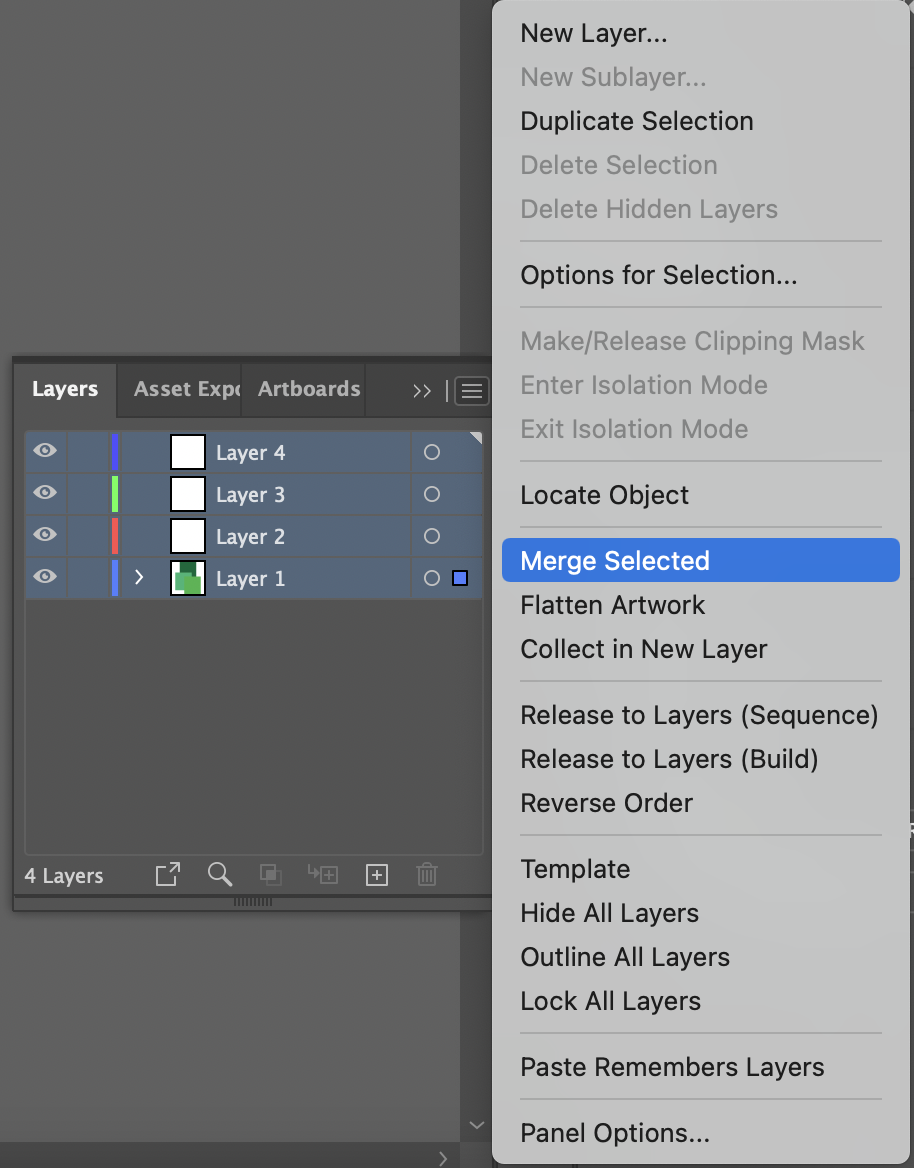
- In the top right of the Layers Panel, select the button with three horizontal lines
- From the pop-up select Merge Selected to merge your layers
If you wish to merge all the layers that you have in a project, you can streamline the merging process by simply Left Clicking and Holding, then drag your mouse over the entire Layer Panel to select all layers. From there continue to merge as shown above.
Protip: When you merge your layers, certain aspects will not remain in the merge, such as clipping masks.
However, all visible items and objects will remain no matter how many merges you do.
How to flatten layers
Flattening your layers is extremely similar to grouping layers.
The results are essentially the same but the process is a bit different.
Flattening takes all visible objects in an artboard and consolidates them into a single layer.
Here is how you can do it:
- Hold Command (Mac) or Ctrl (Windows)
- In the Layers Panel, click the layers you wish to flatten
- In the top right of the Layers Panel, select the button with three horizontal lines
- From the pop-up select Flatten Artwork to flatten
It is important to emphasize that before you merge, flatten, or group your layers that you have the correct stacking order.
You can easily Click-and-Drag your layers in the Layer Panel to change the stacking order.
Once the layers are grouped, you cannot change the order without having to ungroup them first.

