
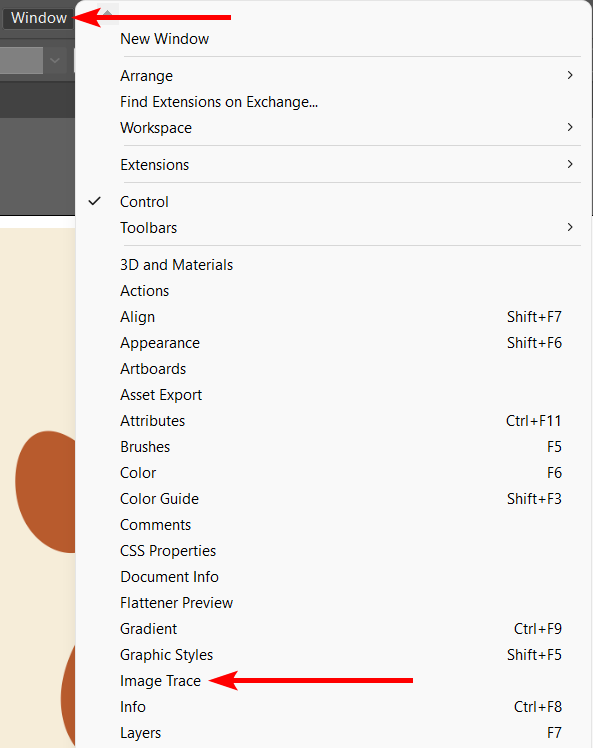
To trace an image in Illustrator, go to Window and select Image Trace. The image trace panel offers all the settings and options you need to trace logos and pictures. This panel has various settings, and I will explain the important ones.
One benefit of image tracing is to be able to edit a JPEG to adjust a logo that hasn’t been saved as a vector. Another advantage is resizing pixel-based images without losing quality by converting them to a vector, although your photo won’t look exactly like a photo anymore.
Table of Contents
How to Image Trace: Short Overview
- Go to Window > Image Trace
- Adjust the settings as needed
- Press Trace
- Expand the object
- Ungroup the object to edit the lines
Example of Tracing an Image
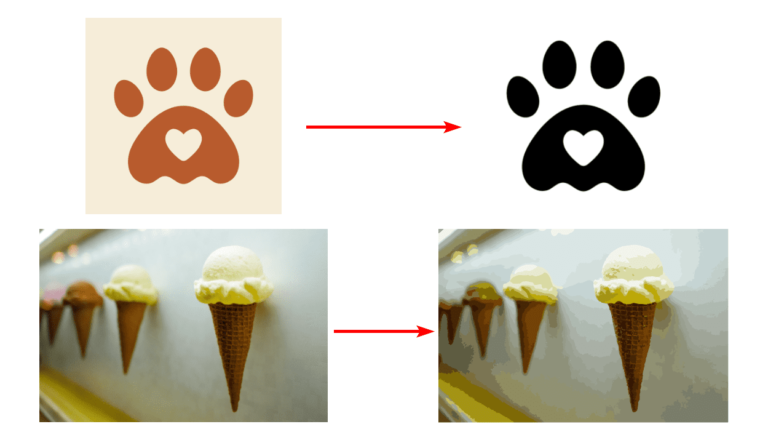
The best images to convert to vector using this method are photos with few colors and strong lines. I am going to show you the technique using a full-color image as well as a simple logo.
Tracing A Logo
For the logo, I will convert the JPEG version of the dog’s paw from Freepik to a vector. I can then edit the logo paths.
Once the image is open in Illustrator, go to Window > Image Trace.
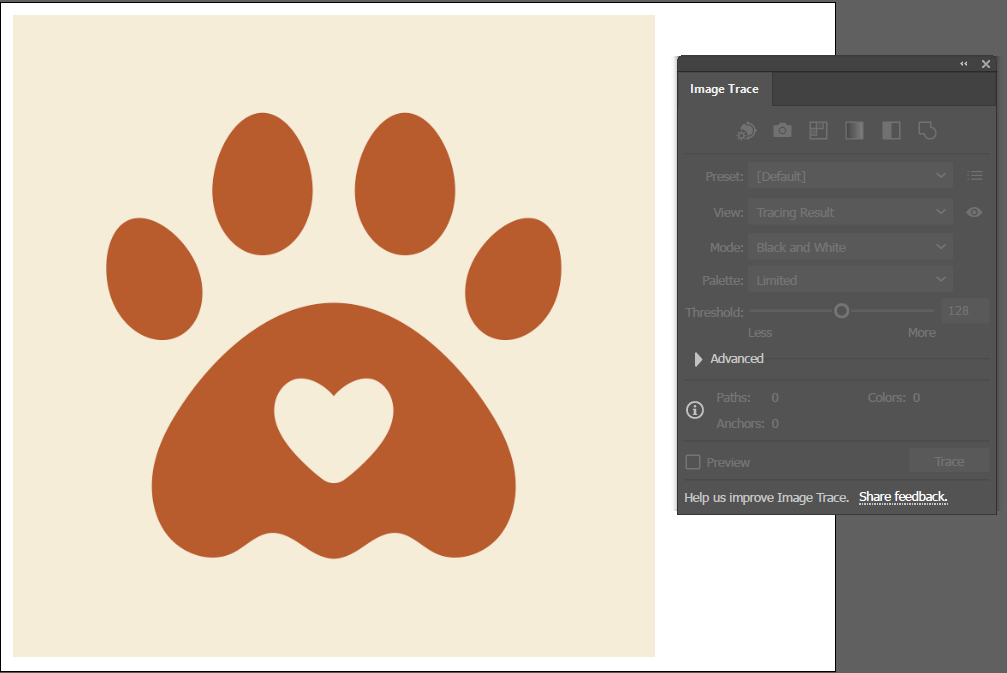
The Image Trace panel opens next to the image. If the options are greyed out, your photo isn’t selected.
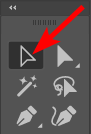
Activate the Selection Tool from the toolbar or press V. Then click on your image to select it.
Now that your image is selected, you can adjust the settings in the Image Trace panel.
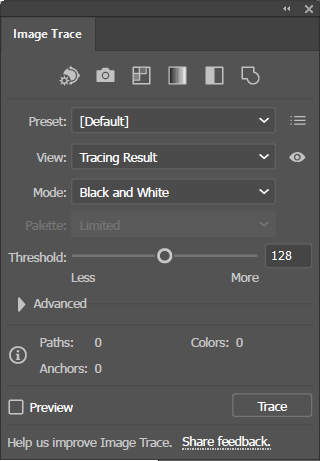
There are multiple settings and options to choose from, so I’ll just show you the essential ones. First, you can select a preset to quickly trace the image using the default settings for the preset. These options work if you don’t need too much customization.
Click on the drop-down menu to view the preset options.
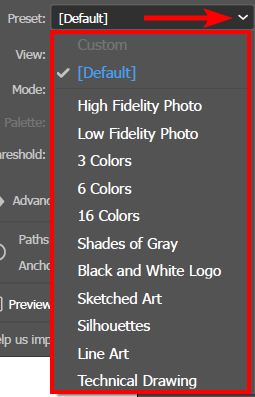
You can try out a few options, such as:
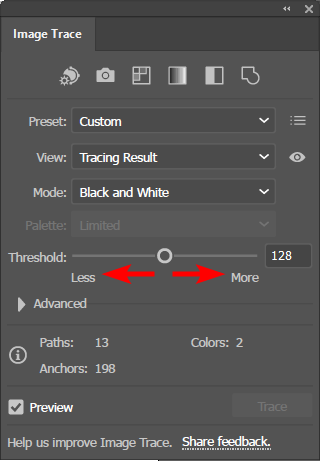
If none of these options work for you, or if you want more customization options, you can manually adjust the settings. Since I want to convert the logo to be editable and black and white, I will change the following settings.
- View set to Tracing Result
- Mode set to Black and White
Next, adjust the Threshold as needed for your logo. Any pixels darker than the threshold value will be converted to black. Move the slider left or right to decrease or increase the threshold value.
You can adjust more settings under the Advanced tab. These options include increasing the path amount if you want to edit the logo more precisely. You can make the corners sharper or rounder. You can also add more or less noise to the result.

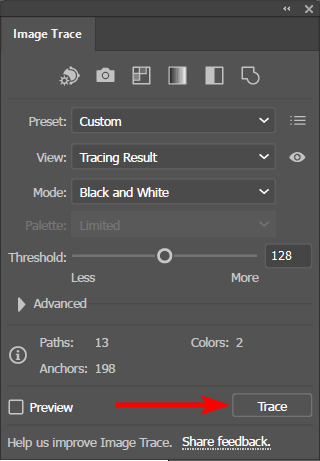
Once you are happy with your settings, click Trace to convert the image.
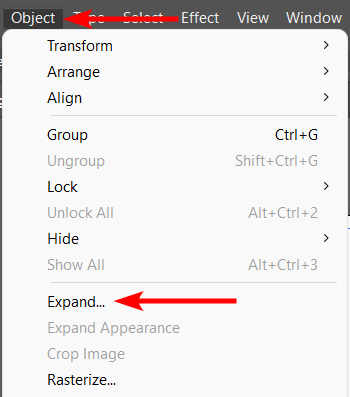
To edit the logo, you need to go to Object > Expand. This process adds outlines to the shape, allowing you to edit them.
Once the image is expanded, you can go to Object > Ungroup or use the shortcut Shift + Control + G on Windows and Shift + Command + G on Mac. This step ungroups each of the objects so you can edit them separately.

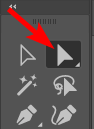
Now, you can activate the Direct Selection Tool (A).
You will notice anchor points and paths appear on your image, allowing you to edit the shape.
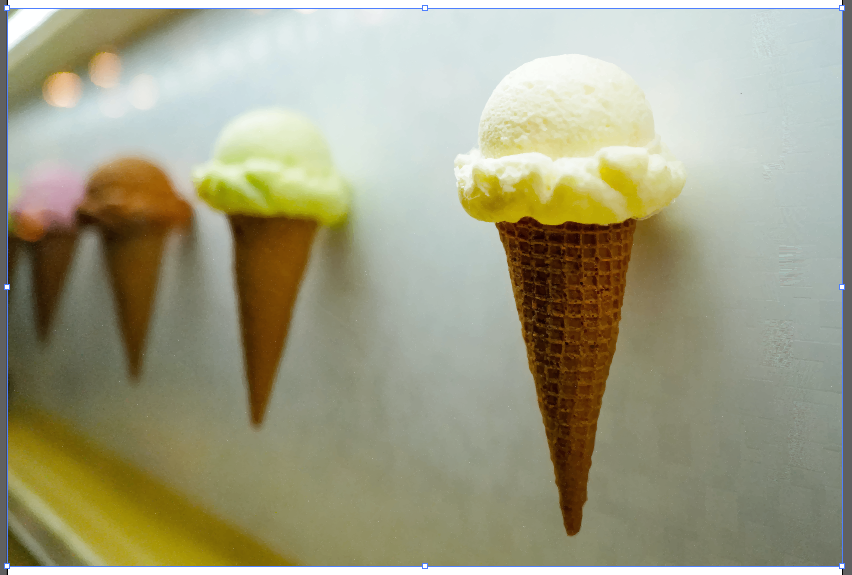
Tracing A Raster Image
You can trace a pixel-based image to preserve the quality, although the image will take on a vector look once it has been edited.

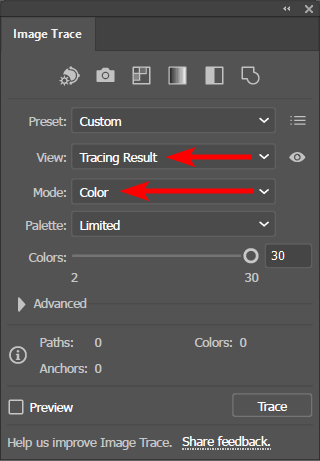
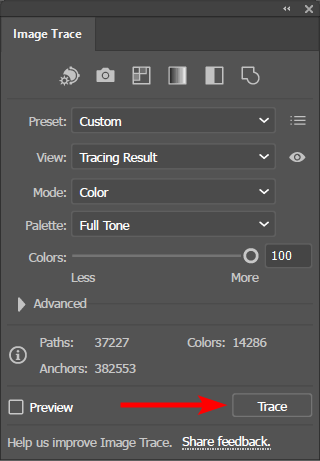
You can follow the same process as above. However, the settings to change in the Image Trace panel are different. Once your image is open, go to Window > Image Trace to open the panel. Then leave View set to Tracing Result and change Mode to Color.
Once you change the Mode to Color, another option appears, which adjusts the color Palette. This setting determines how many colors are preserved once you trace the image. Click on the arrow to view the drop-down menu.
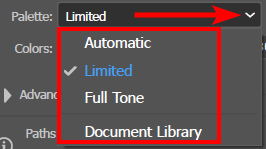
You can choose from Limited, which allows you to keep up to 30 colors and keeps the file small but creates a noticeable difference in the image.
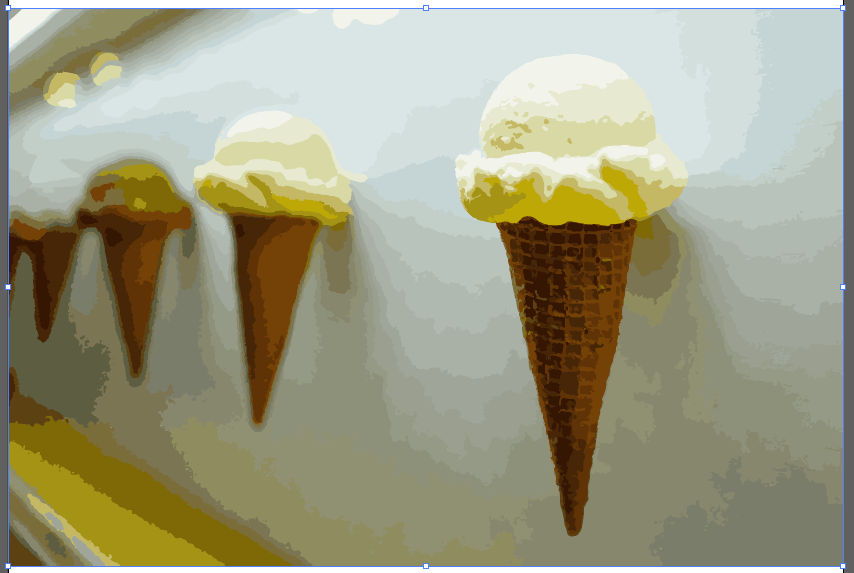
Alternatively, you can set the Palette to Full Tone, which allows you to keep up to 100 colors and keep the image close to what it initially was. However, the vector file size will be large.
Click Trace when you are happy with the settings.
You can now Expand and Ungroup the image to edit it as a vector.
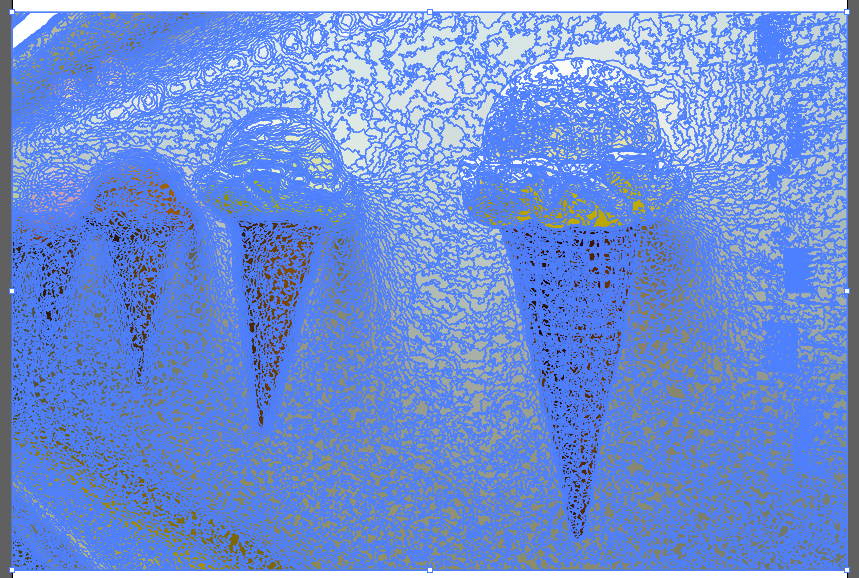
You can do various edits on the vector now, such as deleting specific paths to create a custom scratched look on the image.

Frequently Asked Questions
Why can't I image trace in Illustrator?
You can’t image trace a vector file. If the option to Image Trace is greyed out, even when you have selected your logo or image, the most likely problem is that the image is already a vector.
You should be able to edit it as needed. However, if you need to trace the vector image for whatever reason, go to Object > Rasterize to convert the image, then you can Image Trace as required.
Can you image trace a PNG in Illustrator?
You can image trace PNGs in Illustrator and JPEGs, GIFs, and other pixel-based formats.
👍 Support Us: Subscribe to our channel and help us continue providing these tutorials.
🌟 Regular Updates: We publish how-to videos for Adobe Illustrator regularly!
🔧 Expert Guidance: Learn Illustrator from our professionals and uncover exclusive tips!
