
There are three efficient ways to remove the background in Illustrator, which are:
- (Best for simple images) Use the Image Trace Panel by going to Window > Image Trace and using the default preset. You can then expand the image and select the background path to delete it
- (Best on images with a one-color background) Use the Magic Wand Tool by converting the image to a vector, clicking on the background color, and pressing Delete
- (Best for complex images) Use the Pen Tool to create a path around the subject, invert the selection, and delete the background pixels
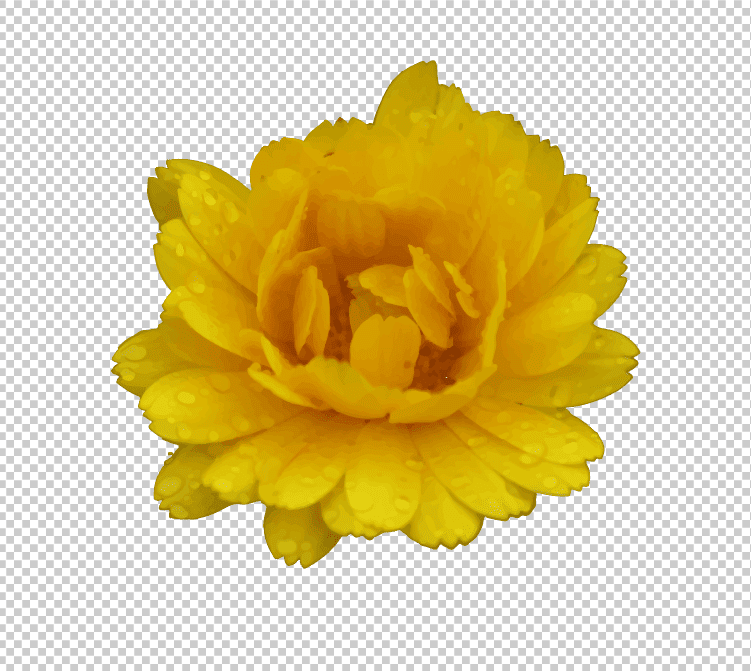
Before you begin: to best see the image without the background (especially when the image or logo is white), go to View > Show Transparency Grid to see the transparent areas in Illustrator.
If you’re looking for a simple method to remove an image’s background using color detection or AI, you can use our free online background remover.
Method 1: Using Image Trace
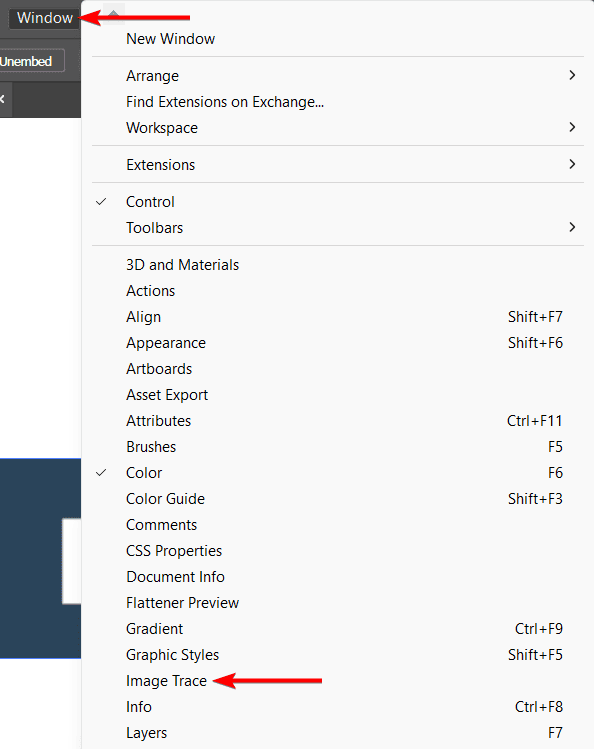
- Go to Window > Image Trace
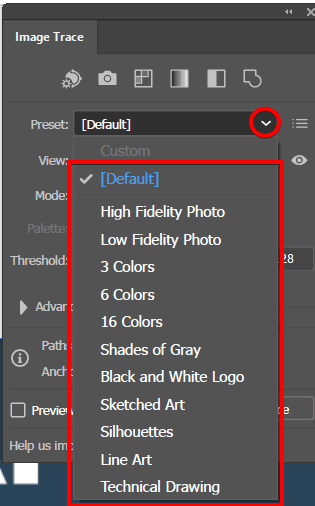
- Set a Preset
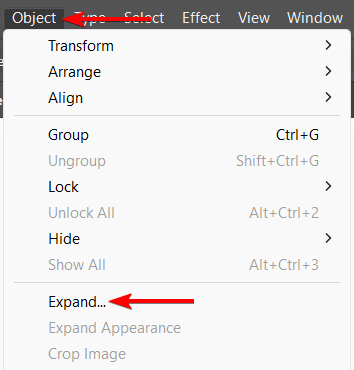
- Go to Object > Expand
- Select the background using the Direct Selection Tool and press Delete
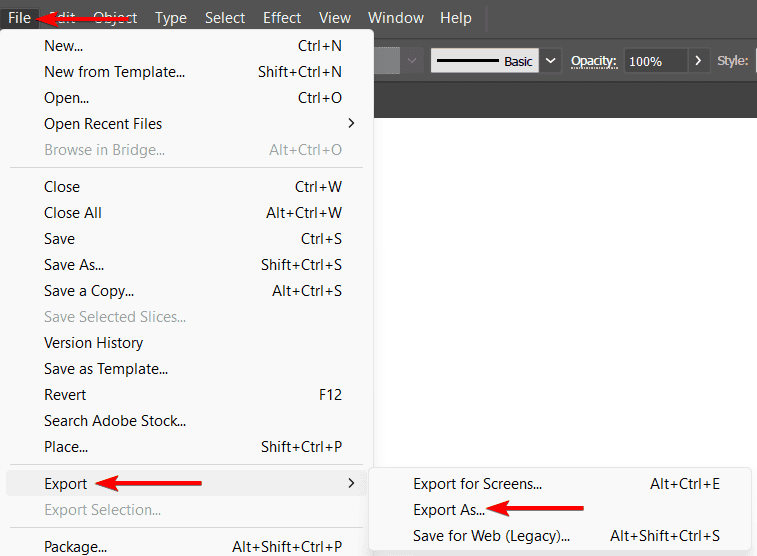
- Go to File > Export > Export As
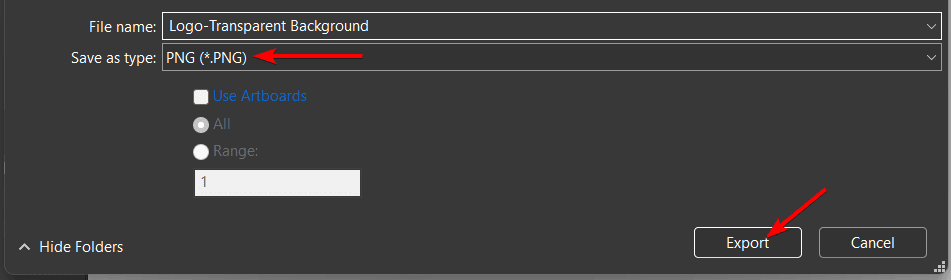
- Set the Format to PNG and click Export
Go to Window > Image Trace
Open your image in Illustrator and go to Window > Image Trace to open the Image Trace panel.
Set a Preset
In the Image Trace panel, choose a preset that suits your image, such as High-Fidelity Photo or Black and White Logo. You can also adjust the settings manually, such as the threshold, the paths, and the corners.
If you are unsure of which settings or preset to use, set it to Default, and Illustrator will select the most appropriate preset for your image.
Go to Object > Expand
Then, go to Object > Expand or click the Expand button in the Properties Panel under Quick Actions to convert the traced image into a vector. You will see the anchor points and paths that make up the image.
Select the Background Using the Direct Selection Tool and Press Delete
Use the Direct Selection Tool (A) to select the background and press the Delete key to remove it.

You may need to zoom in and out to select all the parts of the background. If you have a simple background, you will likely be able to select it using one click or by dragging over the majority of it.
Keep clicking on the remaining background pieces and pressing Delete to delete them.

You will have now removed the background.

Go to File > Export > Export As
Go to File > Export > Export As to save the file and ensure that the transparency behind the subject remains where the original background was.
Set the Format to PNG and Click Export
Set the Save as Type to PNG and click on Export.
Method 2: Using the Magic Wand Tool
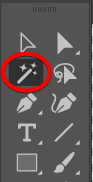
- Select the Magic Wand Tool in the toolbar
- Set the Tolerance in the Tool Options Panel
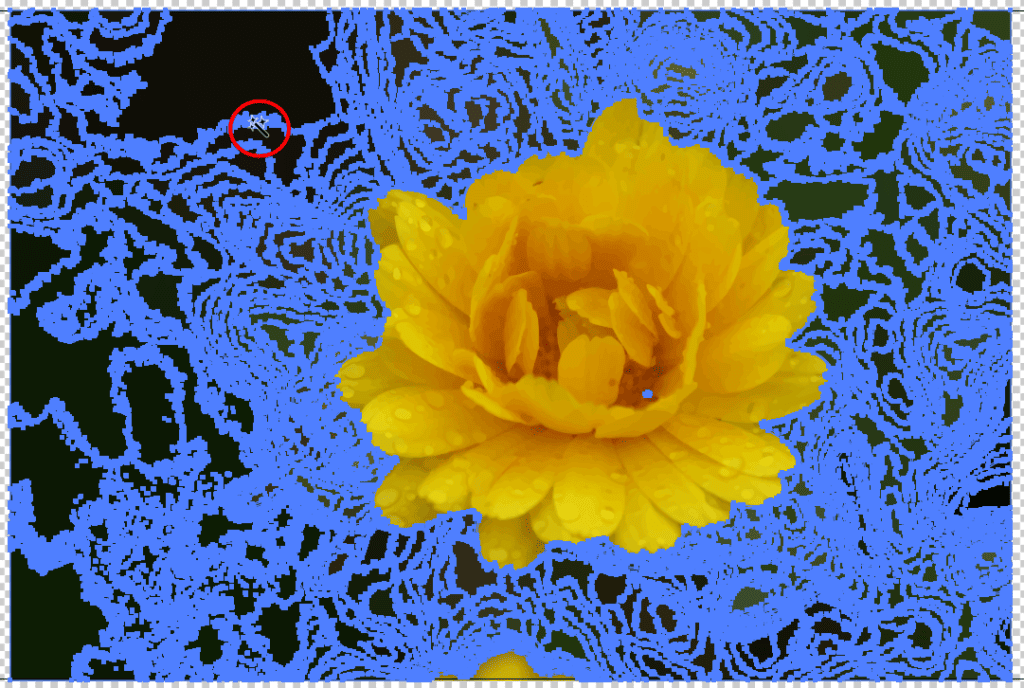
- Click on the background color to select it
- Press the Delete key to remove the background
- Export the image as a PNG to preserve transparency
Before you begin: Follow the first method to convert the image to a vector (if you are working with a raster image)
Select the Magic Wand Tool in the Toolbar
Select the Magic Wand Tool (Y) in the toolbar.
Set the Tolerance in the Tool Options Panel
You can adjust the Tolerance in the Magic Wand Tool Options Panel to make the selection more accurate. The Tolerance determines how similar colors should be to the exact color you click on to be included in the selection. A higher tolerance selects more colors, while a lower tolerance only selects the exact or very similar colors.

Click on the Background Color to Select It
Using the Magic Wand Tool, click on the background color to select all areas with that color or similar colors based on the Tolerance that you set.
Press the Delete key to Remove the Background
Press the Delete key to remove the selected background. You can also use the Selection Tool (V) to move or resize the foreground object as you wish.
Export the Image as a PNG to Preserve Transparency
Follow the same process in the first method by going to File > Export > Export As and selecting PNG as the Save as Type option to preserve the transparency.
Method 3: Using the Pen Tool
- Select the Pen Tool
- Add an anchor by clicking on an edge
- Add more anchor points around the object
- Close the Pen path
- Go to Object > Clipping Mask > Make
- Export the image as a PNG
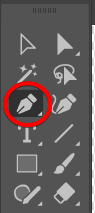
Select the Pen Tool
Select the Pen Tool (P) in the toolbar.
Add an Anchor by Clicking on an Edge
Click on the edge of the object to create the first anchor point.
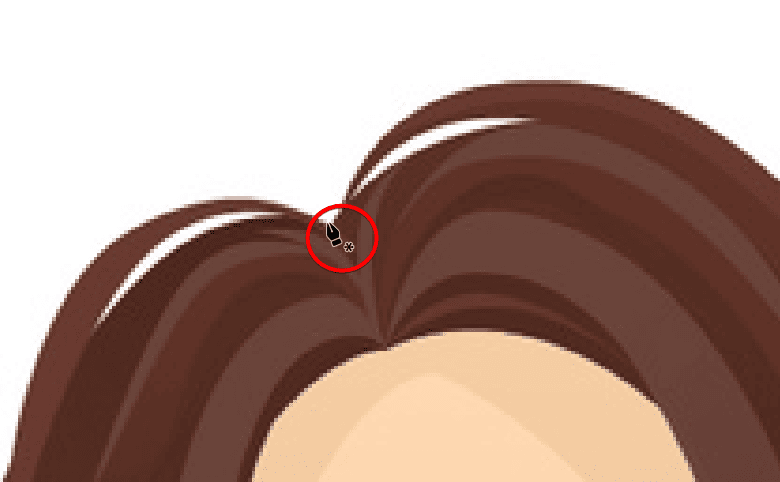
Add More Anchor Points Around the Object
Then, click on another point along the edge to create another anchor point and a path. Continue clicking and dragging to create curved or straight paths until you complete the outline of the object.

Close the Pen Path
Close the path by clicking on the first anchor point. You will see a blue path around the selected object. If you had a foreground color set, you may see a filled shape that covers the object.

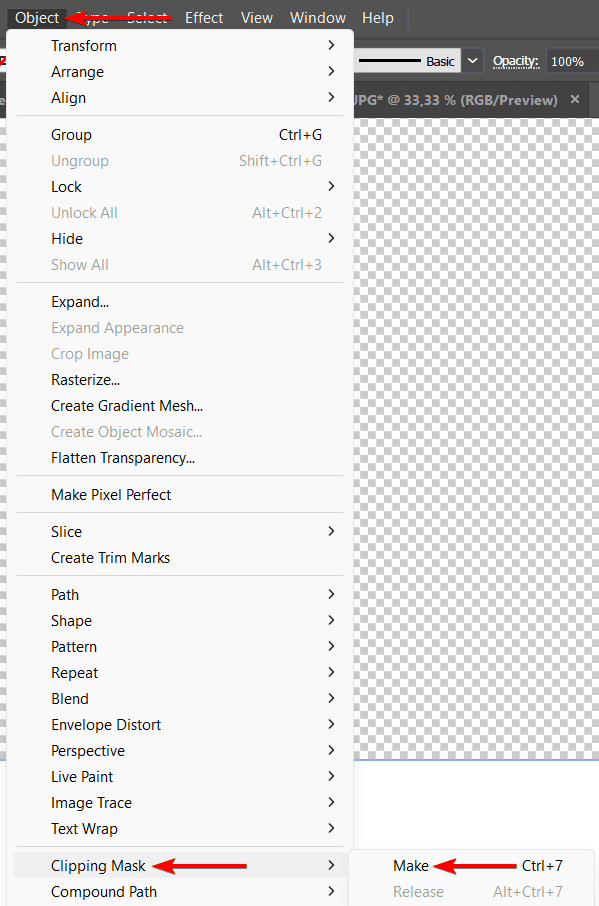
Go to Object > Clipping Mask > Make
Once the path is completed, use the Selection Tool (V) to select the path and the image (hold Shift while clicking on them to select multiple objects. Then, go to Object > Clipping Mask > Make to create a clipping mask that hides the background and shows only the object.
Export the Image as a PNG
You will have now removed the background and can follow the first method to export the image as a PNG by going to File > Export > Export As and setting the Save as Type to PNG to preserve the background transparency.

👍 Support Us: Subscribe to our channel and help us continue providing these tutorials.
🌟 Regular Updates: We publish how-to videos for Adobe Illustrator regularly!
🔧 Expert Guidance: Learn Illustrator from our professionals and uncover exclusive tips!
