You can use Adobe Fonts in Figma, and the process is easy once you set up a few things.
To ensure you have access to Adobe Fonts in the program, you need to ensure specific settings are set correctly in the Creative Cloud App and Figma. I will show you how to set it up so all your Adobe Fonts are available in the font list on Figma.
Once you have changed these settings, you can access the fonts on Figma anytime.
It’s important to note that you need an active Adobe subscription to access and use the Adobe Fonts library. The fonts are only available as long as you have an active subscription.
Once you have an Adobe account, you can download and use the Creative Cloud app, which is the first step.
Table of Contents
Adjust the Settings in the Creative Cloud
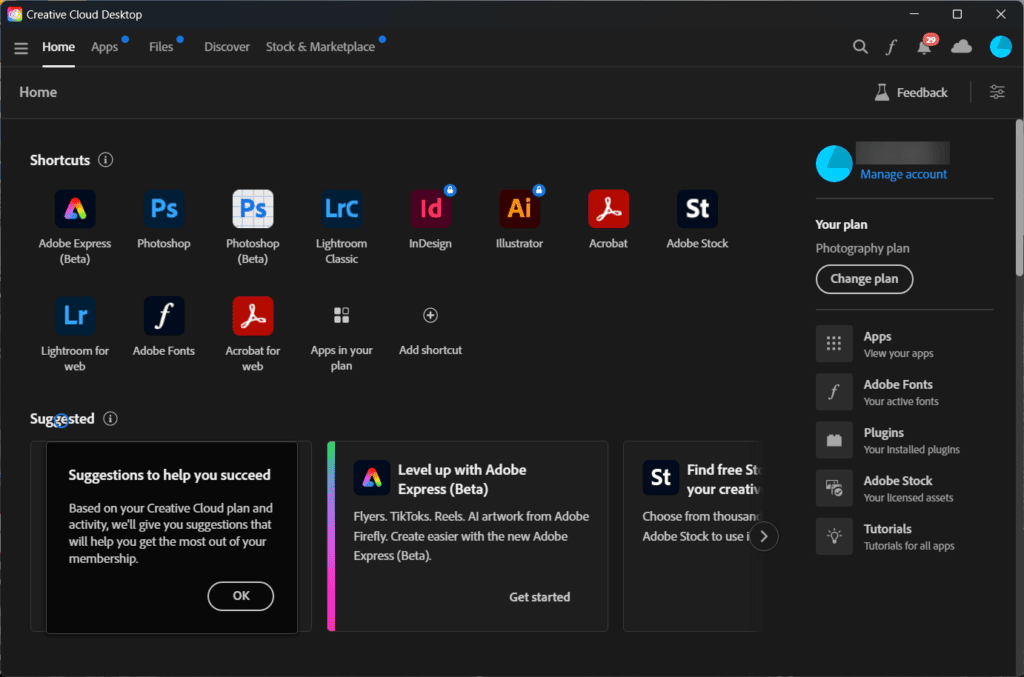
The first part of the process starts in the Creative Cloud app on your desktop. Open the app to begin.
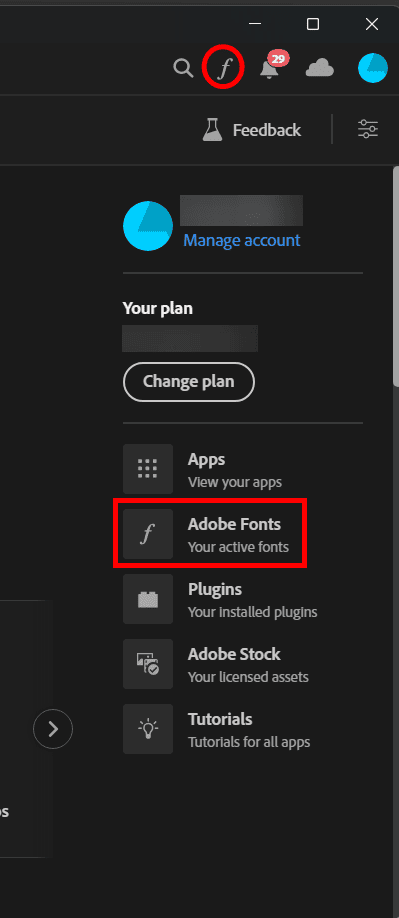
Once in the app, open the Adobe Fonts tab using the icon at the top of the program or the menu tab on the right-hand side.
In the Adobe Fonts tab, you will see all the fonts that are activated and available for you to use in the Adobe programs and other programs.
If you don’t see a cloud icon next to the font, it is available for use in other programs outside the Adobe software. These fonts will also say “in Adobe & other local apps” with a grayed-out square and arrow icon.
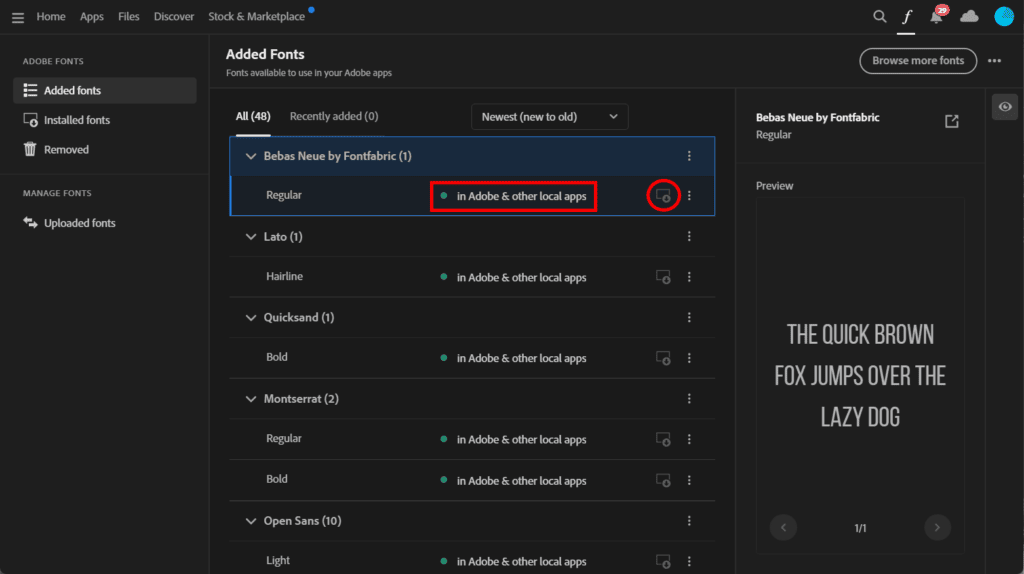
If you scroll through the list, you may find that some fonts are only available in Adobe applications. These fonts will say “in Adobe apps” and have a cloud and arrow icon next to them.
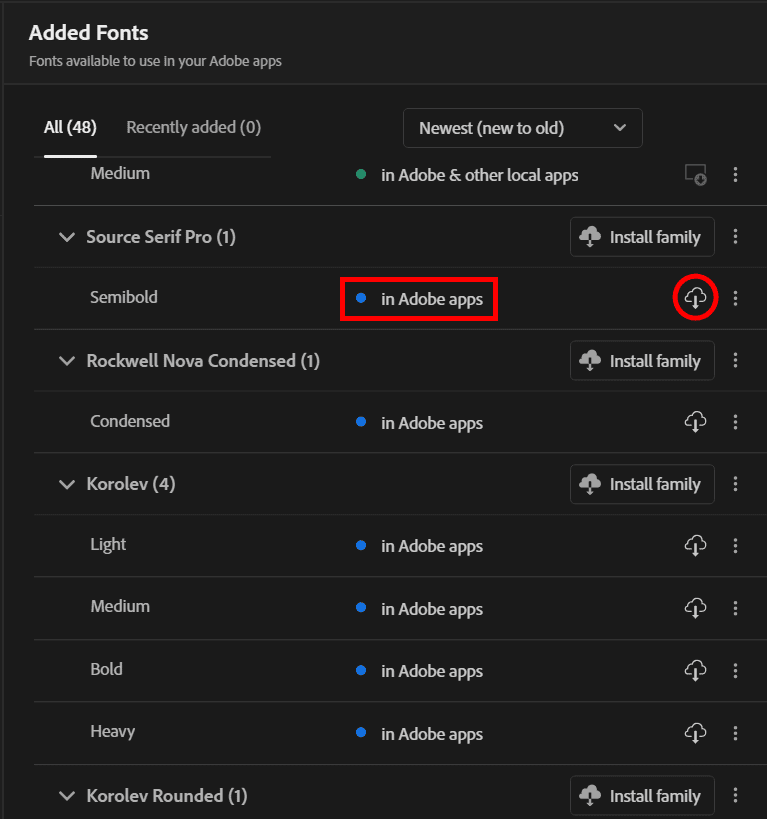
Only the fonts that have been downloaded and installed on your system (the ones that say “in Adobe and other local apps”) will be available in Figma. You can click on the cloud icon to install more fonts and ensure they are available in Figma.
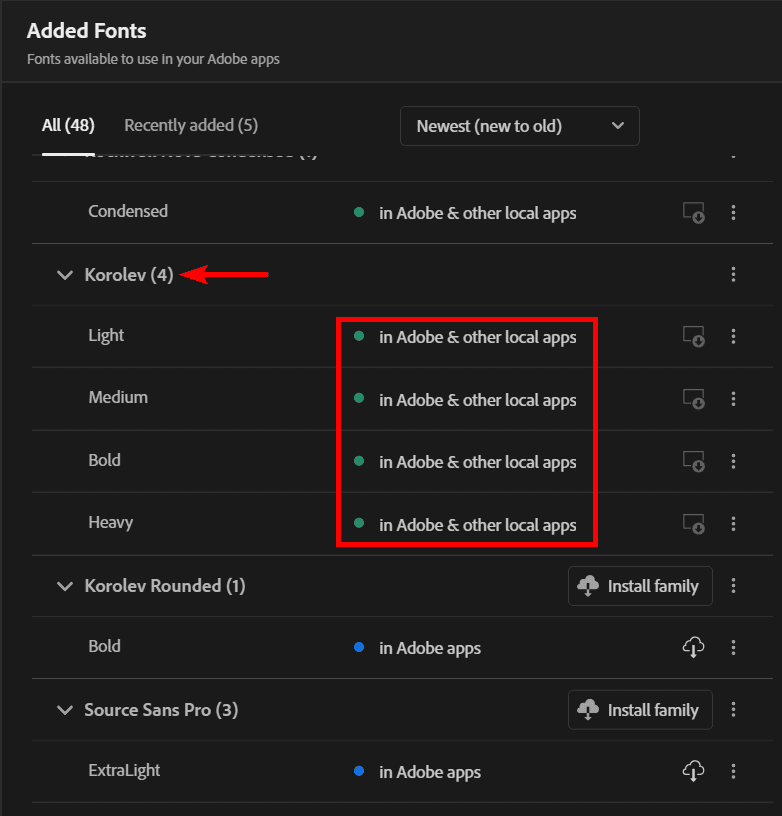
Once you have downloaded the fonts you want to see in Figma, you can move on to the next part of the process.
Adjust the Settings in Figma
Once your fonts are available outside of Adobe apps, open your web browser and log in to your Figma account.
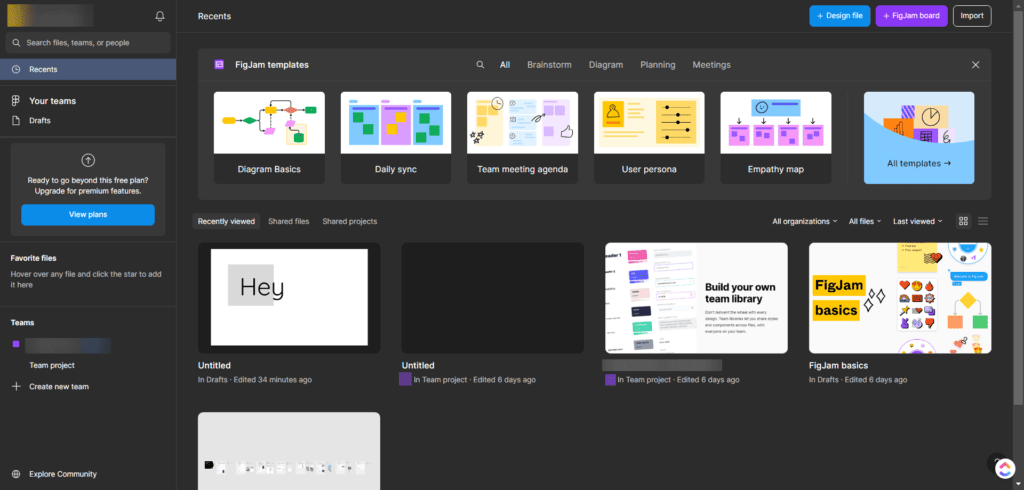
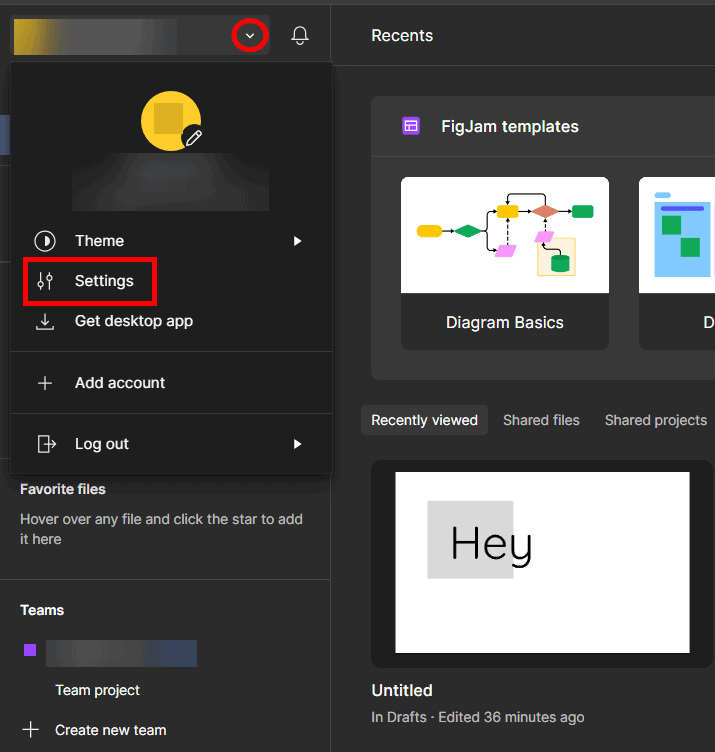
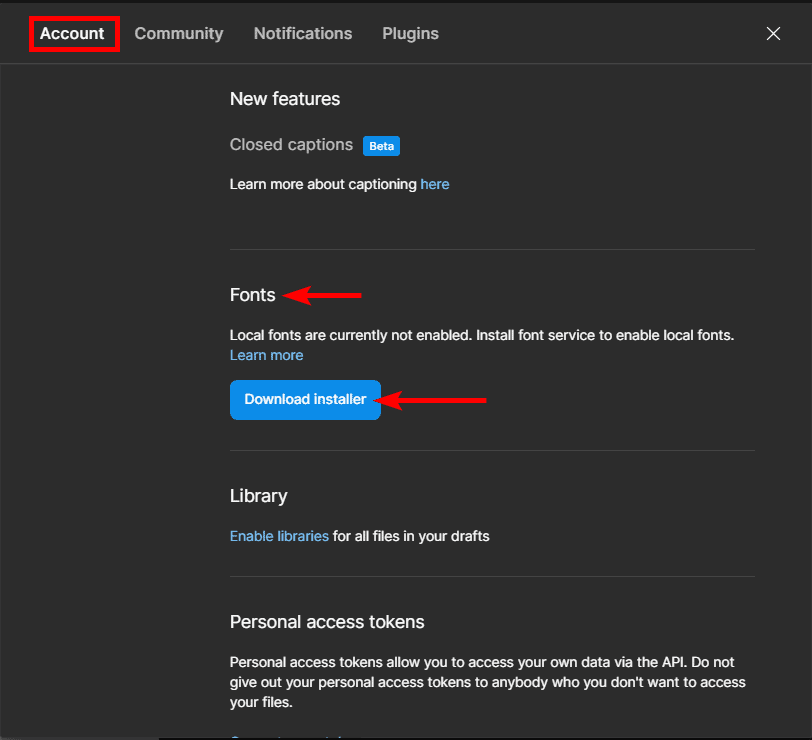
In the Figma workspace, use the drop-down arrow next to your profile in the top-left corner of the screen. Then click on Settings to open the Account Settings panel.
In the Account Settings panel, stay in the Account tab, scroll down until you see the Fonts section, and click the Download installer button.
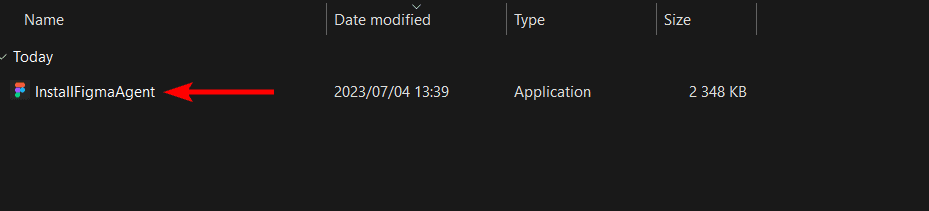
You will then be prompted to download the installer to your system. Save the application in your chosen folder. Click Save to download the installer.

Open your files, locate the downloaded installer, and double-click on it to run the application.
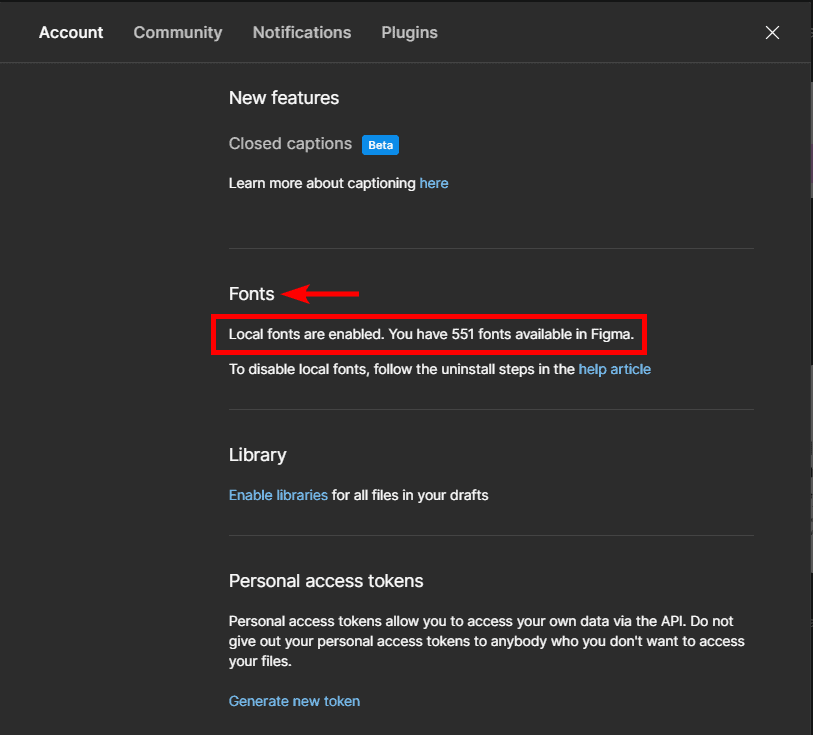
Follow the prompts to install the application. Once it’s installed, go back to your open Figma page to see whether the installation has been successful under the Fonts section. It will also tell you how many fonts you now have available in Figma.
Once you have installed the Font installer, you can use Adobe Fonts in Figma. If you need help finding the fonts, follow the next section.
Finding Adobe Fonts in Figma
If you are new to Figma, you may wonder how to find the Adobe Fonts you installed in the program. These fonts will be in the usual font list that you usually use. To find these fonts, open a new project or one you are working on.
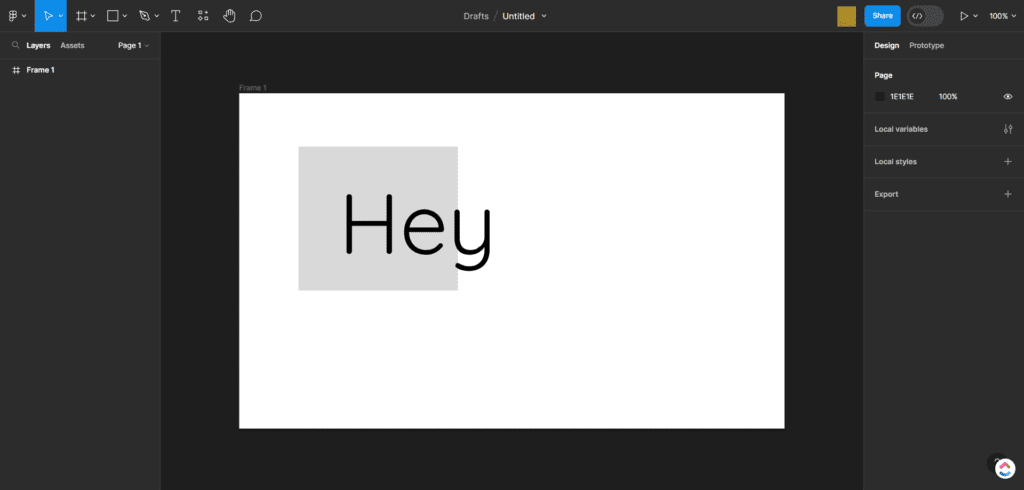
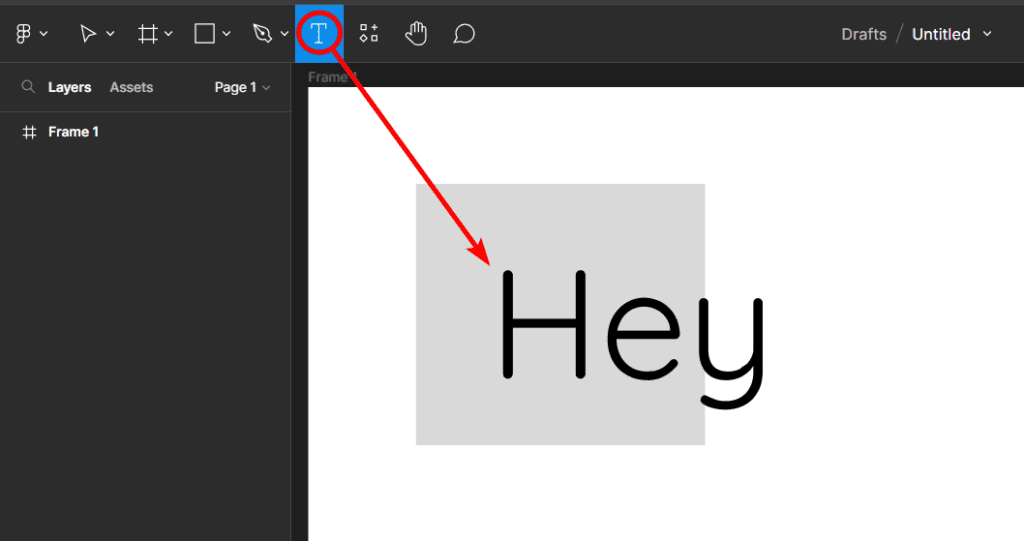
If you don’t have any text on the page, you can add some by clicking on the Text icon, dragging a text box onto the canvas, and typing your text inside.
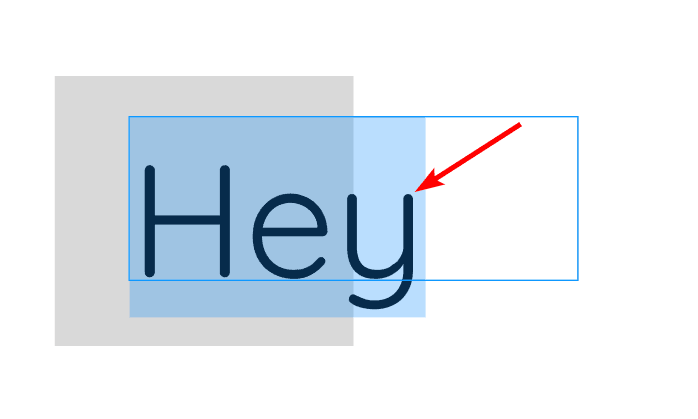
Once you have the text on the program, select it all by clicking inside the text box and highlighting the text by dragging your mouse over it.
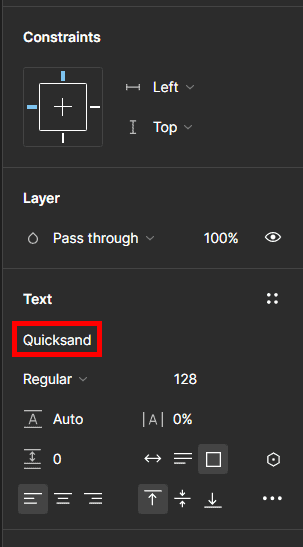
You can then change the font by locating the font option under the Text section on the right-hand side of the program. The menu will have the name of the current font, which you can click on to open the font options.
You can then scroll through the list or type the font name in the search bar to find one of the Adobe Fonts.
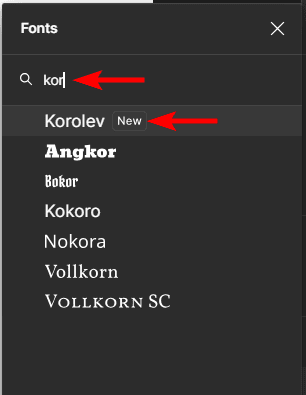
You can click on the font to change the text on the canvas.