To use the Free Transform Tool in Illustrator, select it from the toolbar or press E, then use the anchor points around the object and different keyboard shortcuts to distort the object into different shapes.
You can also use the extended menu to select different transform modes.
Keep reading to see how you can get the most out of this versatile tool in Illustrator.
Table of Contents
How to Use the Free Transform Tool in Illustrator
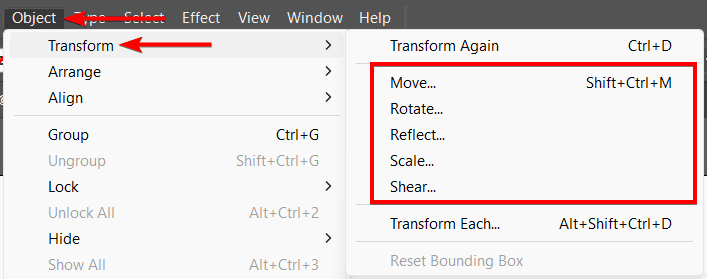
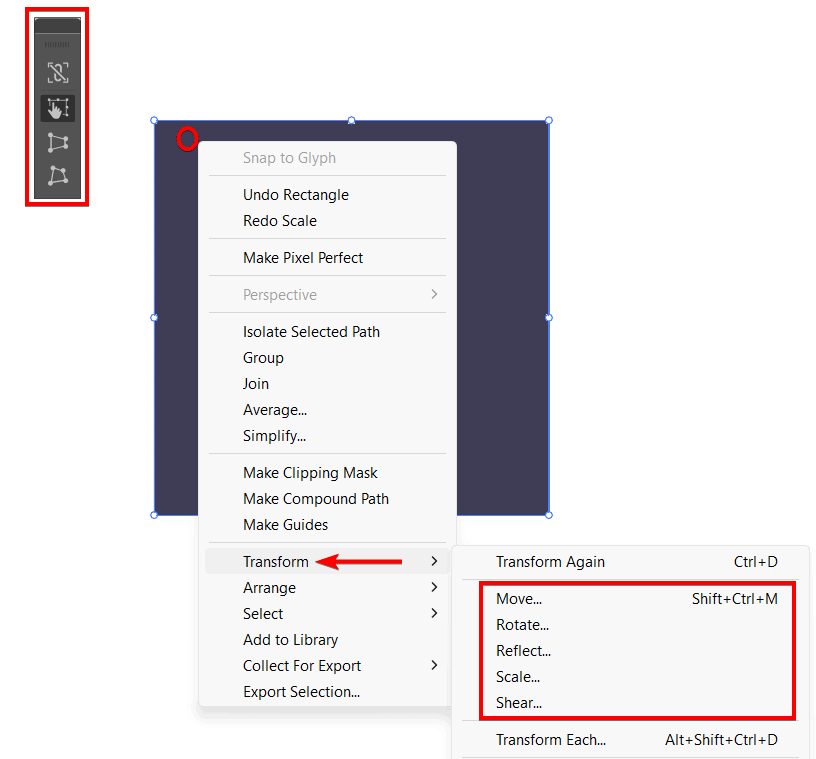
There are two ways to access Free Transform in Illustrator. If you want a specific transform mode, select the object you want to transform using the Selection Tool (V) and go to Object > Transform. Then, select the transform mode you want to use.
Alternatively, to use the free transform to customize the object more, select the Free Transform Tool from the toolbar or press E on your keyboard. You will see handles around the selected object, showing the transform controls.

Click and drag the anchor points to transform the object. The different handles you drag will produce different results.
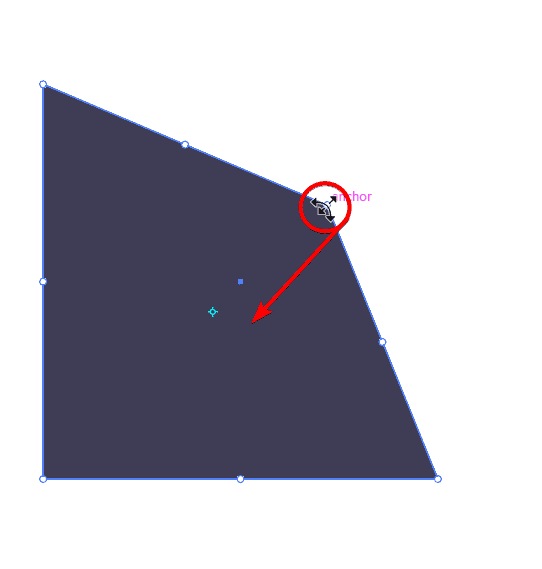
You can also adjust the object using the Free Transform Tool extended menu.
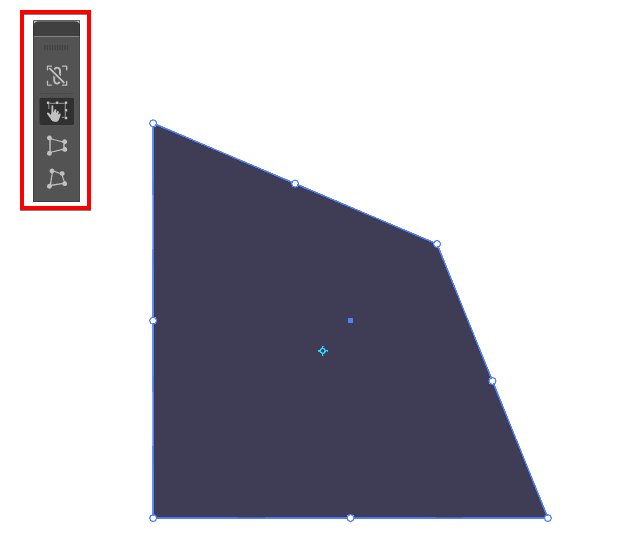
Free Transform Modes in Illustrator
You can use the anchor points to perform different transformations, depending on how you drag them. Here are some common transformations you can do with Free Transform:
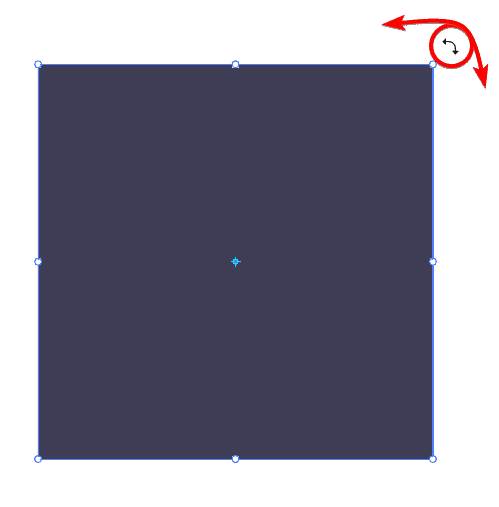
Rotate: To rotate the object, move the cursor outside the bounding box until you see a curved arrow. Then click and drag to rotate the object. You can also hold Shift to constrain the rotation to 45-degree increments.
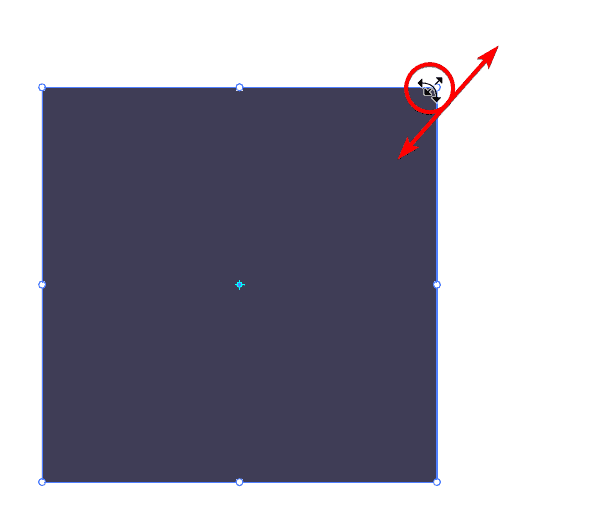
Scale: To scale the object, move the cursor over a corner handle until you see a diagonal arrow. Then click and drag to scale the object. You can also hold Shift to scale the object proportionally or hold Alt on Windows or Option on Mac to scale the object from its center.
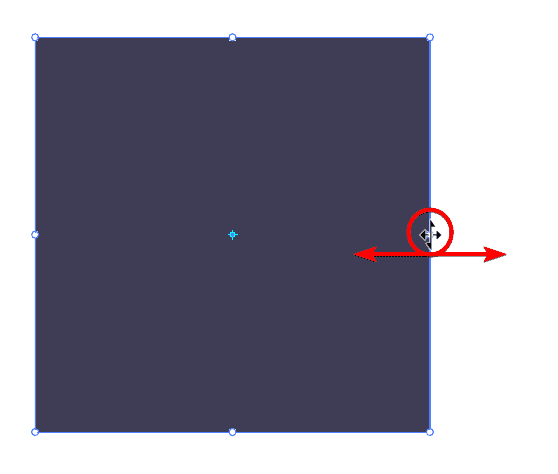
Skew: To skew the object, move the cursor over a side handle until you see a straight arrow. Then click and drag to skew the object. You can also hold Shift to skew the object along the horizontal or vertical axis or hold Alt on Windows or Option on Mac to skew the object from its opposite corner.
Distort: To distort the object, move the cursor over a corner handle until you see a diagonal arrow. Then, hold Control on Windows or Command on Mac and click and drag to distort the object. You can also hold Shift to distort the object symmetrically or hold Alt on Windows or Option on Mac to distort the object from its center.
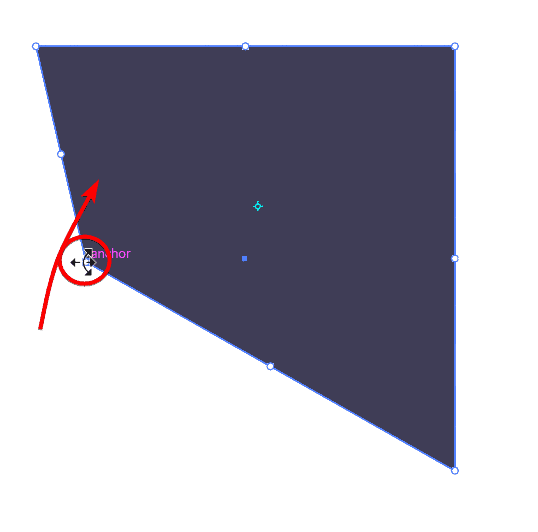
Perspective: To create a perspective effect, move the cursor over a corner handle until you see a diagonal arrow. Then, hold Control + Alt on Windows or Command + Alt on Mac and click and drag to change the perspective of the object. You can also hold Shift to maintain the original angle of the object.
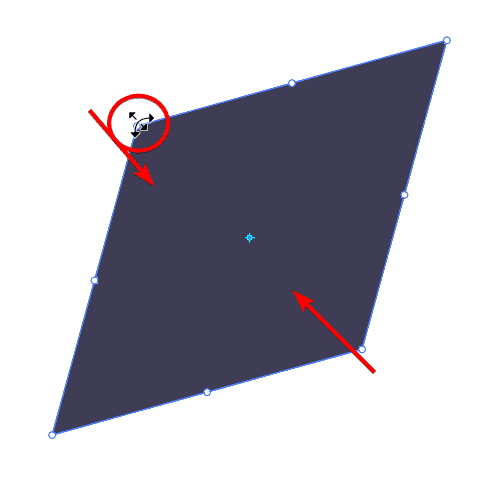
Shortcuts When Using Free Transform in Illustrator
To reset the transformation, undo the transformations you have done by pressing Control + Z on Windows or Command + Z on Mac as many times as needed.
To switch between different transformation modes, right-click on the object and choose the mode you want from the context menu. You can also use the widget that appears next to the object to select the mode you want.
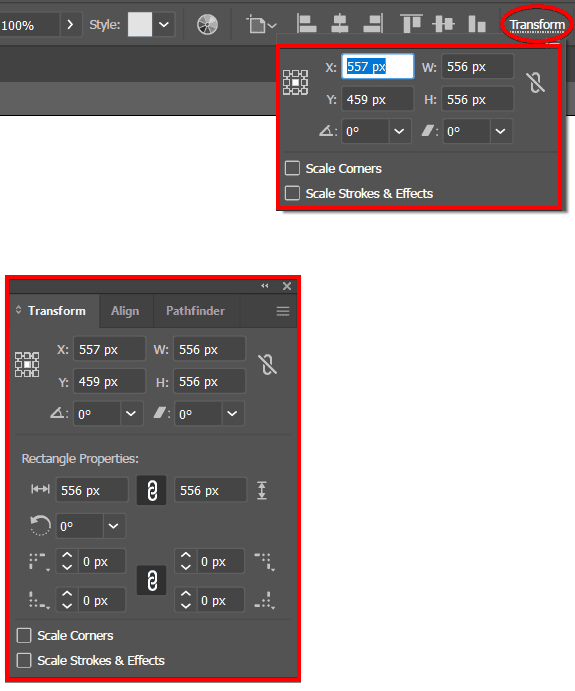
To enter precise values for the transformation, go to the options bar at the top of the screen and click on Transform. You can also use the Transform Panel (Window > Transform) to see and edit the transformation values.
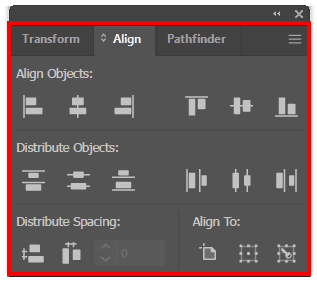
To transform multiple objects simultaneously, select them with the Selection Tool (V) and use Free Transform as usual. You can also use the Align Panel (Window > Align) to align and distribute the objects before or after the transformation.
