
The Lasso Tool in Illustrator is a versatile selection tool, allowing you to select an entire object or parts of a vector object. You can then manipulate, move, or edit the object in several different ways.
The Lasso Tool has several benefits, such as being able to drag across a path to select a piece of the path. Here is how to use the tool, as well as how to add or subtract from the selection.
Table of Contents
Overview of How to Use the Lasso Tool in Illustrator
- Select the Lasso Tool (Q)
- Draw a rough line around the object(s)
- Add to the selection (Shift)
- Subtract from the selection (Alt/Option)
- Check what is selected
- Select the Direct Selection Tool (A)
- Move or edit the object as needed
Step-by-Step of Using the Lasso Tool in Illustrator
The Lasso Tool differs from other selection tools, as you can draw a freehand selection around vector points or objects to create an undefined shape and select the exact area or points you want. The tool selects everything within the area you drew around, which is useful when selecting overlapping points or shapes close together.
Select the Lasso Tool (Q)
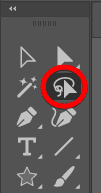
First, access the Lasso Tool by selecting it from the toolbar or pressing Q. The Lasso Tool in Illustrator looks different from the Photoshop Lasso Tool.
Draw a Rough Line Around the Object(s)
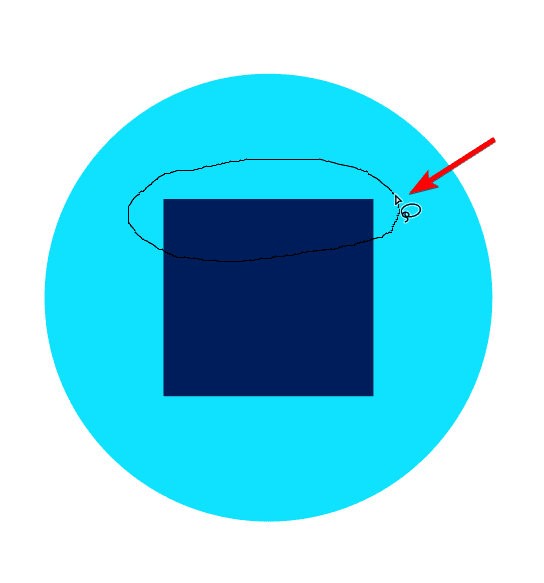
Next, draw a rough line around the object or vector points you want selected. You can close the selection yourself by drawing the end back to the starting point, or you can leave the selection open. If you leave the selection open, Illustrator will automatically draw a straight line back to the starting point to close the selection.
You can select vector points on an object without affecting the object below it, as long as you don’t draw around the bottom object’s path. For instance, I want to select the two top points on the square and not affect the circle below.
Note: Unlike Photoshop’s Lasso Tool, this tool doesn’t create a selection in the shape you draw. Instead, it selects all the objects/vector points inside the shape you draw.
Add to the Selection (Shift)
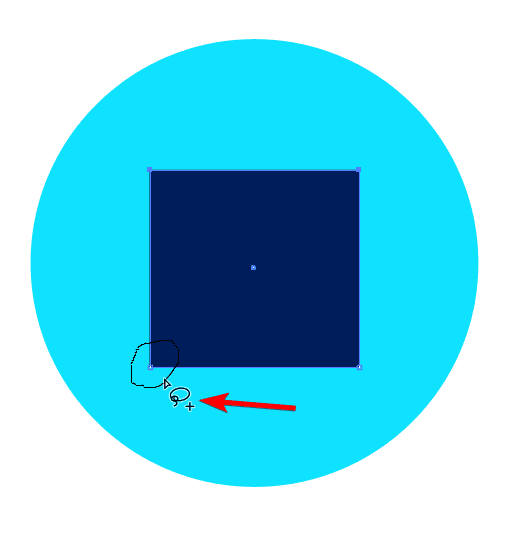
You can also add to the selection if you want to select more points after creating the initial selection. To add to the selection, hold Shift on Windows and Mac, and click and drag around the new areas you want to be selected. You will see a plus icon next to the Lasso Tool icon, showing that you are adding to the selection.
Subtract From the Selection (Alt/Option)
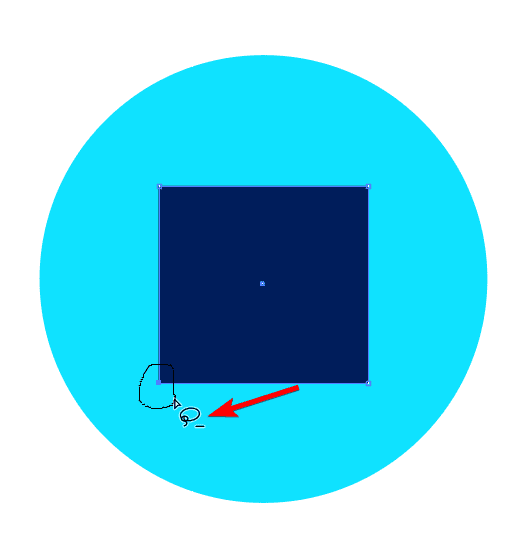
You can also remove an area from the selection by holding down Alt on Windows or Option on Mac. You will see a minus sign next to the tool icon to show that you are subtracting from the selection.
Confirm What Is Selected
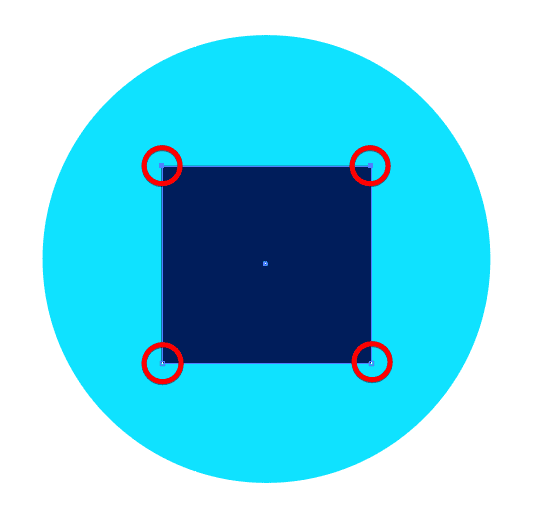
You can confirm which points or objects are selected before you make any changes. Any object you select will show the anchor points and a blue border around it. You can then check which points are selected by the coloring. Selected points are a filled blue block, while unselected points are white blocks with a blue border.
In my example, the two top points are selected and the bottom two points are unselected.
Now, when you move or edit the object, you will only affect the selected anchor points.
Select the Direct Selection Tool (A)
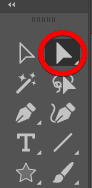
To move the selected areas, activate the Direct Selection Tool by selecting it from the toolbar or pressing A.
Move or Edit the Object as Needed
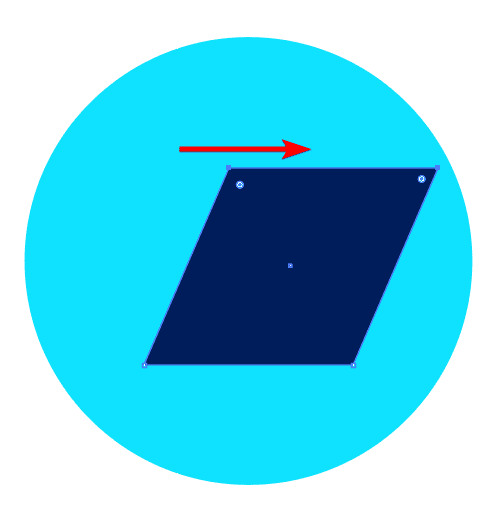
You can then click and move the anchor points around as needed. For example, I want to skew the square to the side so I can click anywhere on the path between the selected points and drag to move them to create a new shape.
Tools:
- Illustrator
👍 Support Us: Subscribe to our channel and help us continue providing these tutorials.
🌟 Regular Updates: We publish how-to videos for Adobe Illustrator regularly!
🔧 Expert Guidance: Learn Illustrator from our professionals and uncover exclusive tips!
