One of my favorite tools in InDesign is the transparent gradient feature that allows you to fade an image or a colored shape. This feature is useful if you want to fade out a picture to add other elements in the space or add a subtle object behind a paragraph of text to allow it to show up more clearly on the design.
This technique helps blend your design better and allows the objects to work together without being too bold or distracting against other objects and text. I commonly use this technique to make my text more visible on a busy design.
Here I will show you how to use the Gradient Feather Tool on your images and shapes. The technique will work on any object you apply it to by leaving a portion opaque and fading it out to transparent.
Table of Contents
Overview of How to Create a Transparent Gradient
- Add an image or object to the canvas
- Select the Gradient Feather Tool (Shift + G)
- Click on a point and drag to create the gradient
- Repeat the above step to correct the feather
- Add the gradient feather to any other objects
- Complete the design
Step-by-Step of Using the Gradient Feather Tool in InDesign

The Gradient Feather Tool is a creative way to blend objects together in InDesign and create a more flowing design. The tool can be used on photos and shapes to fade the element. Here I will show you the technique on an image and shape to demonstrate a practical example.
I will use this Sakura tree in bloom image from Unsplash to demonstrate.
Add an Image or Object to the Canvas
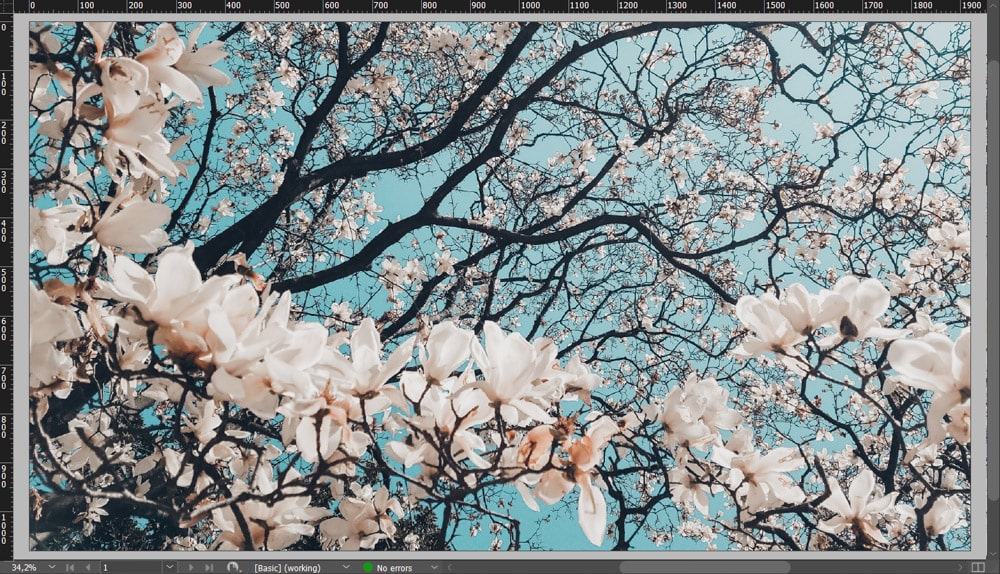
Before you add the gradient, you need an object to add the gradient to. Open a new document in InDesign and add your image or object to the page. You can add an image by pressing Control + D on Windows or Command + D on Mac and placing the photo. You can also use one of the shape tools to add a colored shape.
I will add the image first and then add a rectangle block later.
Select the Gradient Feather Tool (Shift + G)
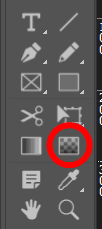
Once you have the object that you want to add the gradient to, activate the Gradient Feather Tool from the toolbar or press Shift + G to select it.
Click on a Point and Drag to Create the Gradient
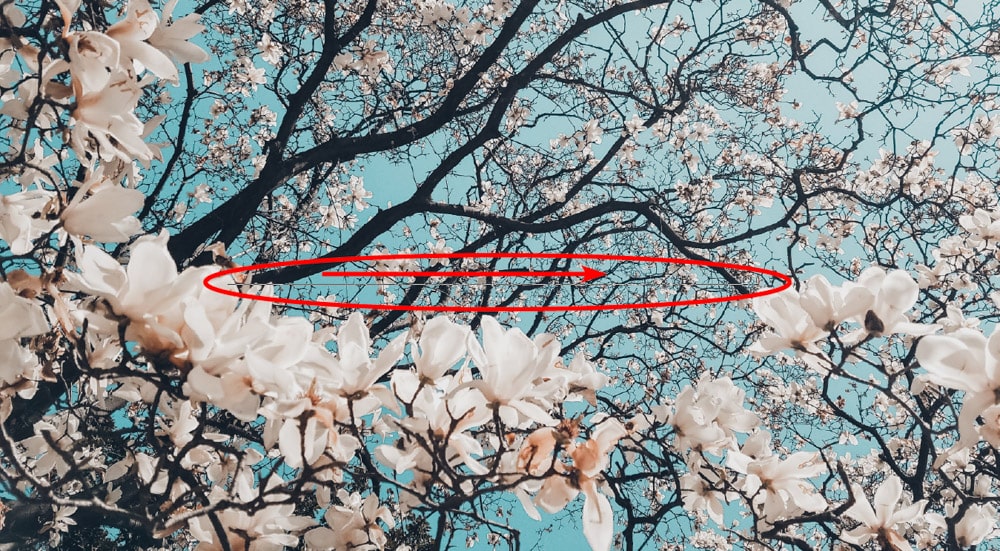
You can now click on a spot on the image or object and drag it out to create the gradient. The point you click on and everything before it will remain opaque, and everything along the line you draw will start to fade into transparency. The end of the line will be transparent.
Check the Gradient

When you release the gradient line, you will see the gradient added as the image changes from opaque to transparent along the gradient line.
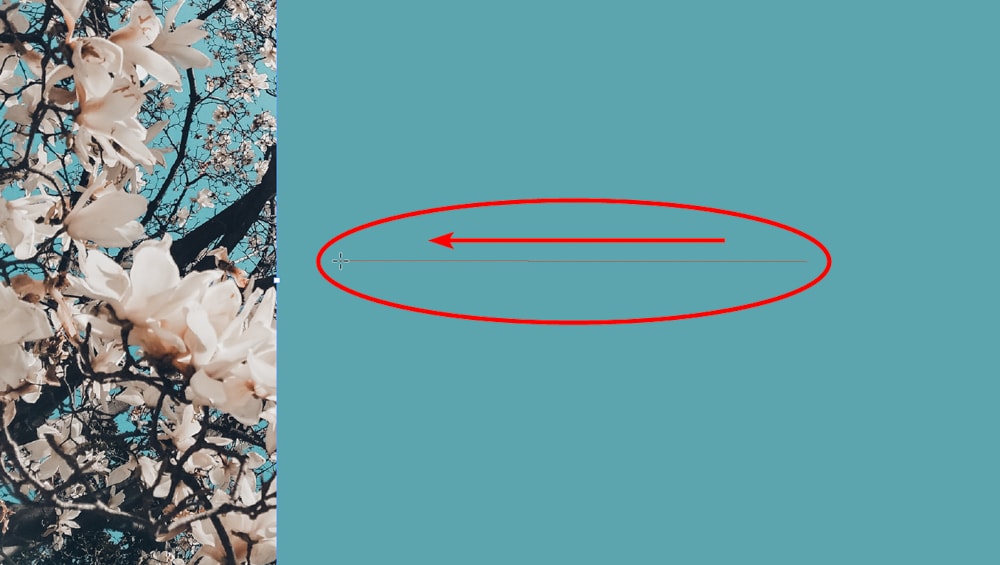
Repeat the Above Step to Correct the Feather

In many cases, you will need to attempt the gradient again to get the fade exactly how you want it. You can repeat the above step by drawing the gradient line again, and a new gradient will appear. You can repeat this process as many times as you’d like.
Add the Gradient Feather to Any Other Objects
You can then add other objects to the canvas and repeat the steps above to add the feathering effect to the other objects. For instance, I have added a rectangle with a blue color similar to the image’s background. Now I can fade the rectangle into the picture and move it to the back.
Complete the Design
Once you have added the feathered gradient to all the objects needed, you can complete your design, for example, by adding text where you’ve faded the objects.
Tools:
- InDesign
👍 Support Us: Subscribe to our channel and help us continue providing these tutorials.
🌟 Regular Updates: We publish how-to videos for InDesign regularly!
🔧 Expert Guidance: Learn Krita from our professionals and uncover exclusive tips!