
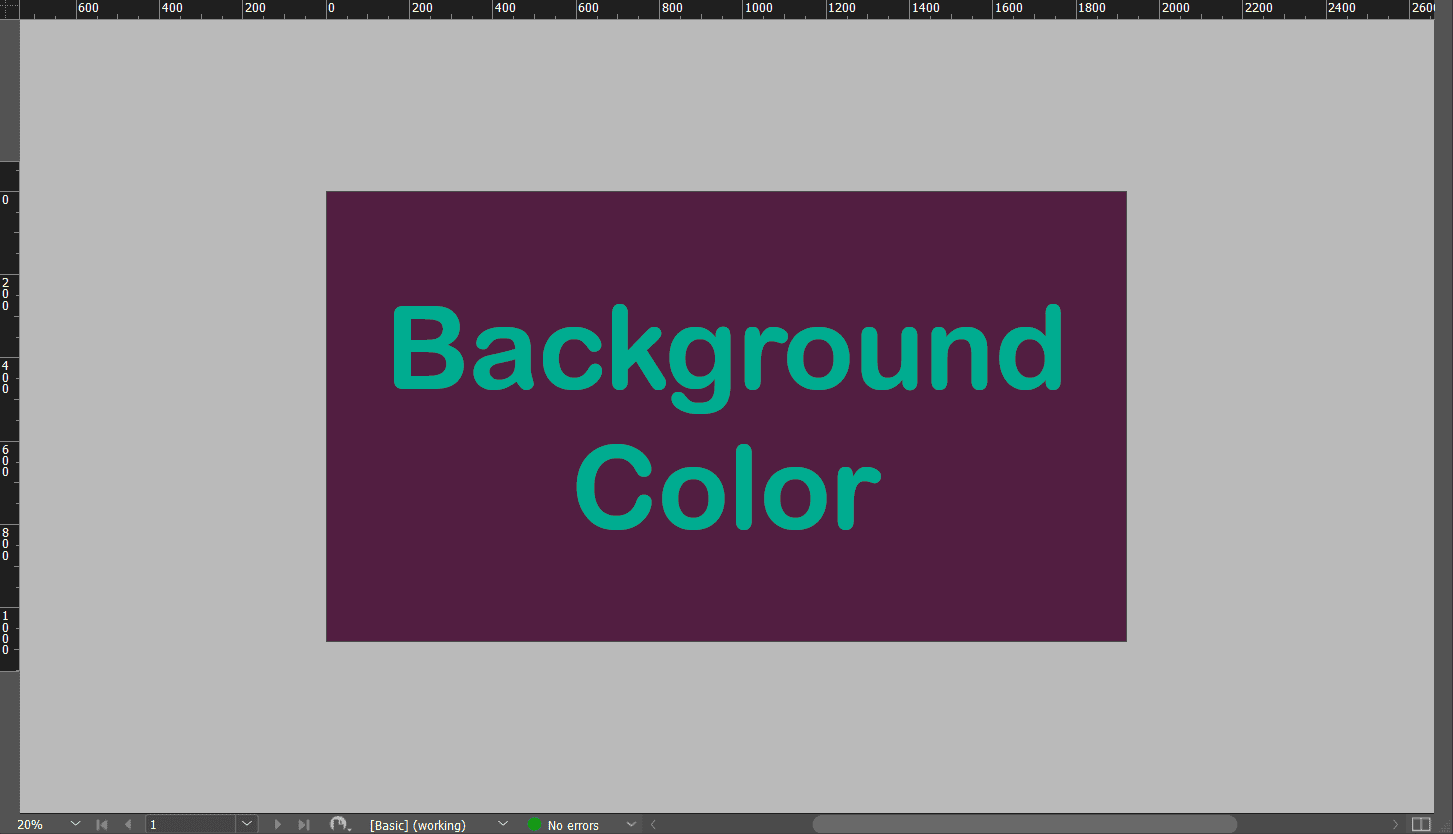
When creating layouts in InDesign, the default background is Paper, which is transparent, so it will be the color of the paper you print on. However, if you are designing material for a digital project, you may want to change the background color in InDesign.
InDesign doesn’t have a straightforward way of changing the background color, but luckily it’s still easy to do. I will show you how to change the background color on the canvas and the interface background color behind the canvas.
Table of Contents
Overview of How to Change the Background Color in InDesign
- Create a new document or open a project
- Select the Rectangle Tool (M)
- Change the Fill and Stroke Color
- Click and drag a Rectangle over the canvas
- Send the rectangle to the back
- Change the background color
- Lock the layer in place using Control / Command + L
- Unlock the layer using the layers panel
Step-by-Step of Changing the Background Color
If you want to add color to the background of your canvas, follow these steps. This method offers an easy way to change the background color at any stage.
Create a New Document or Open a Project
To change the background color in InDesign, you must have a project open. You can either use a project you are working on or create a new document. By default, the background looks white but is actually transparent. You can add text and elements to the canvas.
Select the Rectangle Tool (M)
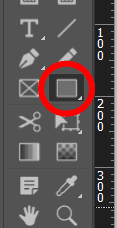
Once you have a document open, select the Rectangle Tool from the toolbar or press M.
Change the Fill and Stroke Color
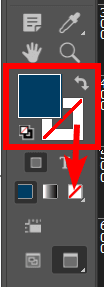
Next, change the fill color to the color you want the background to be, and change the stroke color to none. You can set these colors by double-clicking on the fill color swatch in the toolbar and selecting the color from the color picker. Then, select the outline swatch and click on the none icon below the swatches.
Click and Drag a Rectangle Over the Canvas
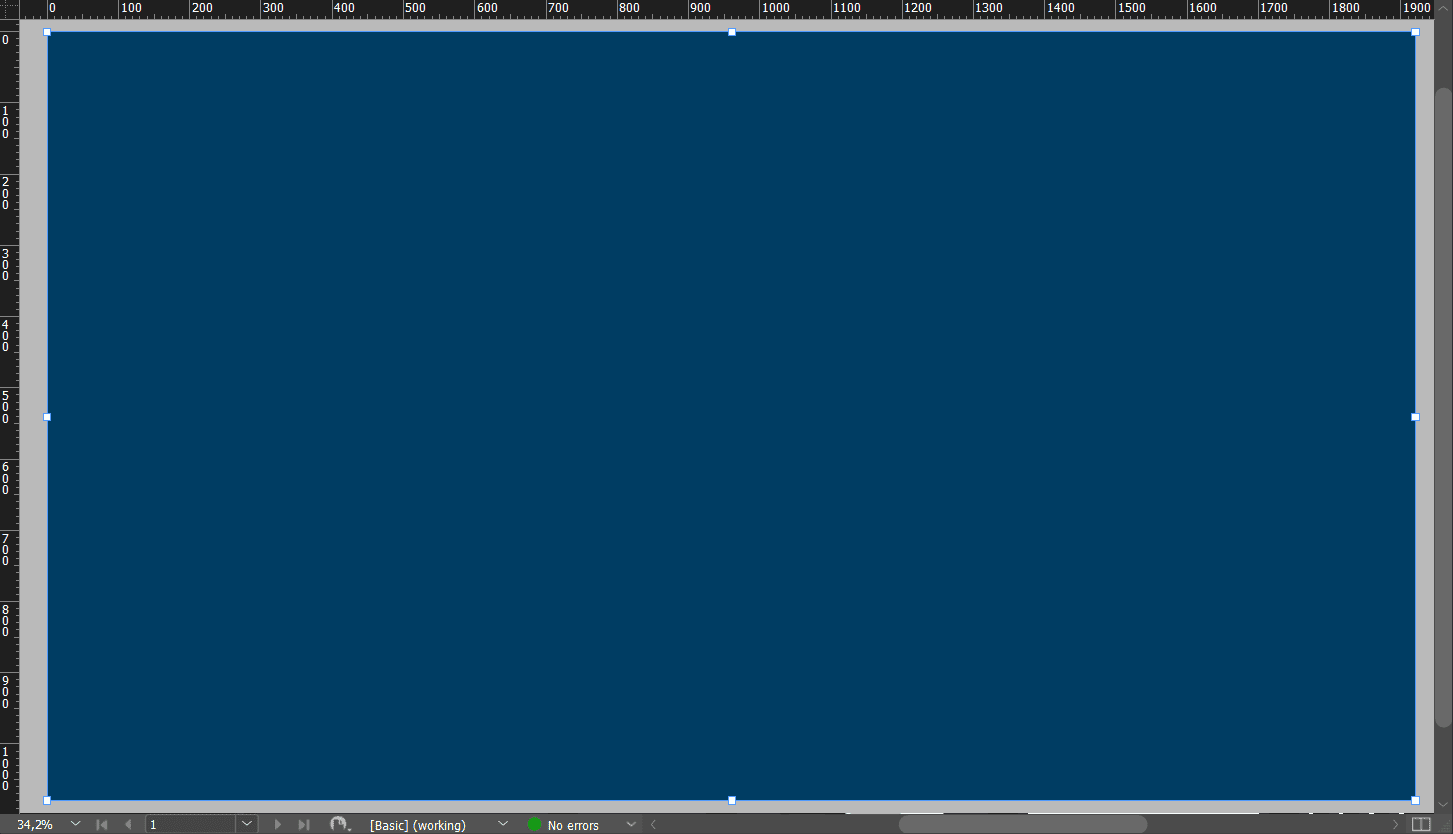
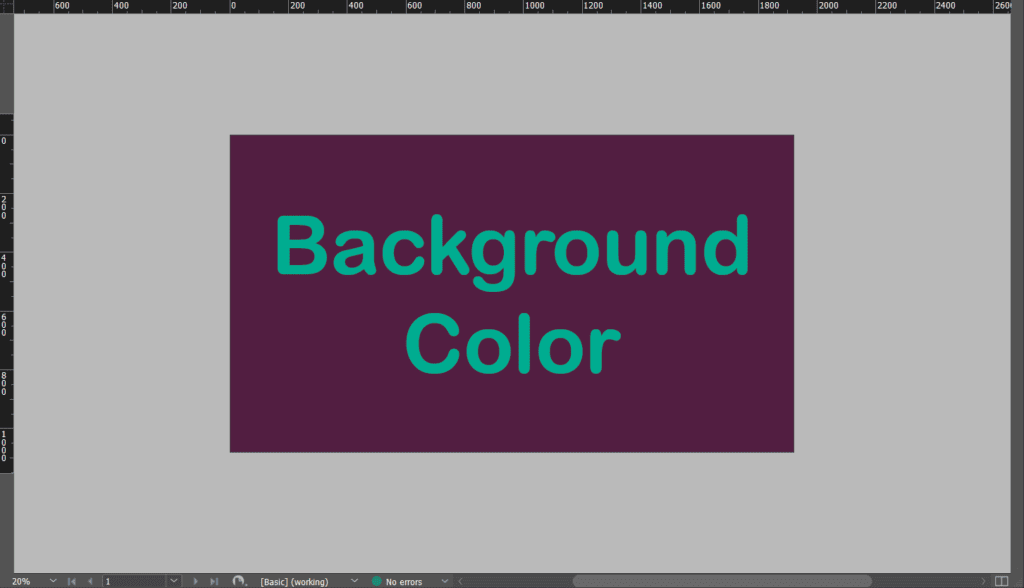
Once you have your colors set, click in one of the corners on the canvas and drag the rectangle out until it meets the opposite corner to add a rectangle across the entire canvas. You now have a background color.
Send the Rectangle to the Back
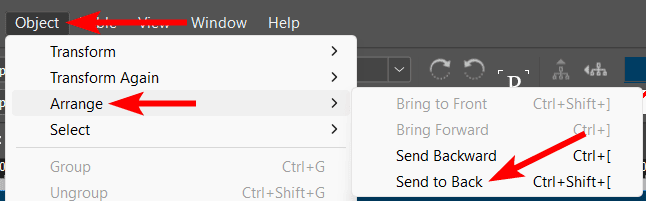
If you already had text or objects on the canvas, you will notice that they are now hidden behind the rectangle. You can easily send the rectangle to the back of the design (which means it’s on the bottom of the layer stack), so your other objects will be visible.
To send the rectangle to the back, select it, then go to Object > Arrange > Send to Back or use the shortcut Shift + Control + [ on Windows or Shift + Command + [ on Mac.
Change the Background Color
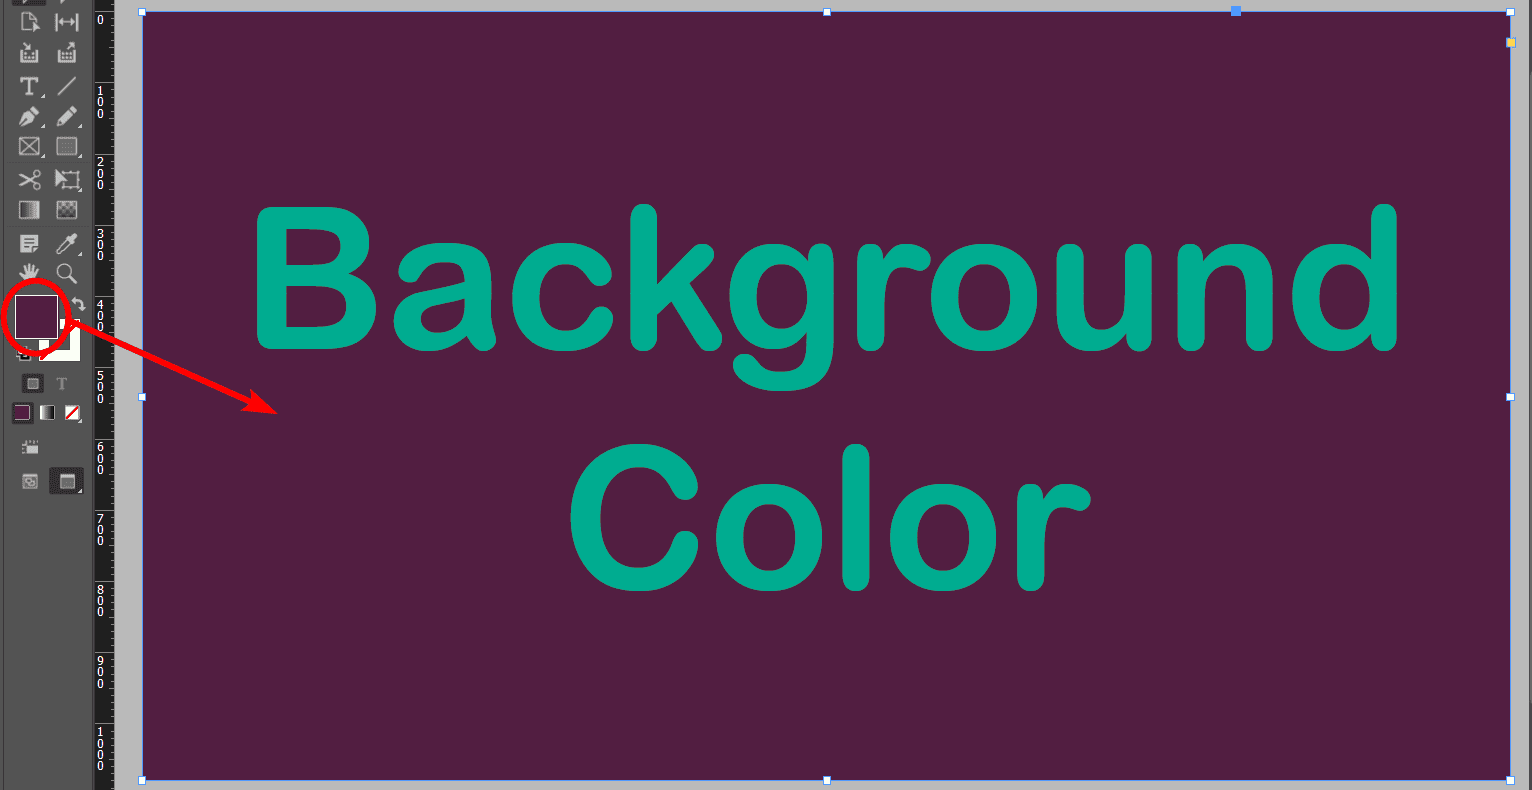
You can change the background color at any time now by selecting the rectangle and then changing the Fill color in the toolbar, as explained previously.
Lock the Layer in Place Using Control / Command + L
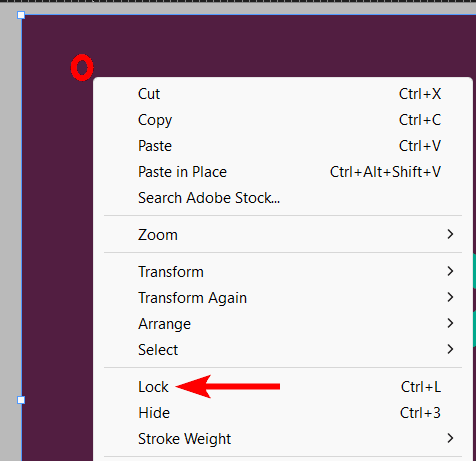
Since the rectangle is an editable object, it may get in the way if you want to move objects around and keep selecting the background by mistake. To avoid this, you can lock the background, which means you can’t select or edit it until you unlock it.
To lock the background rectangle, select it, then right-click on Windows or Control + click on Mac and select Lock. You can also use the shortcut Control + L on Windows or Command + L on Mac.
Unlock the Layer Using the Layers Panel
If you want to move, delete, or edit the background color at any time, you need to unlock it first. You can’t unlock it in the same way you locked it. To unlock the layer, open the layers panel on the right-hand side of the workspace.
Note: If you can’t see the layers panel, go to Window and click on Layers.
In the layers panel, click the lock icon next to the rectangle layer to unlock it. You can then edit the rectangle as usual.
Tools:
- InDesign
How to Change the Pasteboard Color Behind the Canvas
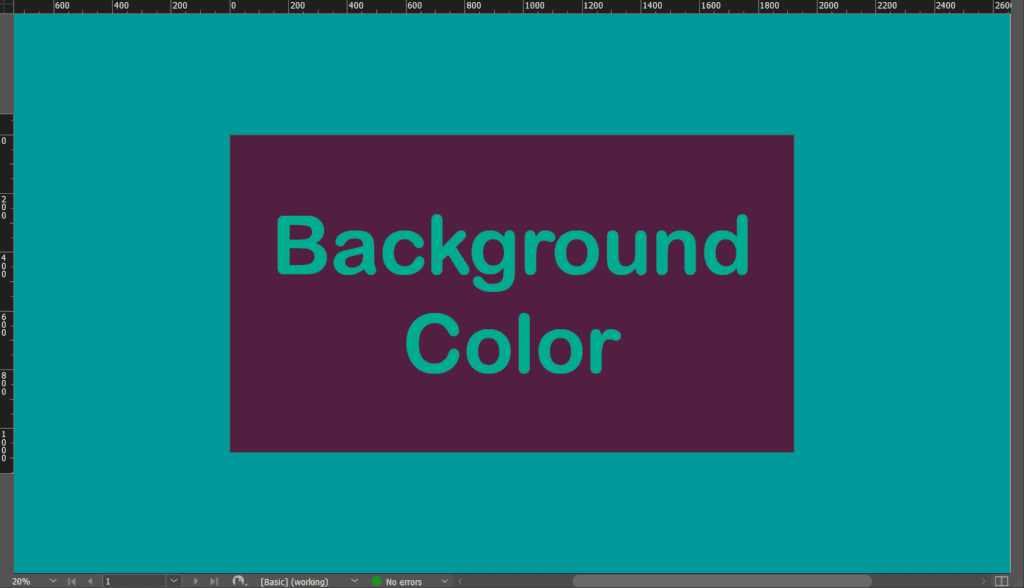
In other instances, you may want to change the background color behind the canvas, which is part of the interface. Do this if your canvas background color is too similar to the interface or if you want to see what the design looks like on a darker or lighter background.
By default, the interface background color is light gray. You can zoom out using Control + - on Windows or Command + - on Mac to see the background, which is known as the pasteboard.
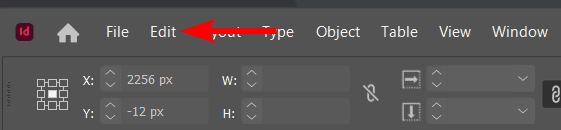
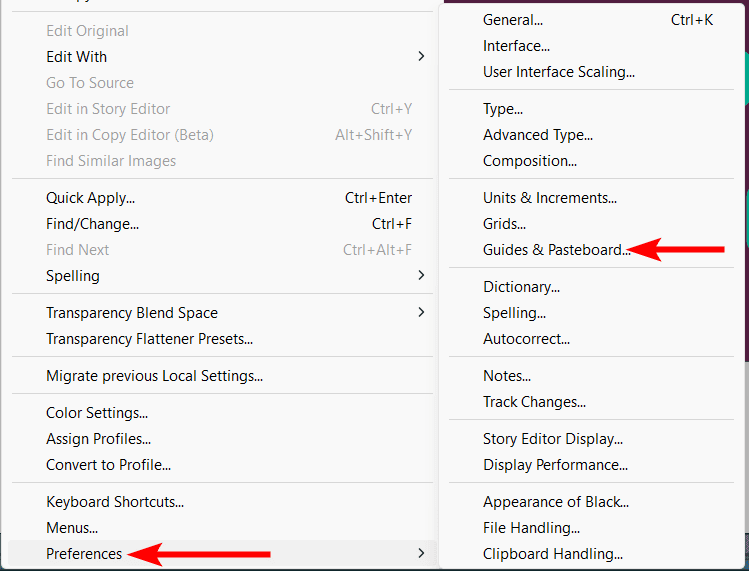
To change the color, go to Edit > Preferences > Guides & Pasteboard on Windows or Photoshop > Preferences > Guides & Pasteboard on Mac.
You can also use the shortcut Control + K on Windows or Command + K on Mac to open the preferences and select the Guides & Pasteboard tab.
In the tab, locate the drop-down menu underneath the Preview Background option. You can select any color from the options or choose a custom color at the bottom. Click OK to make the change once you’ve accepted the color.
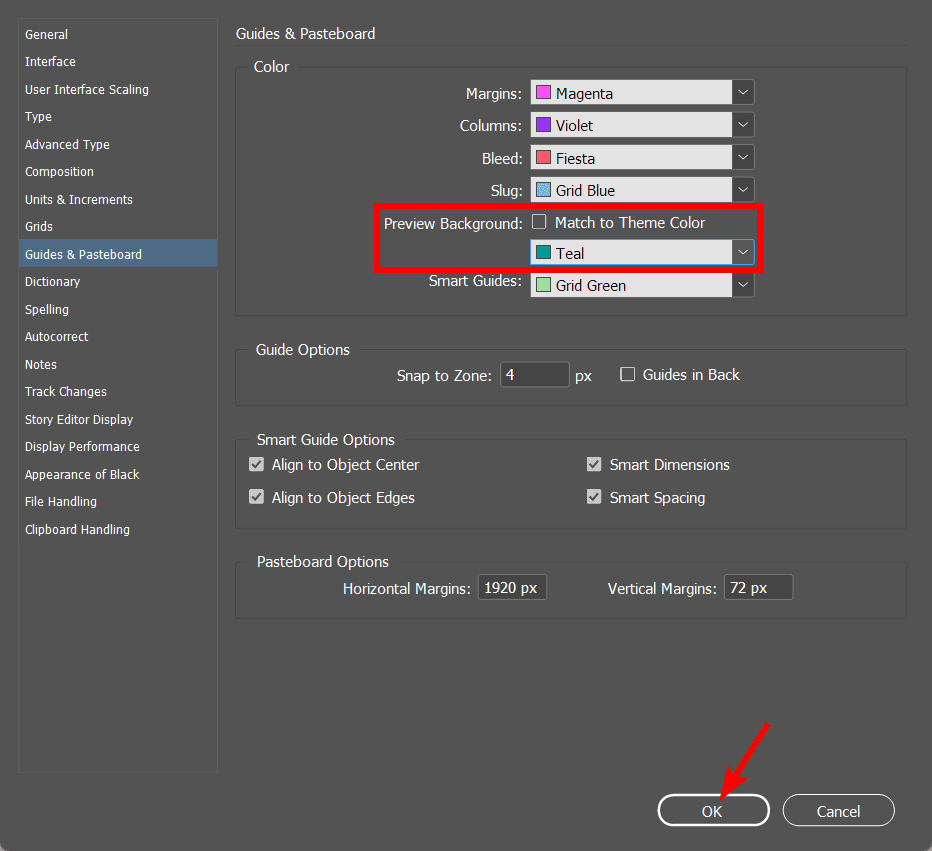
Your pasteboard background will now be the chosen color, but this won’t appear when you export your designs and is merely a preview color.
👍 Support Us: Subscribe to our channel and help us continue providing these tutorials.
🌟 Regular Updates: We publish how-to videos for InDesign regularly!
🔧 Expert Guidance: Learn Krita from our professionals and uncover exclusive tips!