Unfortunately, Illustrator and InDesign files are not compatible with the other program since InDesign is a layout-based program and Illustrator is vector based. You can’t simply save an Illustrator file and then open it in Adobe InDesign since the program doesn’t have the capability to work with certain elements of the file.
However, you can find a workaround to open your file in InDesign, although you won’t be able to edit certain elements if they aren’t compatible.
Table of Contents
Two Best Ways to Convert an Illustrator File to an InDesign File
Since you can’t directly open an Illustrator file in InDesign, you need to get creative to move your work across. These two methods work for a one-page design or designs with a few elements but will take a long time to convert on a multi-page design.
The two methods also have limitations, and this is because the files have different functions that aren’t compatible with each other.
Option 1: Save the Illustrator File as a PDF and Place it in InDesign
The first method works by saving the file in a format that can be placed into InDesign. This method works well if you want the Illustrator elements on your InDesign page in high quality, but it doesn’t allow you to edit any of the elements.
You will need both programs on your device or to have the Illustrator document as a PDF file.
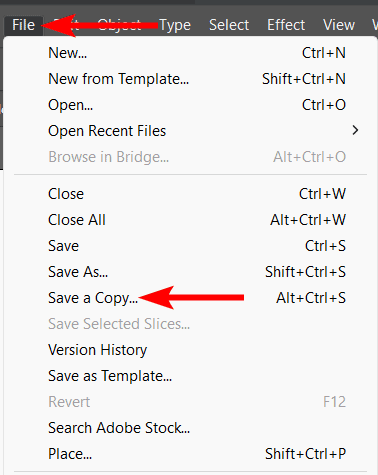
You first need to save your Illustrator document as a PDF. To do this, add all the elements you need to the document. Then, go to File > Save a Copy or use the shortcut Alt + Control + S on Windows or Option + Command + S on Mac.
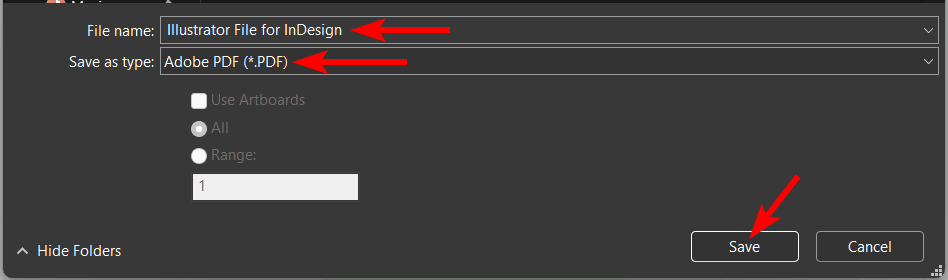
In the Windows Explorer or Finder window that opens, select a location to save the file. Then, add a name for the file and select Adobe PDF (*.PDF) from the options in the Save as Type drop-down menu. Click Save to save the file.
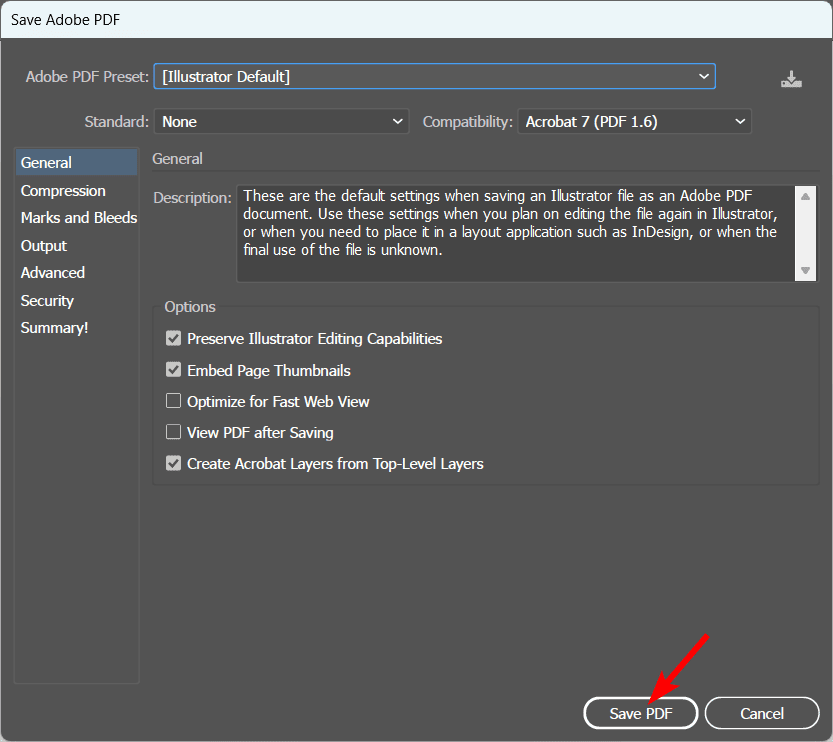
When the Save Adobe PDF window opens, leave the settings at the defaults and click Save PDF.
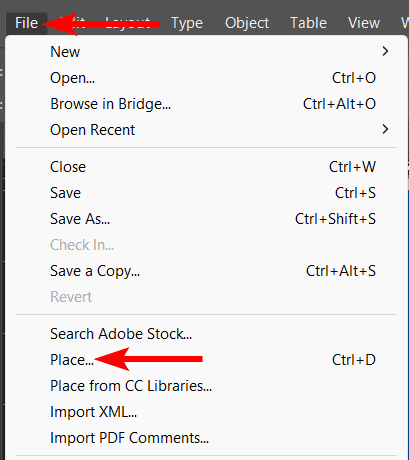
Next, open InDesign and create a new project or open the project to which you want to add the Illustrator design. Then, go to File > Place or use the shortcut Control + D on Windows or Command + D on Mac.
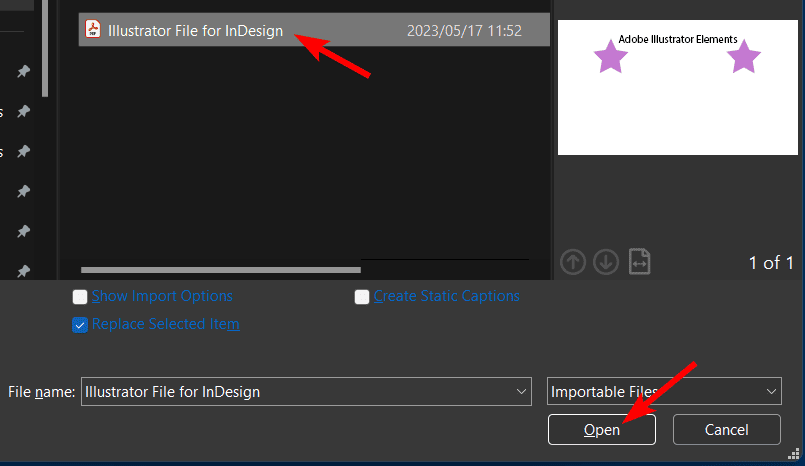
The Explorer or Finder window will open, allowing you to locate the file from your computer. Select the file and click Open.
The PDF file will appear as a thumbnail on the canvas. You can move this around to where you want to place the file.

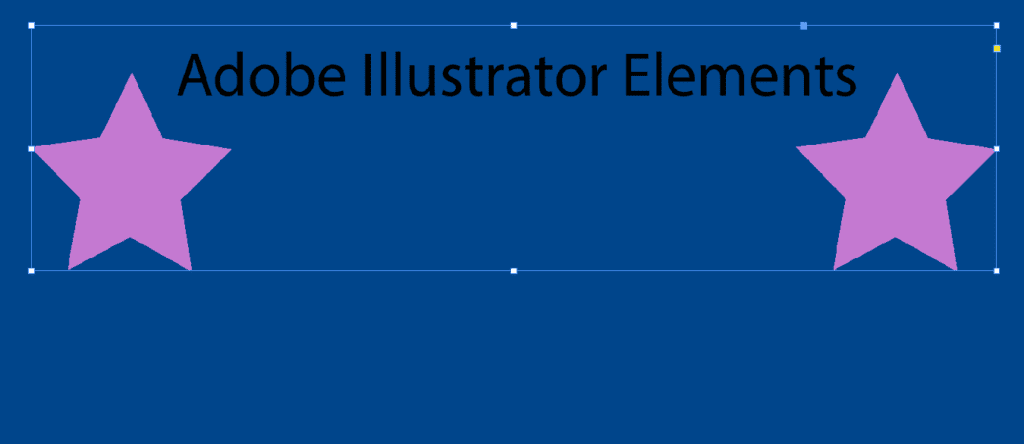
Once you have the cursor where you want the file, click and drag it out to place the file at the size you want. The file will be added to the canvas, and you can resize and move it as needed. You can’t edit any of the objects as it is placed as an image in the project.
The downside to this method is that the file is added as a link in the InDesign file. This means that if you change or move the PDF file, you will need to update the link in InDesign. You can update links by opening the Links panel and clicking Relink or Update Link from the icons at the bottom.
Note: InDesign will show you a warning message when opening the project if there are any missing links in the document. You will then see an exclamation point next to the missing links in the panel.
Option 2: Copy the Elements From Illustrator and Paste Them into InDesign
The second method to convert your files is to copy the elements from Illustrator into InDesign. This method gives you some editing capabilities when the elements are in InDesign, depending on what objects are copied across. Only objects compatible with InDesign will be editable.
For this method, you will need to have both programs on your device.
Open Illustrator and add the elements to your document. I will use the same heading and stars as the previous example. Select all your elements by clicking and dragging over them or by clicking each one while holding Shift.
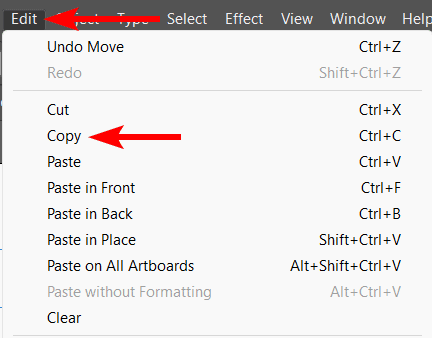
Then, copy the elements by going to Edit > Copy or using the shortcut Control + C on Windows or Command + C on Mac.
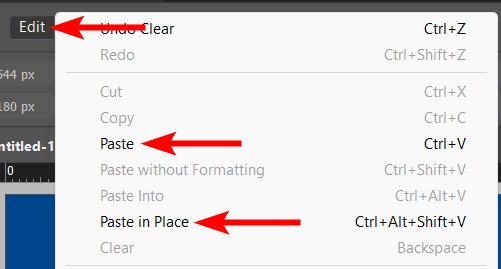
Open your project in InDesign and then paste the elements by going to Edit > Paste or using the shortcut Control + V on Windows or Command + V on Mac.
Note: Select Paste in Place if you want the elements to be placed in the same position as they previously were.
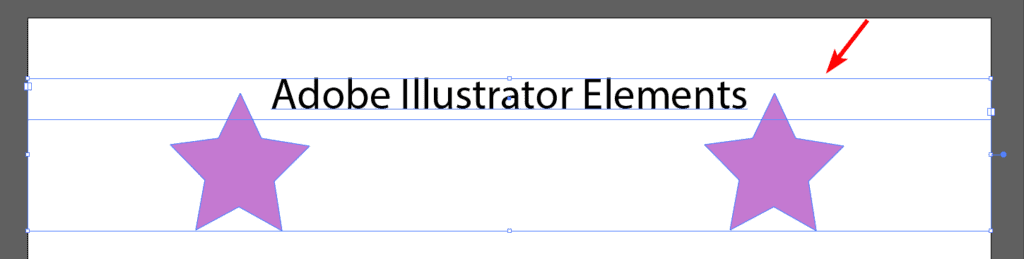
The elements will now appear grouped on the canvas. You can resize and move the elements as needed. You can also ungroup them by pressing Shift + Control + G on Windows or Shift + Command + G on Mac.

You can click on elements to see which ones are editable. In my case, I can’t edit the text, but I can edit the star shapes and change the colors. In this method, the elements aren't added as a link, so you don’t have to worry about any missing links.

👍 Support Us: Subscribe to our channel and help us continue providing these tutorials.
🌟 Regular Updates: We publish how-to videos for InDesign regularly!
🔧 Expert Guidance: Learn Krita from our professionals and uncover exclusive tips!