When working on typesetting elements of your project in InDesign, you may need to convert text to a shape, also known as converting the text to outlines. This can be a tricky process if you’re new to the program.
Outlining text is essential when sending artwork to another device as it preserves the font even if the other device doesn’t have the font installed. Converting text to a shape also opens up many creative possibilities by allowing you to manipulate and customize the text in new ways to create interesting designs.
Here we will explore the step-by-step process of outlining text along with tips and tricks to help you create eye-catching typographic layouts and logos. Read on to discover the potential of turning text into captivating visual elements in InDesign.
Table of Contents
Overview of How to Convert Text to Outlines in InDesign
- Add text to the canvas
- Select the text using the Selection Tool
- Go to Type > Create Outlines
- Select the Direct Selection Tool
- Click on the text to view the path
Step-by-Step to Convert Text to a Shape
Converting text to a shape is called outlining text, which turns the text into a vector path. Once you convert the text, you won’t be able to edit it by re-typing words and letters or changing the font and other formatting functions.
However, you will be able to manipulate the text by distorting the letters, changing the color of individual letters, and more. To find out how to edit the text, follow the guide in the next section once you have converted the text.
Outlining text is a destructive process, so save your work separately before converting the text to outlines, as you won’t be able to convert the text back to editable text. You should also only convert to outlines at the last step of your workflow.
Add Text to the Canvas
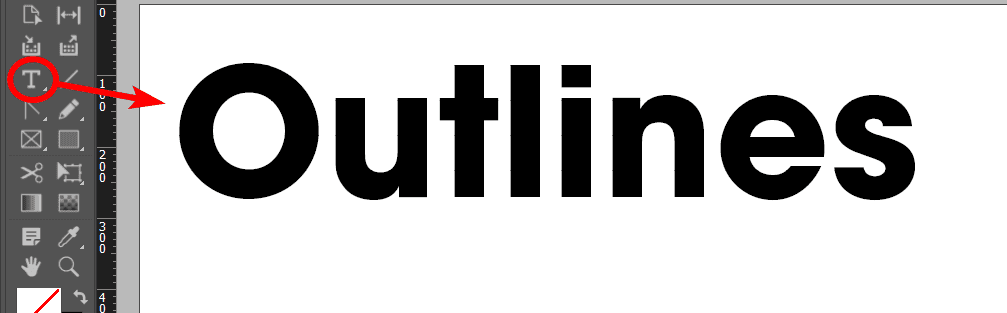
To convert text to outlines, you must first add text to the canvas. You can convert one word, a sentence, or a paragraph to outlines. Select the Type Tool from the toolbar or press T to add text, then drag a box out on the page and type in your text.
Note: Format your text as needed at this stage using the settings in the Options Bar.
Select the Text Using the Selection Tool

Once you have added and formatted your text, activate the Selection Tool from the toolbar or press V. Then click on the text to select it.
Note: If you want to convert multiple text boxes simultaneously, then Shift + click on the text boxes, or if you want all the text on a page, press Control + A on Windows or Command + A on Mac. Selecting other non-text objects is fine, as they won’t be affected by the next step.
Go to Type > Create Outlines
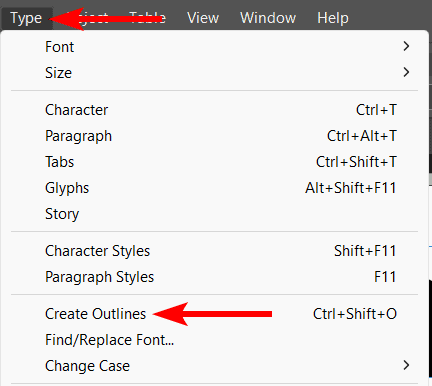
Once all the text boxes are selected, click Type > Create Outlines or use the shortcut Shift + Control + O on Windows or Shift + Command + O on Mac.
Select the Direct Selection Tool
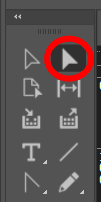
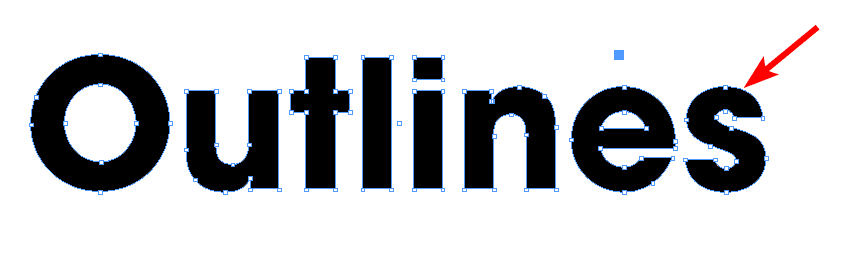
To ensure the text has been converted correctly, select the Direct Selection Tool from the toolbar or press A.
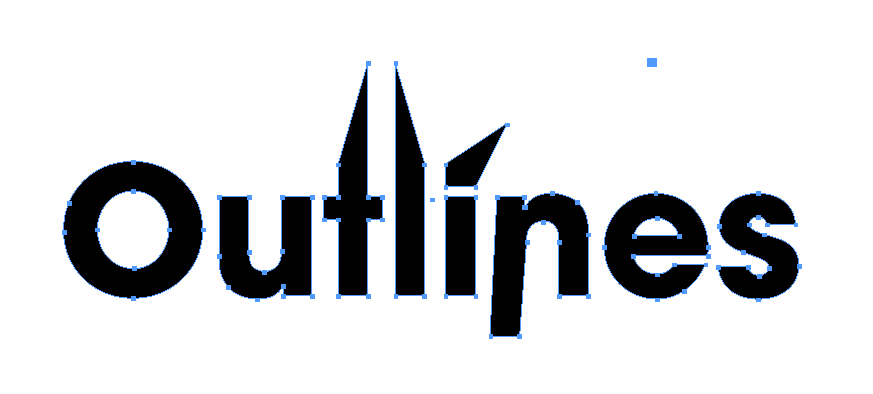
Click on the Text to View the Path
Once the tool is active, click on the text to view the path. You should see anchor points surrounding each letter, which shows that the letters are now paths.
If you only want to convert to outlines to preserve the text, save the document as a copy (to keep an editable copy of your work) and send the artwork to print or your colleagues.
However, if you want to edit the text to create customized text, follow along in the next section.
Tools:
- InDesign
How to Edit Text Once It’s Converted to Outlines
If you want to edit the text after converting it to outlines, to create an eye-catching layout, or when designing a logo, you can edit the text in several ways.
You can now work with the text as you would with any other path, but here are a few of the most common things you may want to do with the text.
To edit the text, ensure you have the Direct Selection Tool (A) active.
Edit a single anchor point:
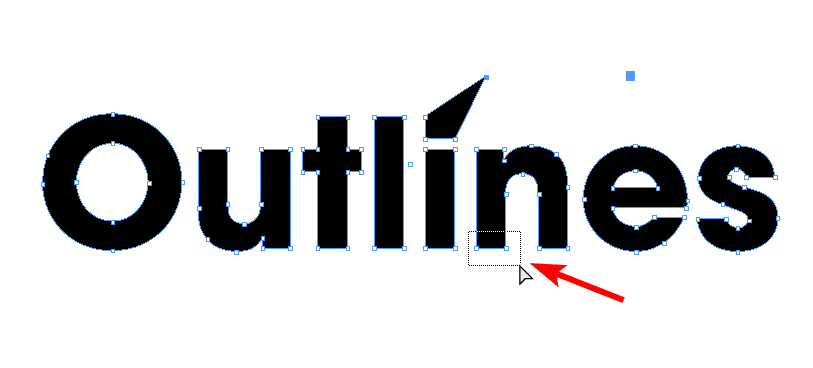
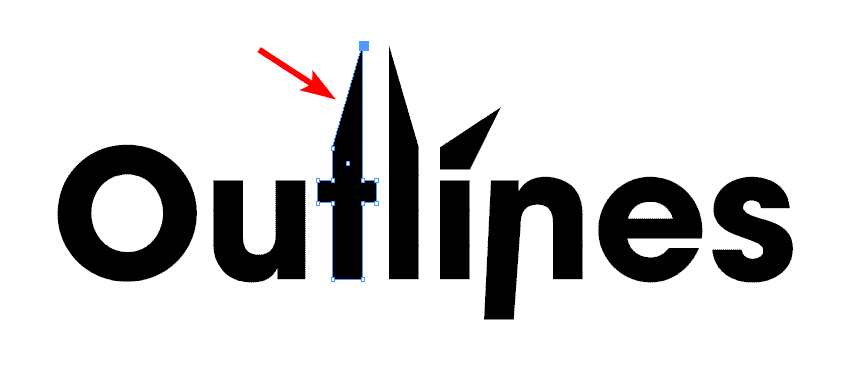
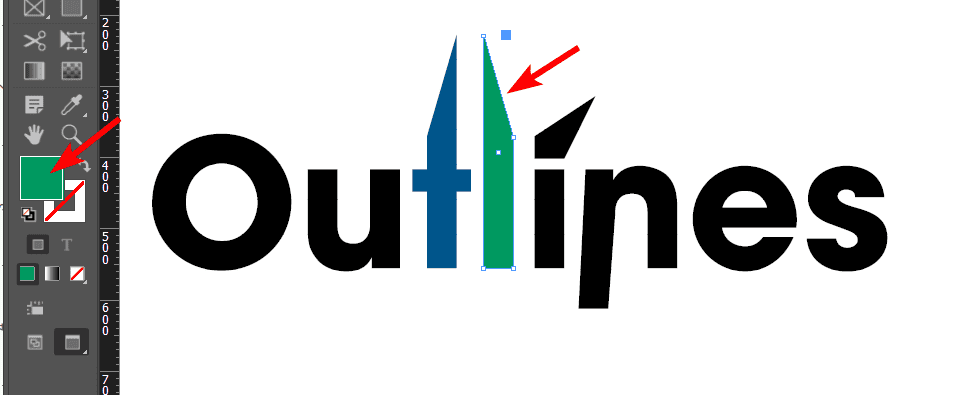
If you want to edit one anchor point to distort the text, select it with the Direct Selection Tool first. When an anchor point is selected, it turns blue. Ensure the one you want to move is blue, and the rest of the points are white.
Note: if you can’t seem to select a single point, click on a blank spot on your canvas and then reselect the text, and you should be able to select one anchor point this time.

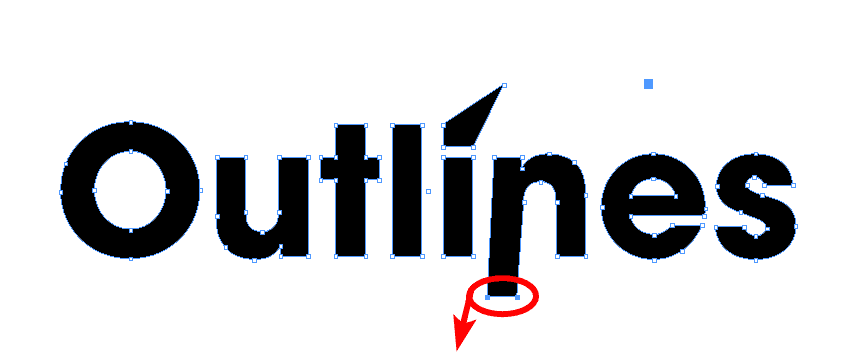
Once you have a point selected, click and drag it to where you want it to distort the letter.

Edit multiple anchor points simultaneously:
If you want to distort multiple anchor points at the same time, you need to select more than one point. You can select multiple points by clicking and dragging over the anchor points you want to be selected or holding in Shift and clicking on the points.
Ensure the points you want to be selected are blue.

Then click and drag the points to distort them.
Move anchor points in a line vertically or horizontally:
If you want to move anchor points while keeping them in the same vertical or horizontal line as the original point, you can easily do so.
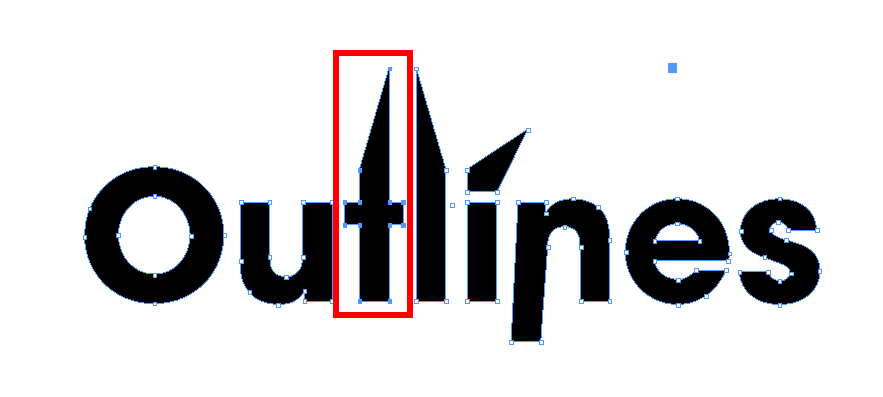
First, select the anchor point or multiple points you want to move.

Then, click and drag them in the direction you want. Once you have started moving the points, press down and hold in Shift while you keep pulling the points. The point(s) will lock into the horizontal or vertical line.
Note: only press Shift after moving the points slightly, or you will deselect the anchor point instead of moving it.

Change the color of individual letters:
Unfortunately, once you have converted the text, changing the color of individual letters is challenging as the paths are all still connected. You also can’t ungroup the letters and work on them individually.
However, there is an easy workaround. To edit one letter’s color, click and drag over the letter to select all the anchor points.
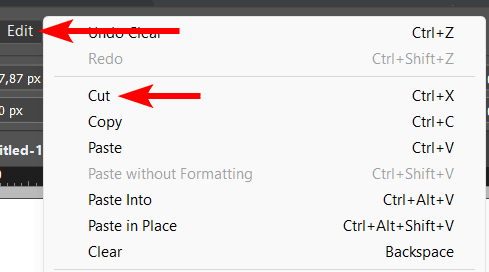
Then, cut the letter by going to Edit > Cut or use the shortcut Control + X on Windows or Command + X on Mac.
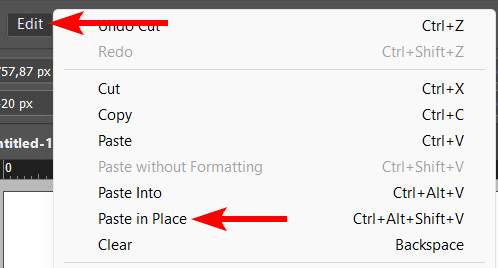
You can paste the letter back in the same spot by pasting it in place. To do this, go to Edit > Paste in Place or use the shortcut Shift + Control + Alt + V on Windows or Shift + Command + Option + V on Mac.
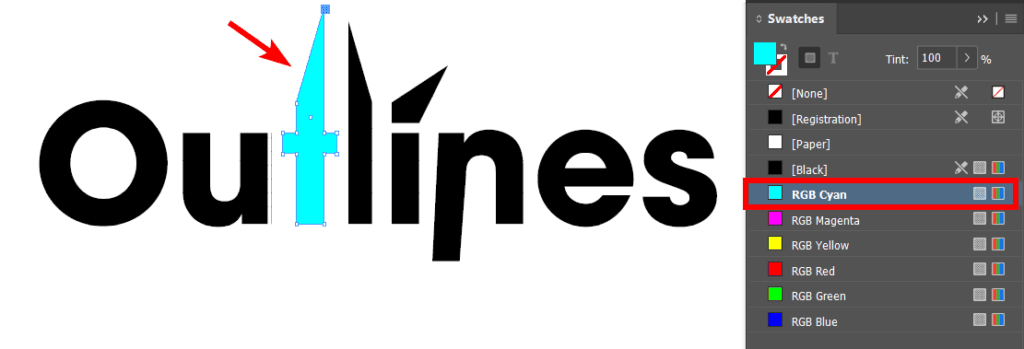
The letter will appear back in the same spot, but it will be separate from the other letters.
You can now use the Swatches panel to change the color of the letter.
You can repeat this process for other letters and use the foreground swatch in the toolbar to find more custom colors.
Place an image inside the text:
Another common edit, after converting text to outlines, is to add an image inside the text, using the letters as a frame. You will need all the letters as one path if you want the image to go across all the letters, so don’t cut and paste individual letters (as above) unless you only want the picture inside one letter.
To add an image, select the word or letters using the Direct Selection Tool (A).
Then, go to File > Place or use the shortcut Control + D on Windows or Command + D on Mac.
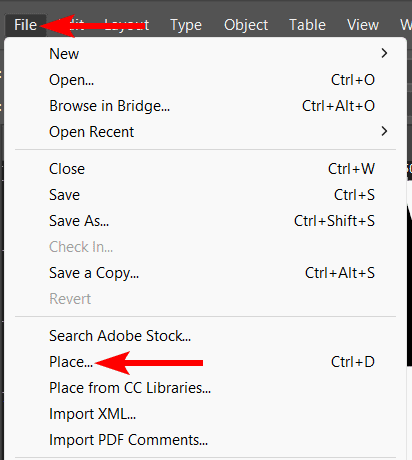
You can then select an image from your files on your hard drive to add to the text. Once you choose an image and click Place, the image will appear inside the text.
The text is now the frame of the image, so you can double-click to edit the image itself if you need to move or resize it to fit the text better.

👍 Support Us: Subscribe to our channel and help us continue providing these tutorials.
🌟 Regular Updates: We publish how-to videos for InDesign regularly!
🔧 Expert Guidance: Learn Krita from our professionals and uncover exclusive tips!