

A table is a great way to break up long document, or to add a bunch of quick stats or comparisons to a flyer or book layout. Whatever your reason, adding tables in InDesign is super quick!
In the mini tutorial, I will show you the basics of creating a new table and adding it to your Indesign project.
Here's how to do it:
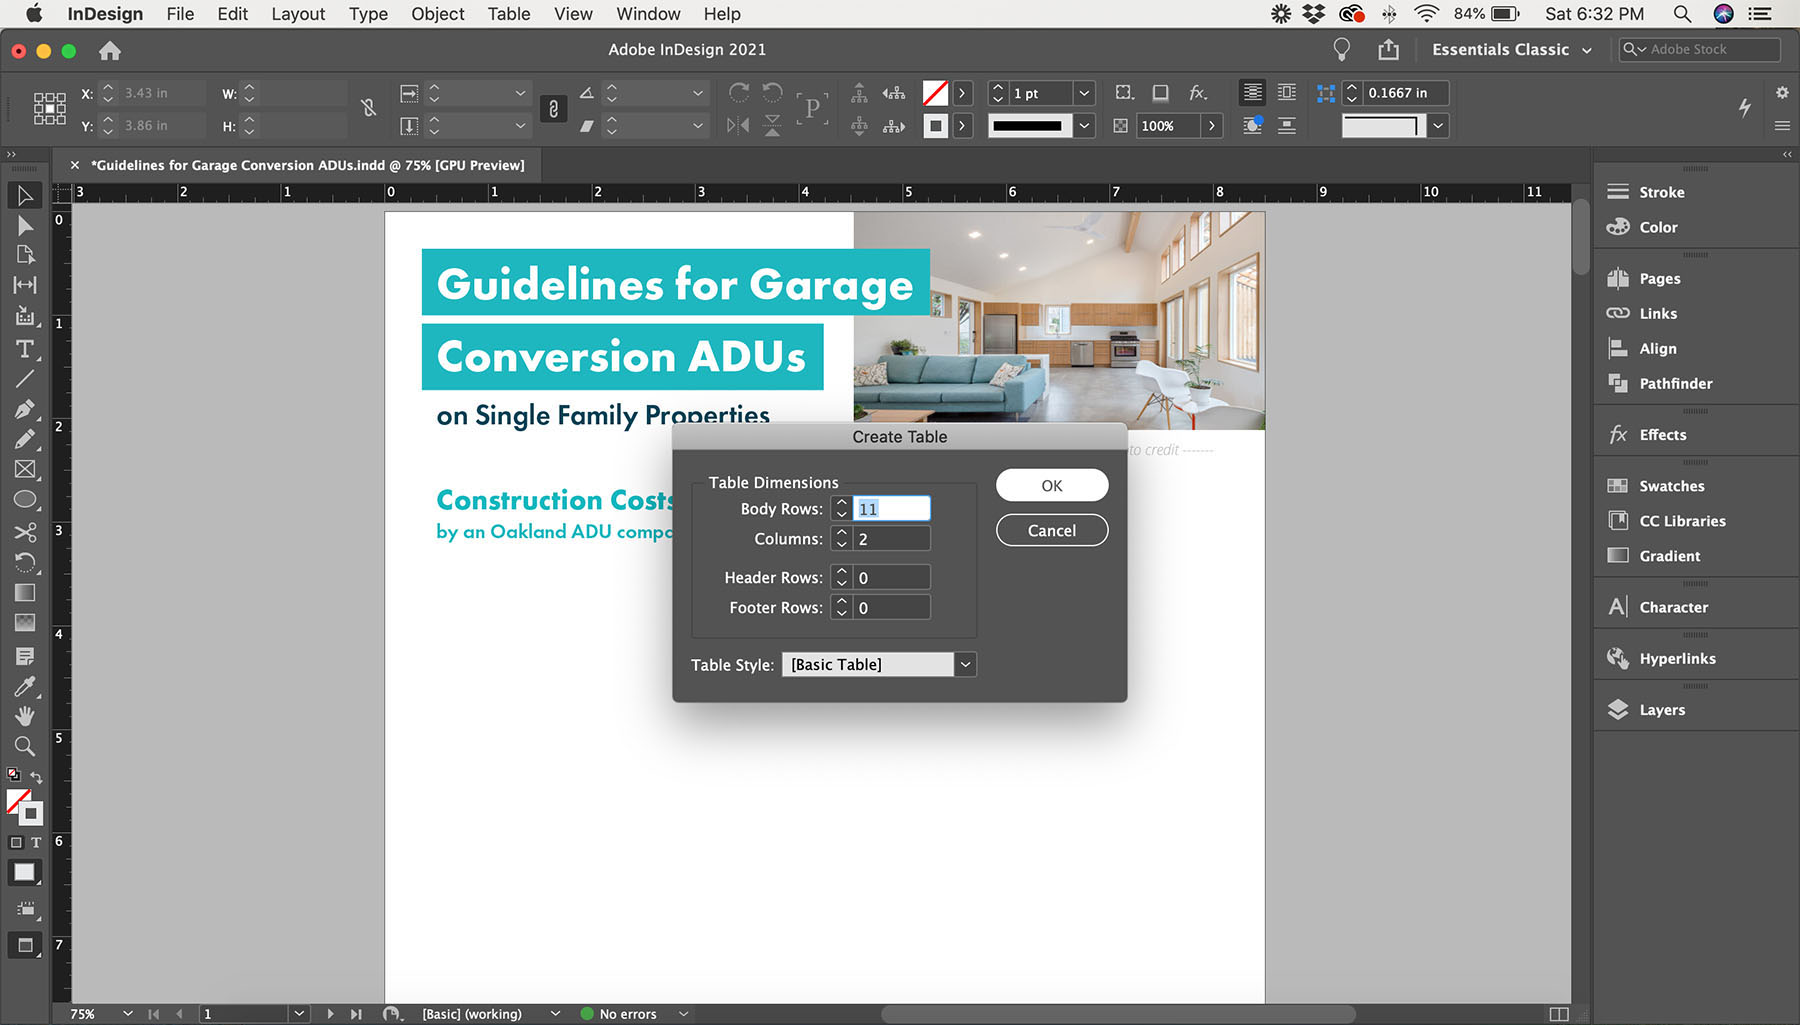
Creating a new table:
- Open your InDesign project
- From the top menu bar, choose Table > Create Table
- In the Create Table window, set your total number of rows and columns and click OK
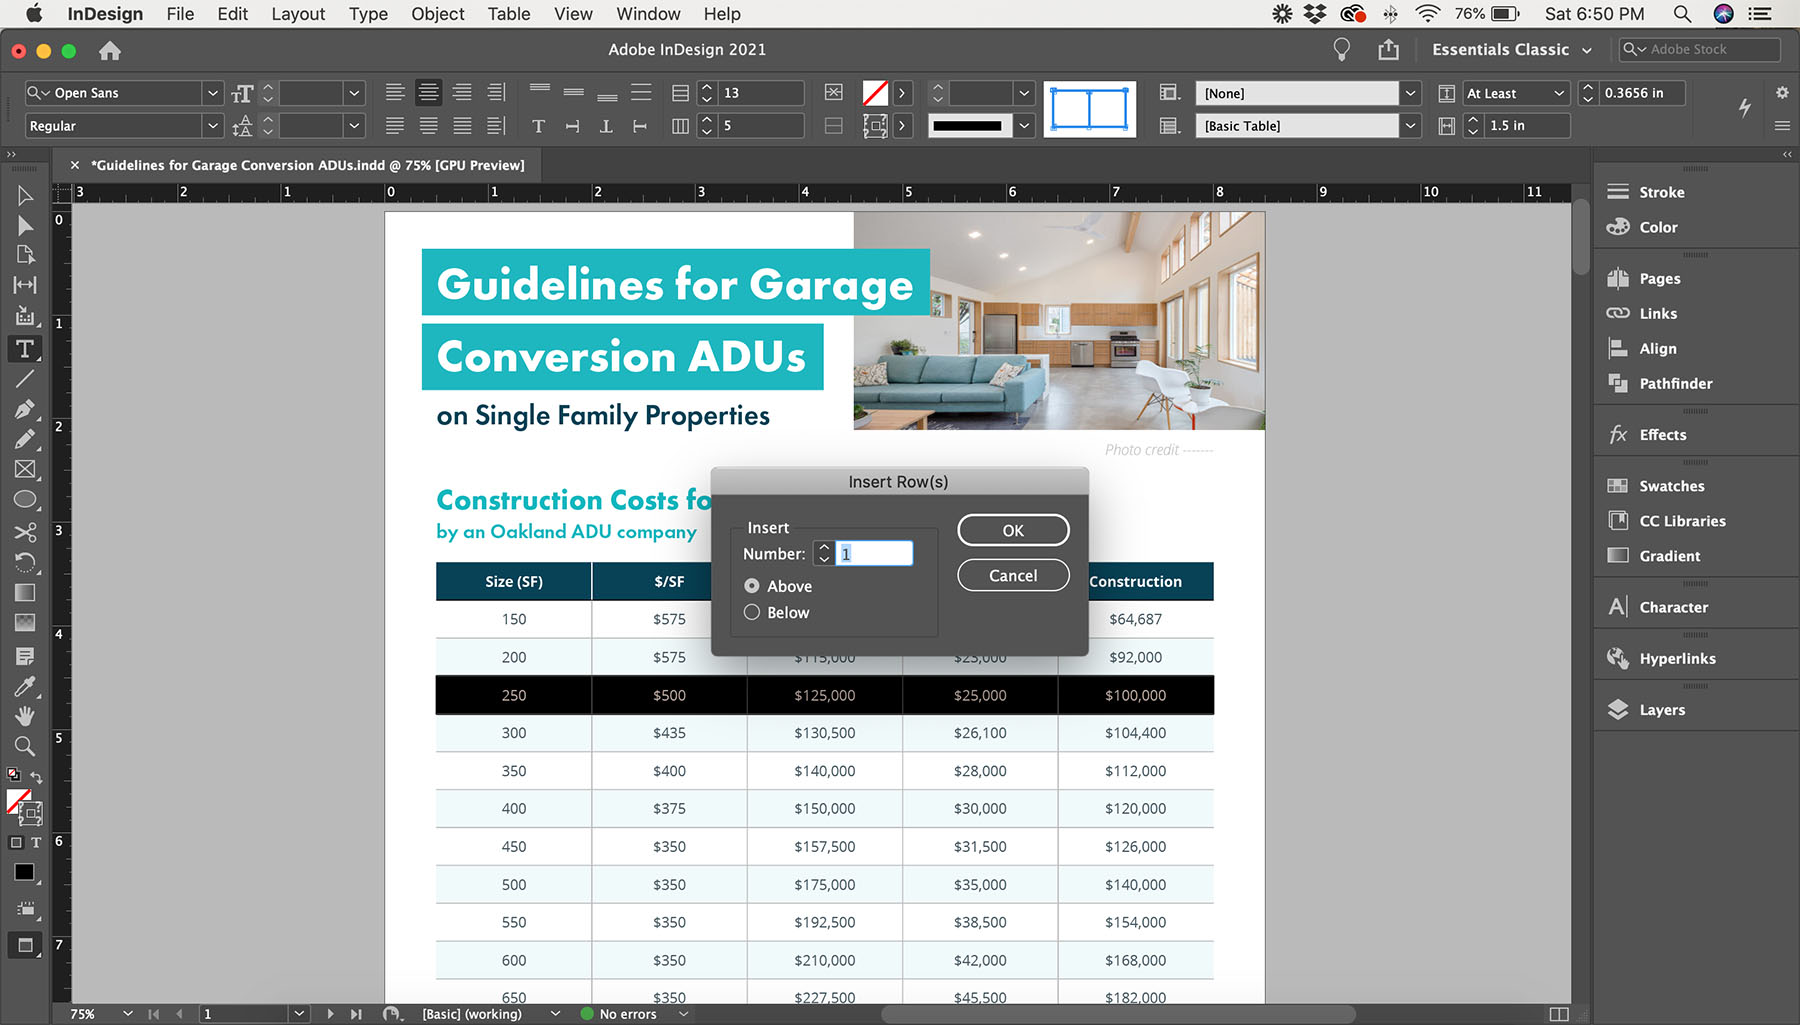
Adding new rows or columns to an existing table:
- With your project open, highlight a row, column, or single cell of your existing table where you want to add
- From the top menu bar, choose Table > Insert > Row/Column
- In the Insert window, set your total number of rows or columns you want to add, choose whether to add above or below your selection within the table and click OK
×
Support us by Subscribing to our YouTube Channel
👍 Support Us: Subscribe to our channel and help us continue providing these tutorials.
🌟 Regular Updates: We publish how-to videos for InDesign regularly!
🔧 Expert Guidance: Learn Krita from our professionals and uncover exclusive tips!