
Numbering your InDesign document is useful for many reasons.
Whether you are laying out a book design, creating an instruction manual, or just creating a multi-page brochure, numbering the corners of your pages can be helpful for yourself and the end-user.
Here’s how our brief InDesign tutorial to show you how to insert page numbers.
Table of Contents
Add Numbering:
- Open your InDesign project file
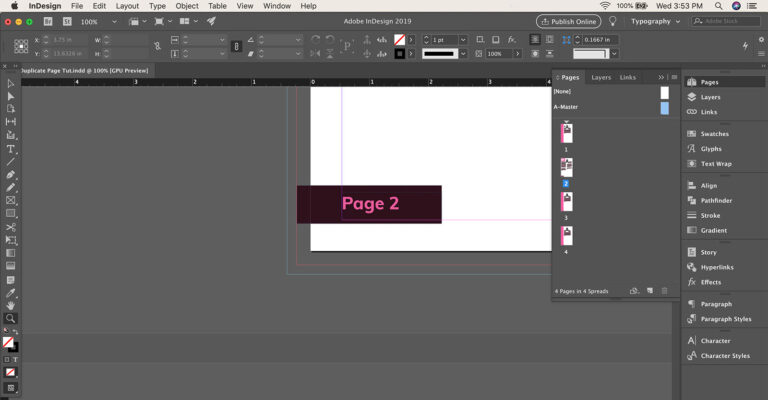
- In the Pages panel, double-click the master page that you want to add numbering to
- Using the Type Tool, create a text frame for your numbers and add it to the desired location on the master page (usually in the corner of the page)
- Position the insertion point where you want the page number to appear, and then choose Type > Insert Special Character > Markers > Current Page Number
Change Page Numbering Style:
- In the Pages panel, select the page where you want the new numbering style to begin
- Choose Layout > Numbering & Section Options
- Specify options, and then click the OK button
How to Start Page Numbers from a Specific Page:
If you have a project with a title card or want to vary the numbers on multiple pages, you may need to start on a page other than page one.
When you follow the method above to create and insert a page number, InDesign will automatically assign the page numbers starting with page one.
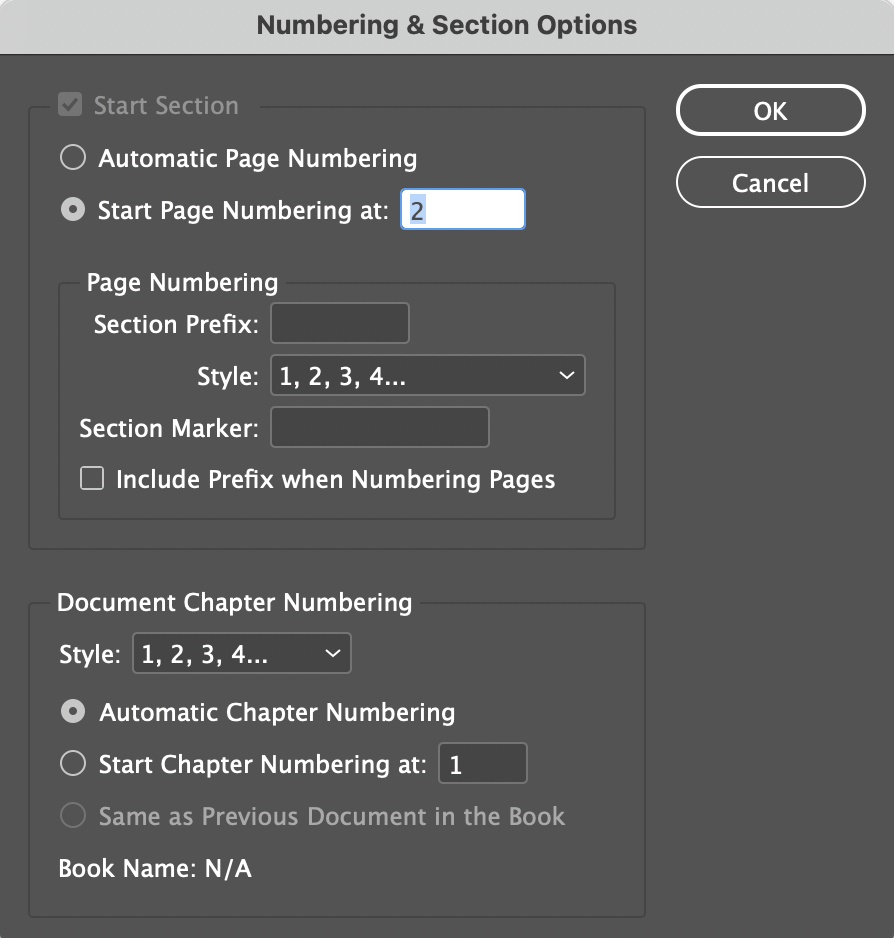
To change the start page numbering, manually input what page you would like the numbering to start at in the Numbering & Section Options panel.
- In the Top Menu, click Layout
- Select the Numbering & Section Options tab to format page numbers
- At the top of the pop-up, input the page you wish the numbering to start
- Click OK, and the numbers will be assigned
How to Override Page Numbers:
If you like to change a single page number or override the page numbers in general, you can manually change them with the Type Tool (T).
- Select the page number you wish to override
- If you’re using parent pages, select Override All Parent Page Items (Option + Shift + Command + L) to be able to edit the page number
- Highlight using the Type Tool
- Manually input the desired number
You can also adjust the settings of your page numbering using the Numbering & Section Options panel found in the Layout tab on the top menu.
Follow these steps instead if you are working with a master page and cannot manually change the page numbers.
How to Override Page Numbers on a Master Page:
- Click Command + Shift (Mac) or Ctrl + Shift (Windows)
- Select the page number you wish to override
- Highlight using the Type Tool (T)
- Manually input the desired number
How to Exclude Page Numbers in Indesign:
If you wish to exclude page numbers from a project, say, for example, you have title pages you don’t want the page numbers to show on; you can easily create sections to prevent page numbers from appearing.
First, make sure you have sectional numbering selected in your preferences.
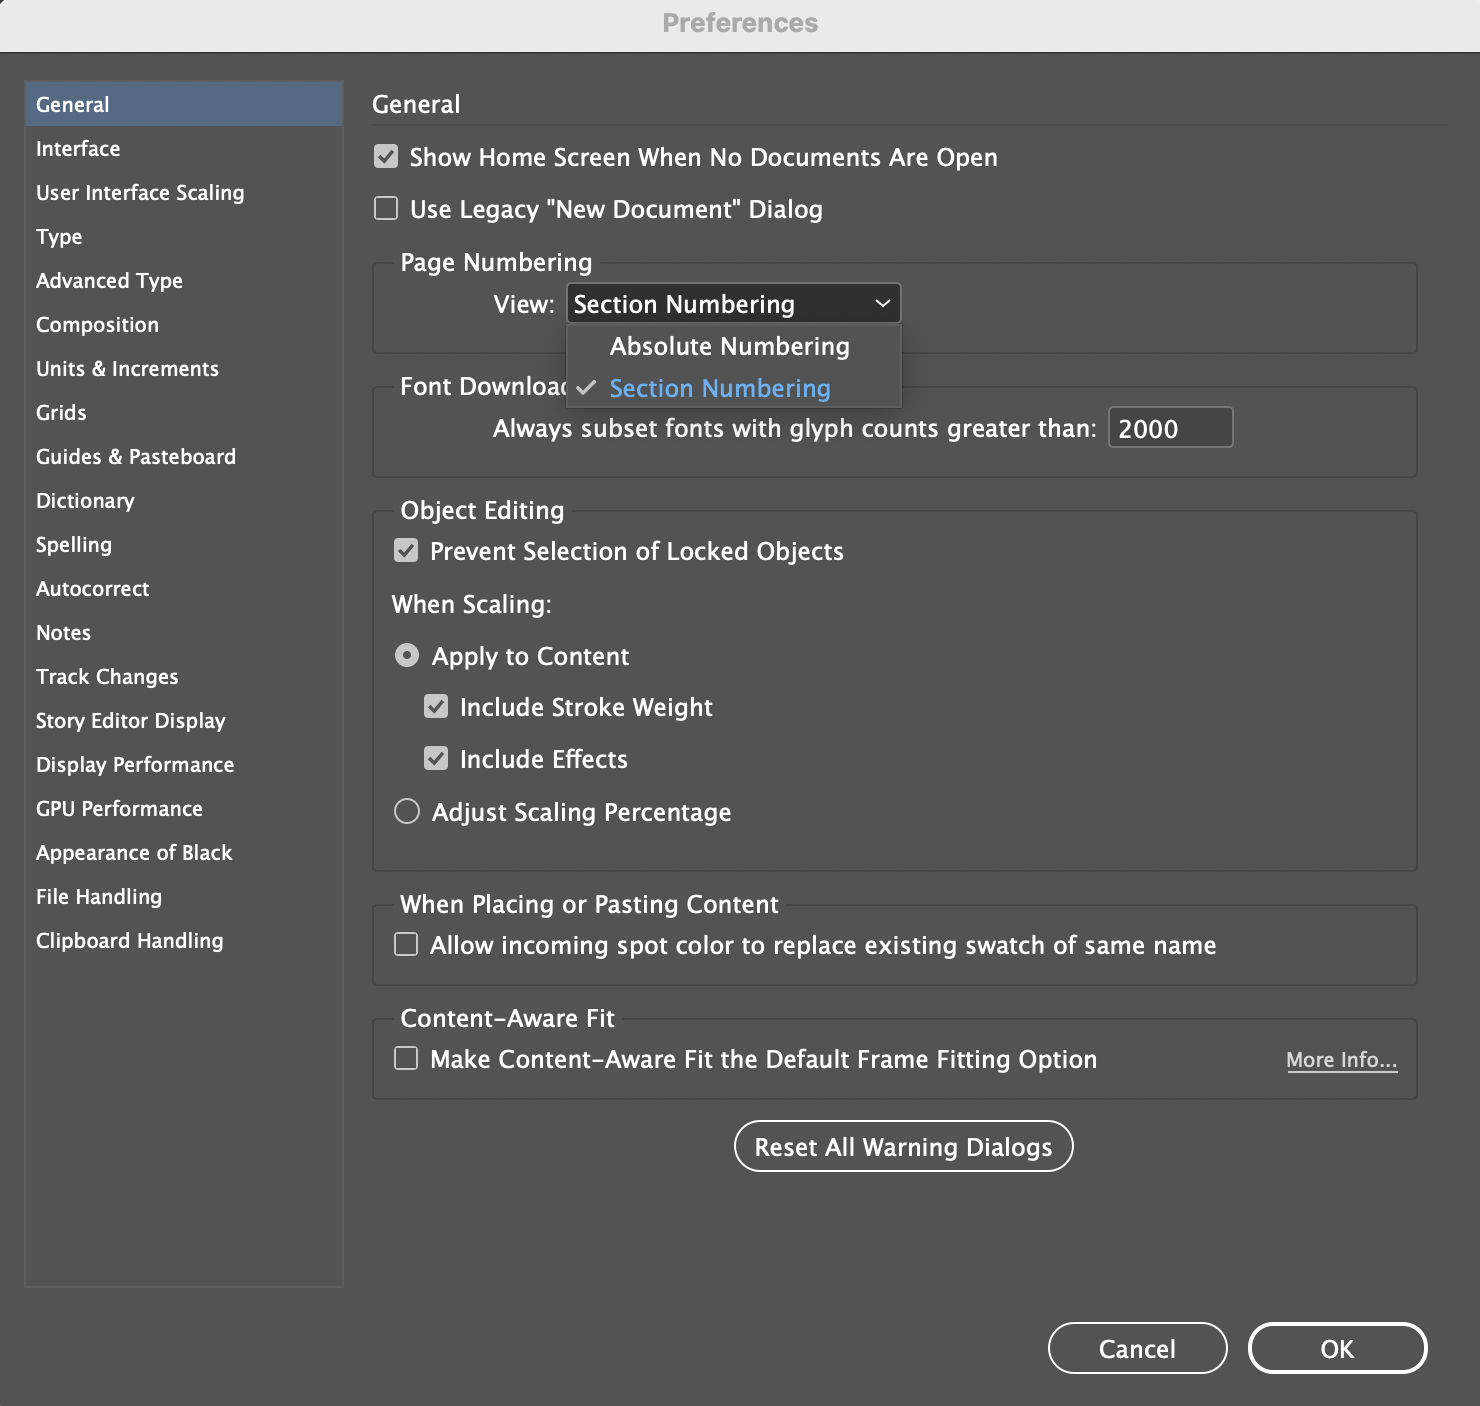
- In the top menu, select Edit > Preferences > General (Windows) or InDesign > Preferences > General (Mac)
- In the top section of the pop-up, make sure you’ve selected Sectional Numbering
- Click OK
Create a Section Marker:
- Select the beginning page of a section
- In the top menu, click Type > Insert Special Character > Markers > Section Marker
- Set a marker for the section
- Repeat this process for the end of the section page as well
Once this is done, create your page numbers and set the style as shown at the beginning of this tutorial.
How to Change the Page Number Font:

If you wish to change the font of your page numbers, follow these steps.
- Go to the master page and select the page number with the Type Tool (T)
- Highlight the page number and change the font within the properties panel
- All following page numbers under this master page will have the new font
How to Make the Page Numbers Different Colors:
Similar to how we changed the font of the page numbers, you can also change the color of the page numbers.
In the properties panel, with your page number selected, change the Fill of the number to any color you wish. If you want varying colors throughout your document, you may utilize Sections to set colors or manually adjust the page numbers color.
How to Manually Change a Non-Master Page’s Number Color:
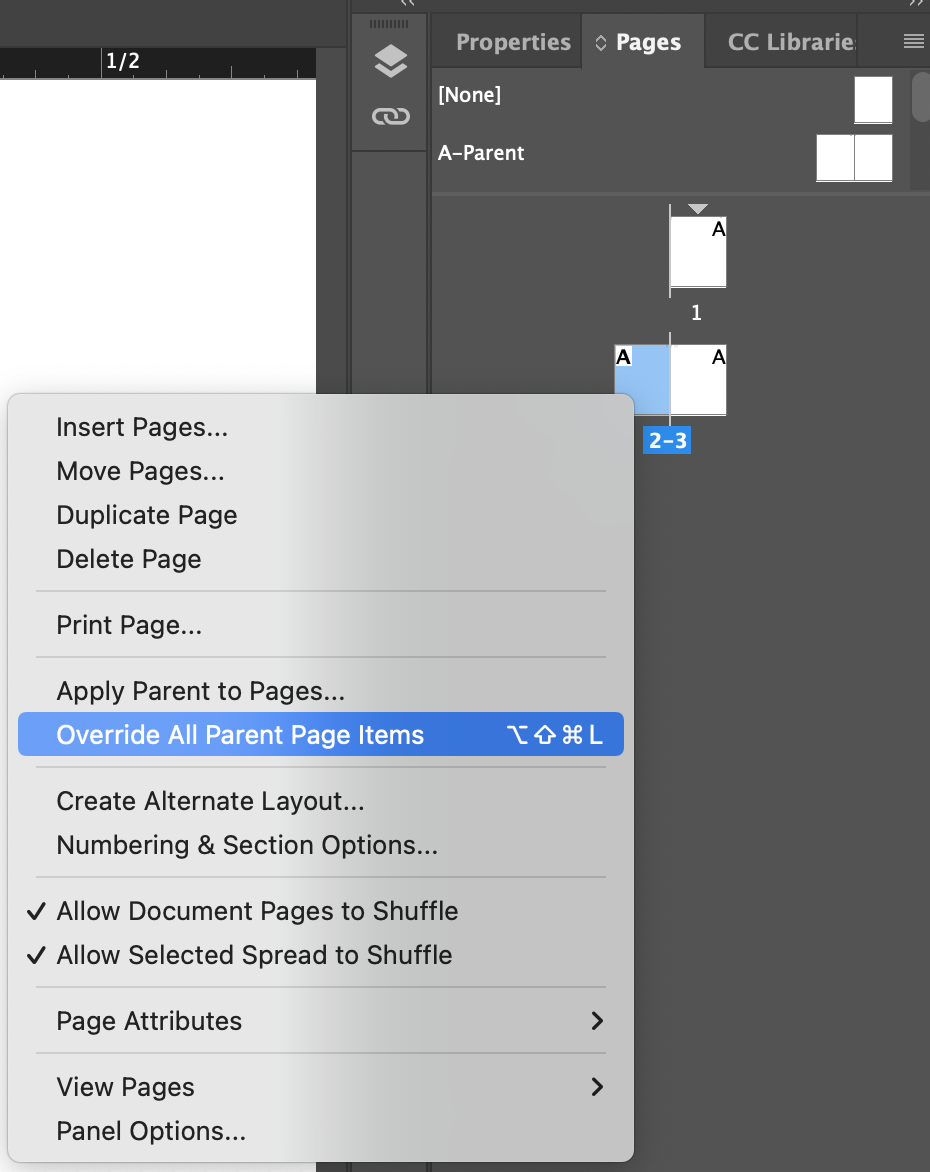
- In the pages panel, Right Click the page you wish to adjust
- From the pop-up, select Override All Parent Page Items (Option + Shift + Command + L)
- Now you will be able to manually edit the color or font of that page number.
Adding Sequential Numbering in InDesign
To create sequential numbering in InDesign, you need to create a text frame for your list and click the number list button to insert that list. Type out each list item you have on the document page while pressing enter between each item.
InDesign then consecutively numbers the list for you automatically. While it is automatic page numbering, if you ever need to change a number that it begins with or the style of the numerals used, you can do so. You can start page numbering wherever you need to or format page numbers in any way that is required.
Cleaning and Organizing Your Sections
With InDesign, you can add as many sections as you need to. When adding new sections, you may wind up having to reset your InDesign page numbers. To do this, you want to go through the same process you did when adding page numbers initially.
If there are pages where you don't want the numbers visible, you can remove page numbers from a specific page or new section by right-clicking on the page and then selecting Override All Master Page Items. This is ideal when you have a few pages that don't necessarily rely on the master page content.
It is also possible to keep all your master page elements and just remove the page numbers. This allows you to create an additional master page that doesn't include any of the InDesign page numbers.
Final Thoughts
There you have it! Now you know how to add page numbers in InDesign and several other helpful tips and tricks you can use for books, magazines, design briefs, presentation documents, etc. Knowing how to use these tools will ultimately save you a ton of time and effort in the long run on your larger projects.
Frequently Asked Questions
Still have questions about how to add page numbers in Indesign? Read on below for answers to some of the more commonly asked questions about this and Indesign.
How do I change the style of numbering throughout a project?
The easiest way to have different types of styling in a single project is the utilize Sections. In the Numbering & Section Options panel, you can create and customize sections that allow you to set different numbering styles.
How do I select all pages numbers in a project?
The easiest way to make adjustments to all page’s page numbers in a project is to change the master page. Any page under the master page will reflect the changes you make without needing to manually change them all.
I can’t get my numbering sections to work. Is there a workaround?
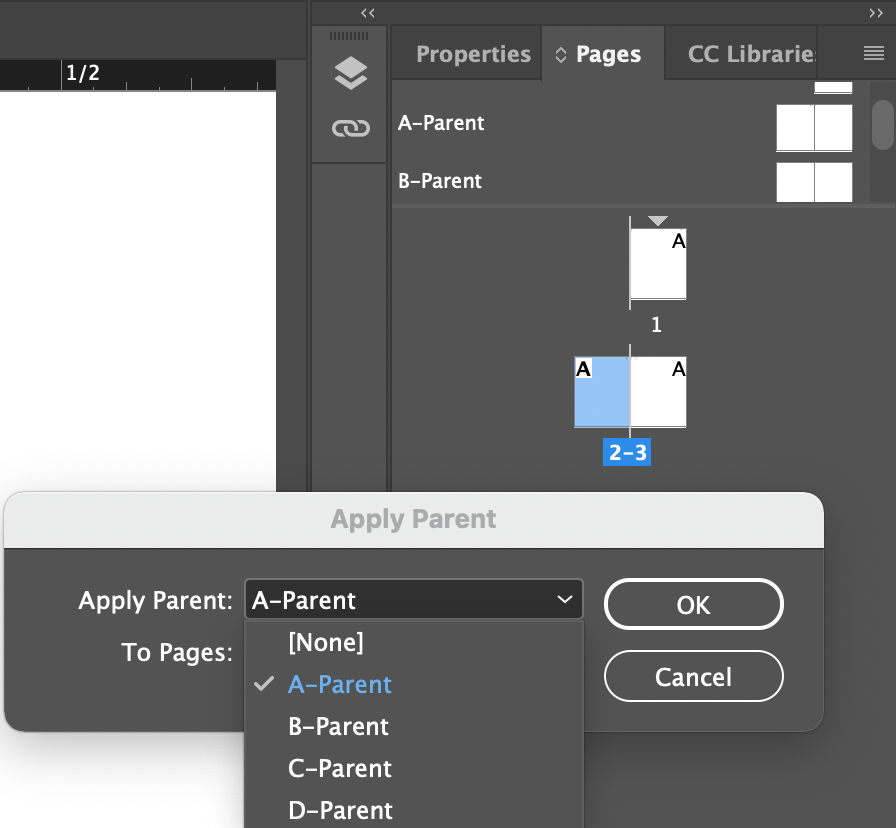
If you have difficulty with Sections, a potential workaround may be to use multiple master pages. You can create new master pages in the Pages Panel and set your page number settings in each, then apply those settings to the sections you want.
- Once you’ve created a new master page, highlight the pages you wish to apply those settings too
- Right Click and select Apply Parent to Pages
- Select the master page as shown below
👍 Support Us: Subscribe to our channel and help us continue providing these tutorials.
🌟 Regular Updates: We publish how-to videos for InDesign regularly!
🔧 Expert Guidance: Learn Krita from our professionals and uncover exclusive tips!