
Table of Contents
Want to adjust the tracking of your text in InDesign?
Adobe InDesign is a great tool for text-heavy layouts. When working with text you may want to adjust the spacing between your letters to make them either tighter or looser.
By adjusting the horizontal spacing (called tracking) between the lettering in your text, you can improve the readability of your text, or make it more visually aesthetic.
Fortunately, it's super easy!
Here's how to do it:
- Open your InDesign project file
- Select or create the text you want to adjust the spacing of
- Open the Character Panel (Window > Type & Tables > Character)
- Adjust the spacing of your text by changing the point value in the tracking box (the "VA" icon) — the higher the value, the more the spacing
Why we adjust tracking:
It may be necessary to adjust tracking manually in a project due to differences in font styles and sizes. Perhaps a special font causes your letters to sit too close together, or you need a title to have more space to be easier to read from far away.
Tracking is an easy solution to remedy these issues. You can optically adjust the tracking or input specific and precise adjustments.
How to optically make adjustments to tracking:
If you have to make adjustments to tracking but are not sure exactly how much you need to shift a font, you can easily adjust tracking optically.
Adjusting tracking optically allows you to make adjustments while watching the difference in real-time. This shortcut makes adjustments to tracking that much easier.
- Select the text you wish to adjust
- Hold down the Option key
- Click your left and right arrows to adjust the tracking if your text
How to adjust multiple paragraphs:
If you are working on a project that is very text-heavy, you might need to adjust multiple paragraphs at once. Changing the tracking value of lots of copy depends on if they are all in the same text box/linked or not.
If your text boxes are linked, then changes you make in one will reflect in the others. If they are not linked, however, you must select all the text you wish to adjust before you make any changes.
How to revert tracking:
If you wish to revert your text back to its original tracking settings, you can easily undo the adjustment by clicking Command + Z to undo.
Alternatively, you can manually reset the tracking by going back to its original value. If you don’t remember the default value, you can easily check it in the Preferences dialogue box.
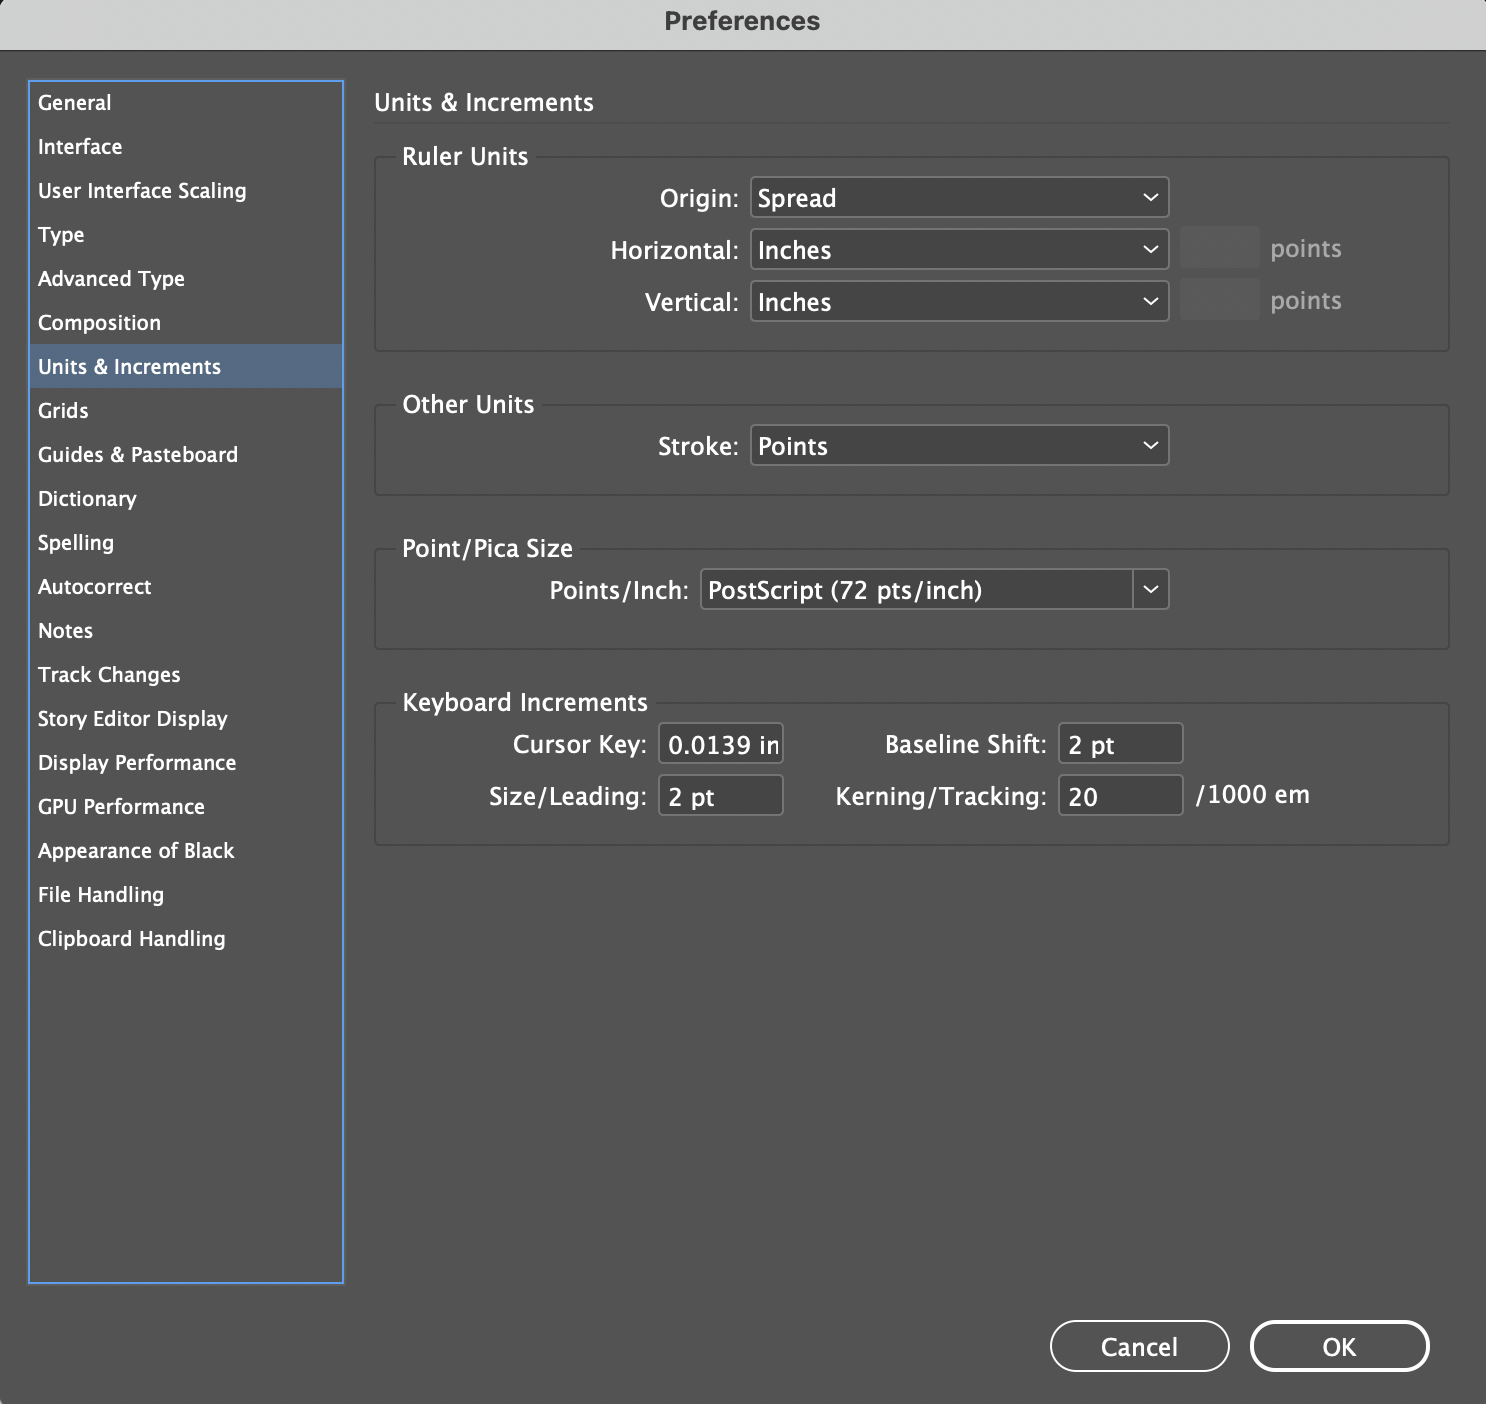
In the Units & Increments tab, you can see and change your default tracking and kerning settings as shown above. You can then use this information to reset a text box back to its original settings.
Difference between tracking and kerning:
- Tracking is in reference to the spaces between characters in a block of text or whole word.
- Kerning is referring to adjusting the space between two specific characters.
If you want to adjust the space in a title, for example, you would adjust the tracking of that particular text box. However, if you want to move the first letter of a word further away for stylistic reasons, you would adjust the kerning.
👍 Support Us: Subscribe to our channel and help us continue providing these tutorials.
🌟 Regular Updates: We publish how-to videos for InDesign regularly!
🔧 Expert Guidance: Learn Krita from our professionals and uncover exclusive tips!