
When designing interfaces in Figma, creating scrollable frames is key to creating moving layouts for computers, apps, and cell phones. If you were making a frame in the center of the page, you need to know how to clip content in Figma.
Clipping content hides the extra elements that are outside of the frame’s edges so that the content is only visible once a user scrolls or interacts with the frame. This process is useful for keeping content neat and making the design look structured and complete.
This process is also important to ensure that all the content fits on the device that you are designing for, as you can clip the content based on the size that the design needs to be.
Table of Contents
How to Clip Content in Figma Overview
- Add your objects to the page
- Add the objects to a frame
- Resize the frame as needed
- Check the Clip Content Box
- Check the canvas
Step-by-Step to Clip Content in Figma
You can clip any content within a frame to hide the objects that sit outside the frame or the field of view. This lets you correctly place elements on the page for a specific screen size.
I will demonstrate this process using a gallery of flower images sourced from Unsplash.
Add Your Objects to the Page
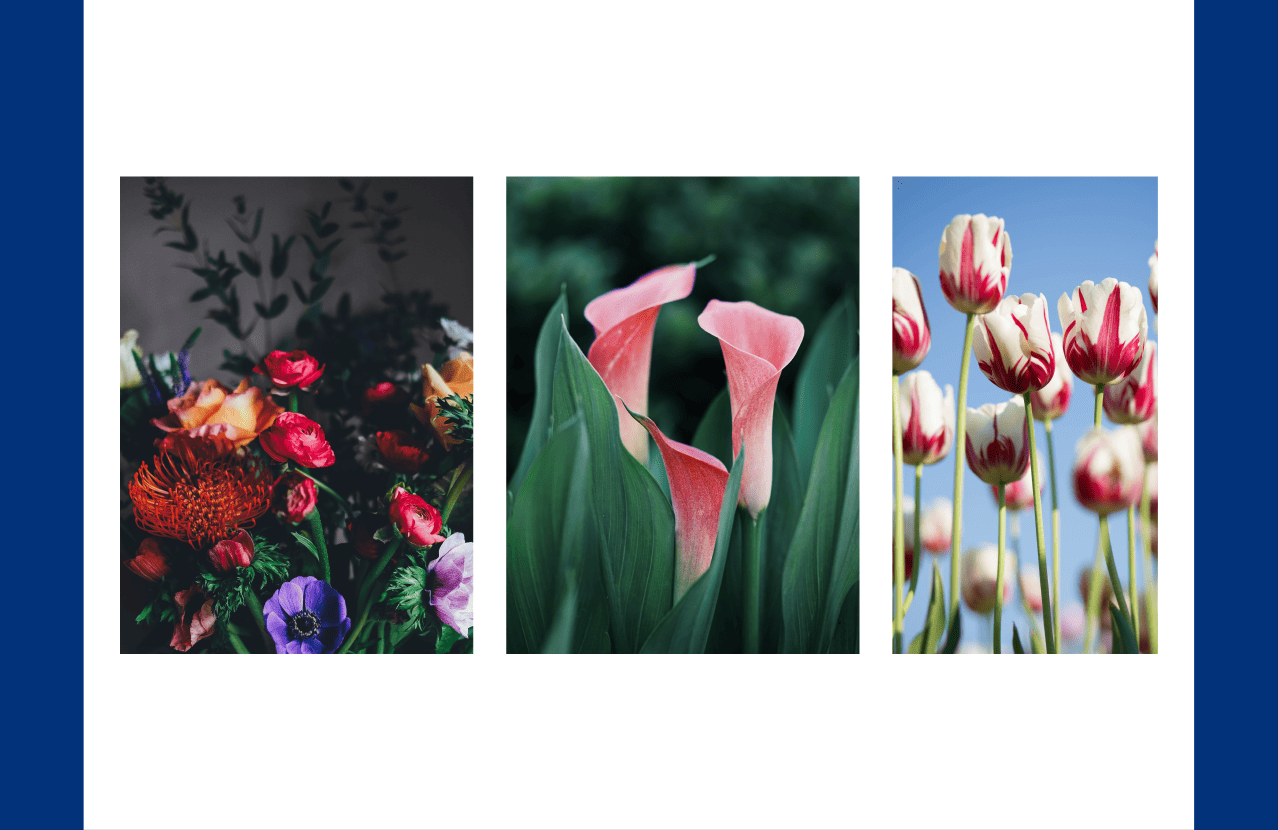
First, you need to add objects to the page. These objects can extend beyond how much you want visible. For instance, I want three photos on the page, but I don’t want the one on the right to extend into the sidebar. Instead, I want users to be able to scroll through the images to see more.
Add the Objects to a Frame
I need to add the objects to a frame to ensure they are scrollable. I then use the constraints of the frame to determine where the elements are visible on the page.
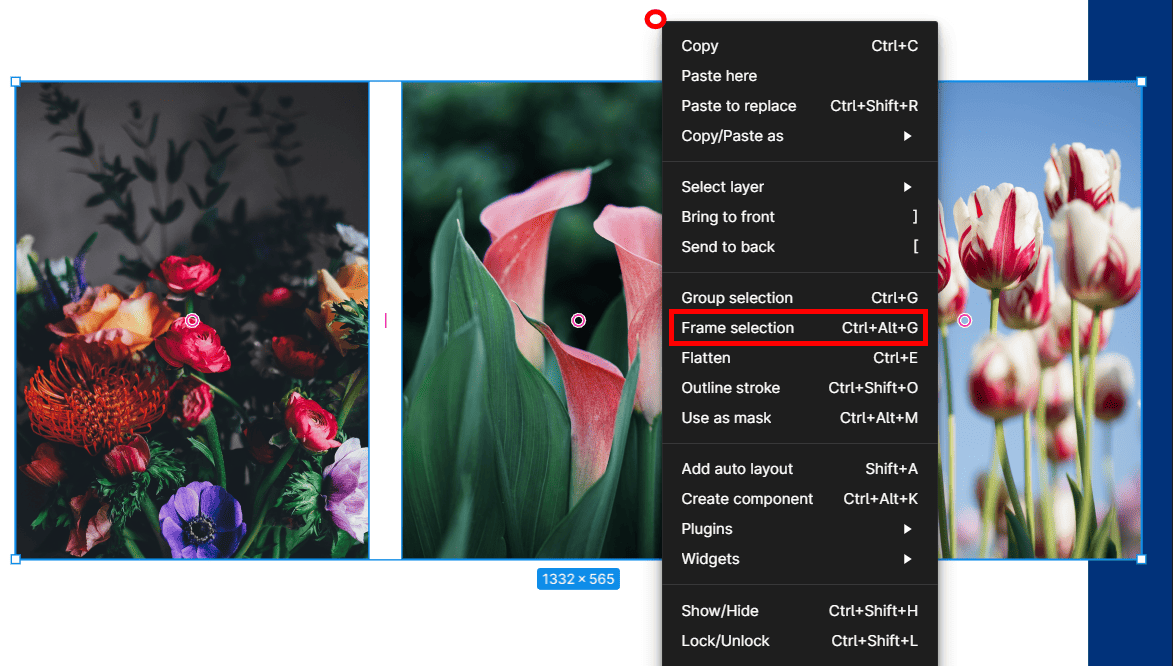
To add the objects to a frame, select them all by clicking on them while holding down Shift on Windows and Mac. Then, right-click and choose Frame Selection or use the shortcut Control + Alt + G on Windows or Command + Option + G on Mac.
Resize the Frame as Needed
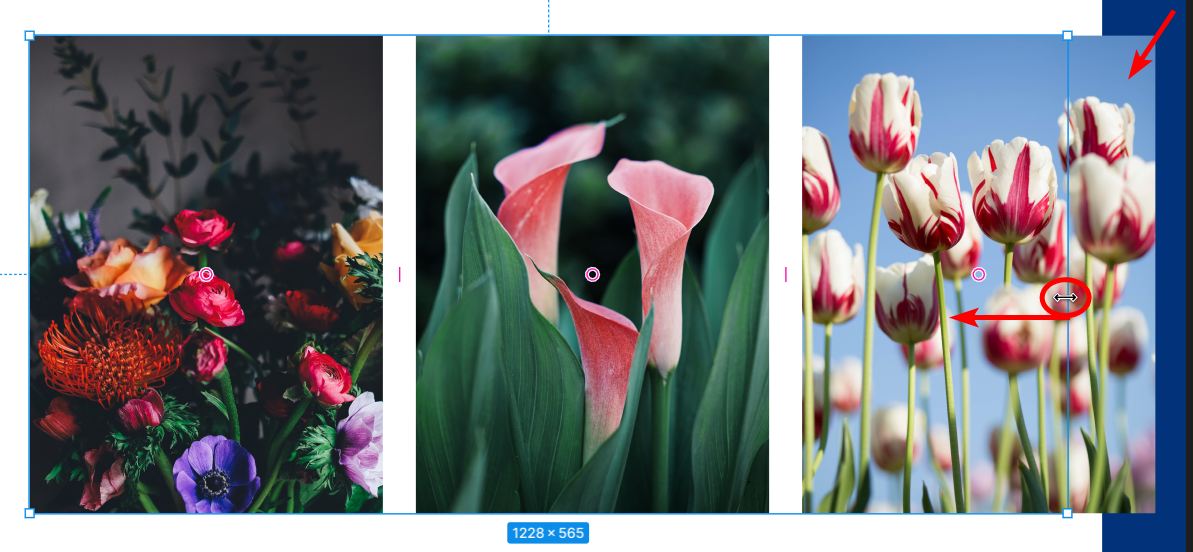
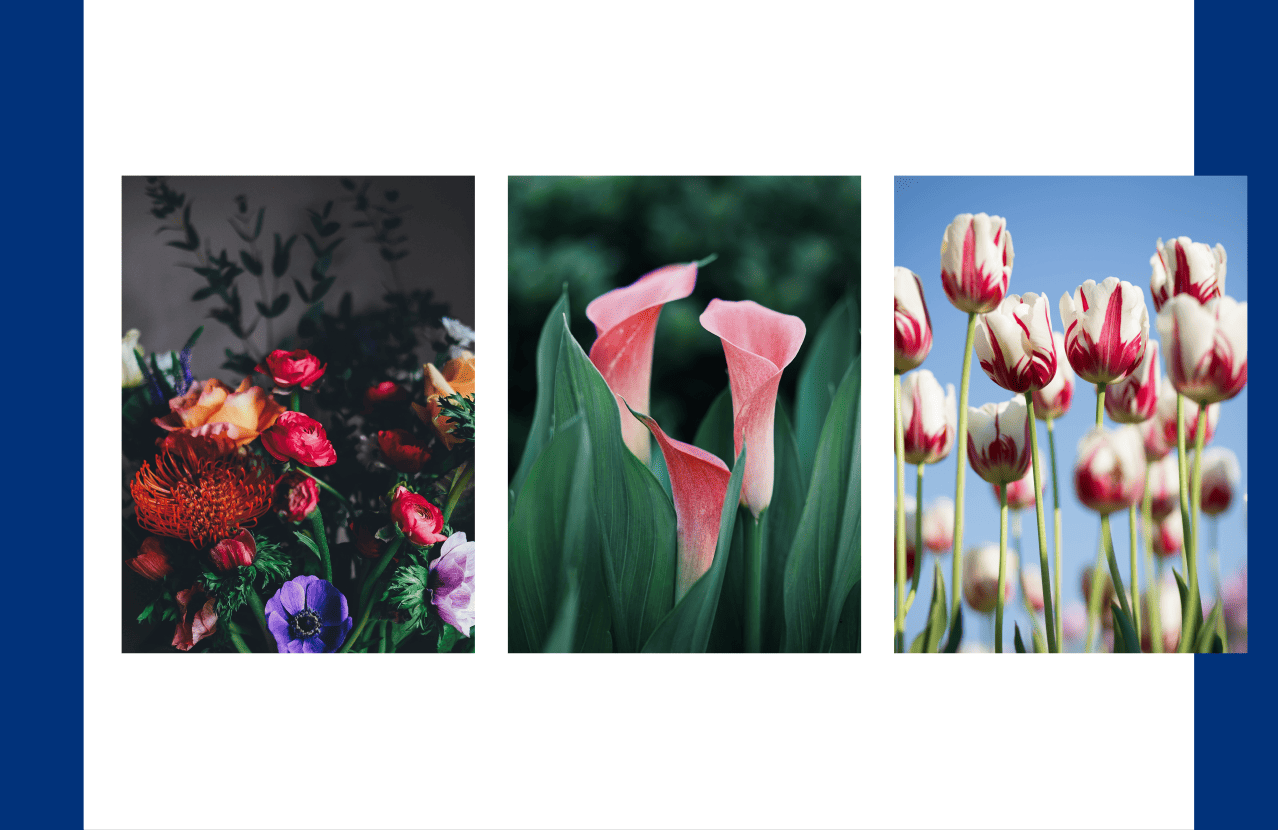
The frame will sit around all of the images. Now you need to resize the frame to determine what area should be visible to users before interacting with the content. You can resize the frame by selecting it (ensure the blue block surrounds all the images) and then drag the edge inward to the new size.
When you resize the frame, you will notice that the content outside the frame is still visible and isn’t showing us how the content will look on the page with the sidebar visible.
Check the Clip Content Box

Once you are happy with the new frame size, you can clip the content. To clip the content, ensure the frame is still selected, and find the Frame section at the top of the Design tab on the right of the workspace.
Check the box next to Clip content in the Frame section.
Check the Canvas
On the canvas, you will see that any objects outside of the frame will be hidden. This content isn’t deleted; instead, it’s kept within the frame and can be seen by creating a scrolling frame that allows users to scroll through the images.
Tools:
- Figma