
By default, InDesign adds only one column to each page, but with a small setting change you can update that to as many as you want!
Here's how to do it:
New Project:
- Open InDesign and click Create New (or File > New > Document)
- Set your document Width and Height specs, and choose the number of pages
- Choose the number of columns in the Columns option box
- Click Create button
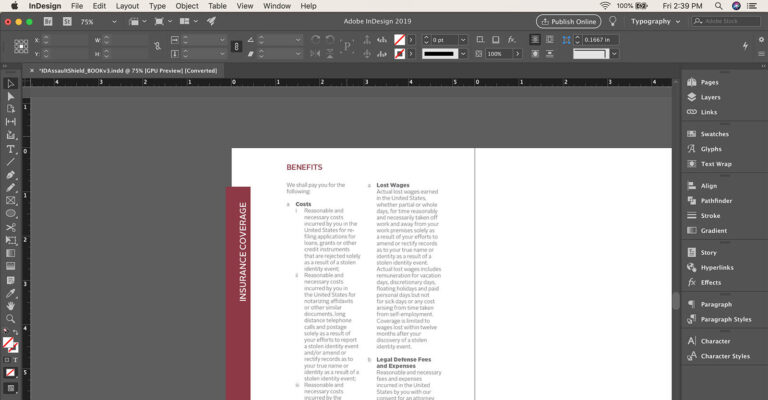
Existing Project:
- Open your InDesign Project file
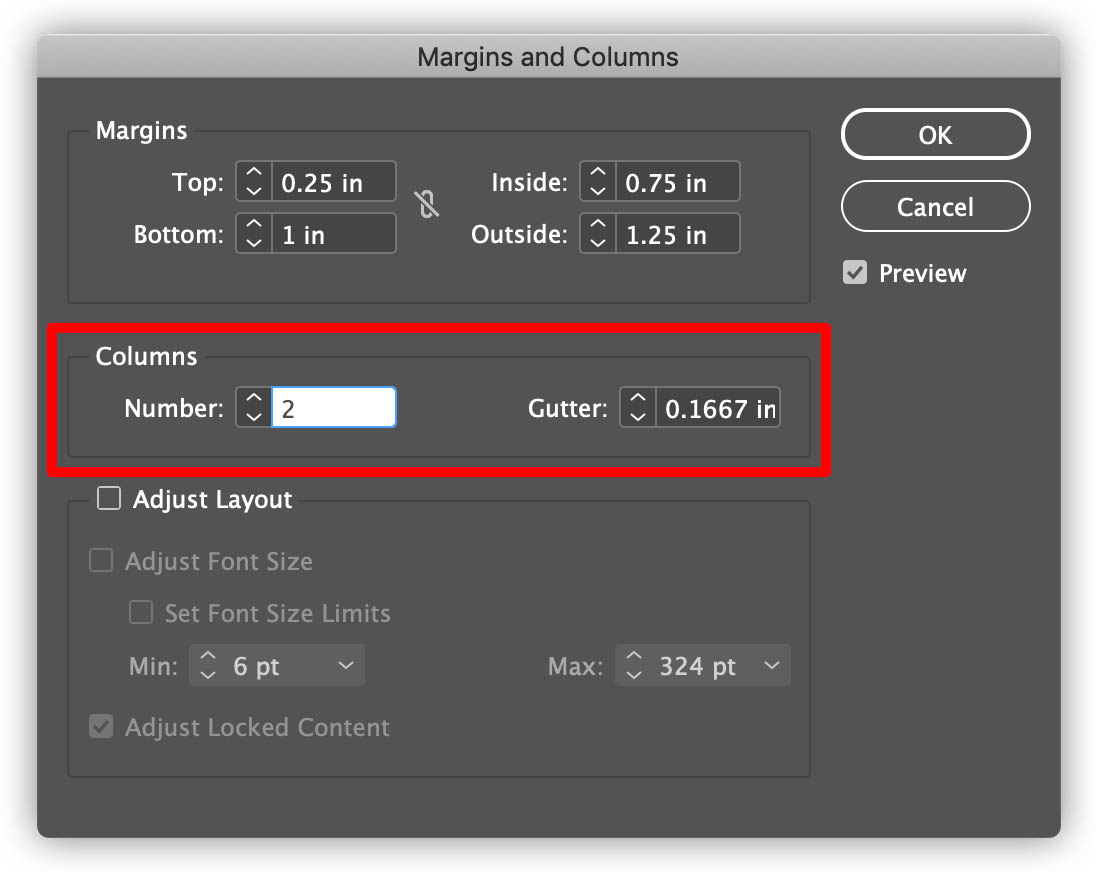
- From the top menu select Layout > Margins and Columns
- Change the number of columns you want in the Columns option box and adjust the gutter width (the spacing between your columns)
- Click the OK button
×
Support us by Subscribing to our YouTube Channel
👍 Support Us: Subscribe to our channel and help us continue providing these tutorials.
🌟 Regular Updates: We publish how-to videos for InDesign regularly!
🔧 Expert Guidance: Learn Krita from our professionals and uncover exclusive tips!