If you are working in InDesign, you will know it’s not primarily an image editor. However, you will often need to place images in your layout or web designs. If you need to make minor adjustments to the photo, editing it in Photoshop or another photo editor is tedious.
If you don’t need a high-quality photo or you don’t have access to an image editor like Photoshop, there is a workaround to make an image black and white.
This process creates a fake black-and-white image, which is helpful if you are making a rough mockup and don’t want to edit the image fully at this stage.
Table of Contents
The Best Two Ways to Convert an Image to Black-and-White in InDesign
I will convert this full-color Body of Water Surrounded by Pine Trees image from Unsplash that I have placed on my InDesign canvas.

Option 1: Use a Black Rectangle With a Blending Mode
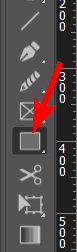
The first method works by placing a black rectangle over the image and changing the blend mode. You can achieve this by selecting the Rectangle Tool from the toolbar or pressing M.
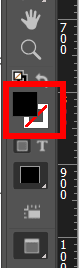
Then, set the fill color to black and the outline color to transparent using the swatches in the toolbar.
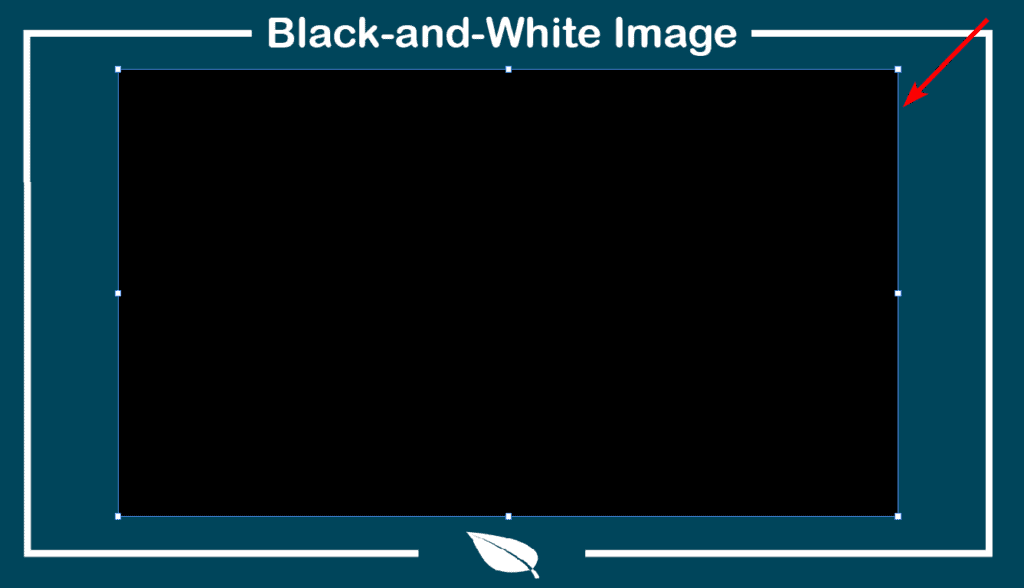
You can now create the rectangle by clicking and dragging over the image. Line the rectangle up with the image to prevent any areas from being affected outside the photo.
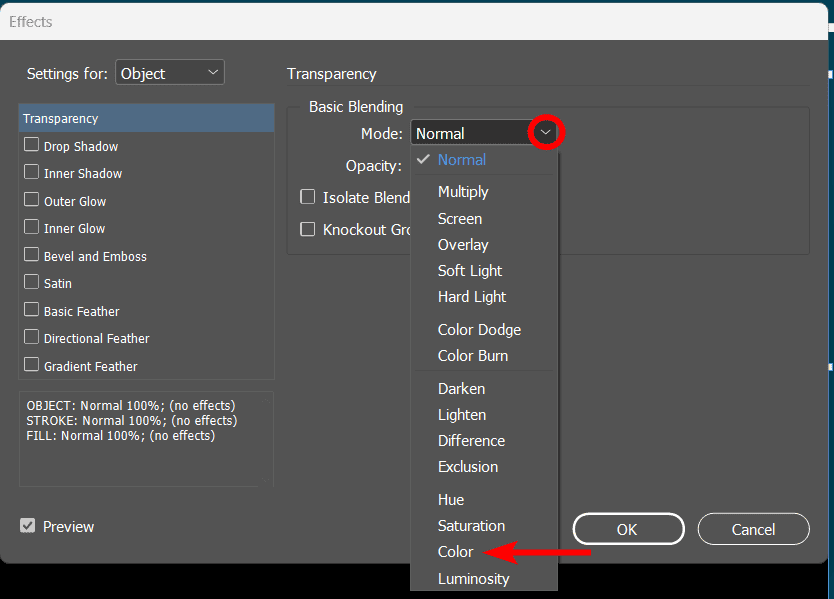
Then, change the rectangle’s blend mode by going to Object > Effects > Transparency.
Under the Basic Blending section, you can change the Mode to Color using the drop-down menu.
You can decrease the Opacity amount if you want to reduce the image’s saturation while keeping some of the colors in.
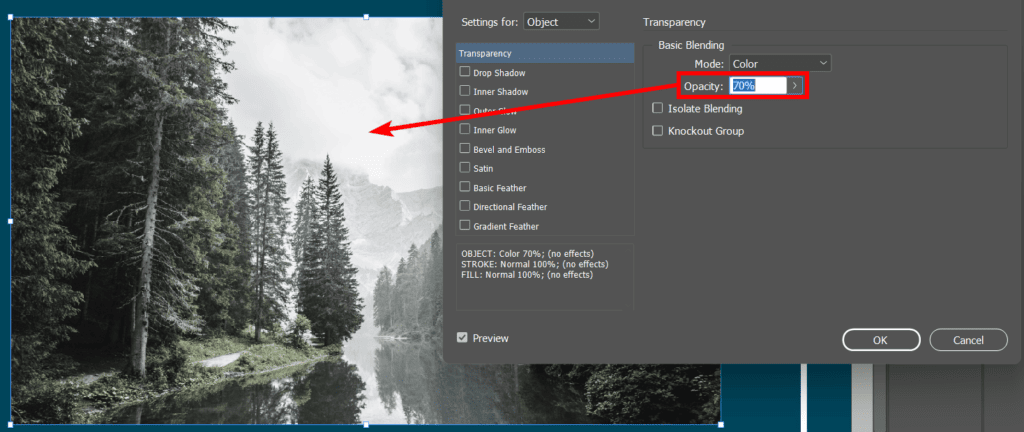
Otherwise, leave the Opacity at 100% and click OK.

You will now have the illusion of a black-and-white photo.
Note: Remember to group the rectangle and the image (Control + G on Windows or Command + G on Mac) if you want to move the objects around while keeping the effect in place.

Option 2: Change the Image’s Fill Color to White and Change the Blend Mode
The second method only uses the image and the image frame to create the illusion of a black-and-white effect. To achieve the result, first select the image’s frame, which means that the blue outline should be visible around the image.

Then, change the Fill color to Paper using the swatch in the upper settings bar. You won’t notice any changes in the image as this color fills the frame, which is hidden behind the photo.

Now, select the image itself by double-clicking on the photo frame. The picture is selected when you see the brown box around it, which may extend past the frame.

You can now change the Blend Mode of the image by following the same path as the previous section or by right-clicking on the image and selecting Effects > Transparency.
Then, in the Basic Blending section, use the drop-down menu next to Mode and select Luminosity at the bottom. Click OK to apply the effect.

You have now made the image black-and-white, and you can move the photo around without any problems as you don’t have an extra shape to worry about.

👍 Support Us: Subscribe to our channel and help us continue providing these tutorials.
🌟 Regular Updates: We publish how-to videos for InDesign regularly!
🔧 Expert Guidance: Learn Krita from our professionals and uncover exclusive tips!