When working with paths in InDesign, you may want to turn a custom path into a outline, which means you need to outline the stroke. Unfortunately, there is no feature to outline a stroke in InDesign, and you will need to use a workaround to achieve a similar result.
Here are two ways you can add an outline to your stroke depending on what result you are after.
Firstly, you can change the stroke's properties to mimic an outline and customize it as needed. This method works if you don’t need the stroke to be converted to a shape. The second method works if you absolutely need the stroke to become a shape, but you will need to have Adobe Illustrator installed to achieve this.
Table of Contents
Two Ways to Outline a Stroke in InDesign
Adobe InDesign and Illustrator are different in many ways, and one of those is how you can edit paths in the program.
While you can easily convert a stroke to an outline in Illustrator, you can’t do the same in InDesign. This is likely because InDesign is rarely used to create and manipulate vectors but rather as a layout tool.
However, this can be frustrating when you have created a unique shape or element in InDesign and want to convert it to an outline. Here is how you can get around this.
Option 1: Customize the Path’s Stroke Properties
This first option doesn’t successfully convert the stroke to an outline but gives you customization tools if that is what you’re after. You can change the path’s look by widening the stroke or changing the style of the line.
First, add a shape to the canvas or draw a custom shape using the Pen Tool. I will add a simple star to the canvas using the Polygon Tool.
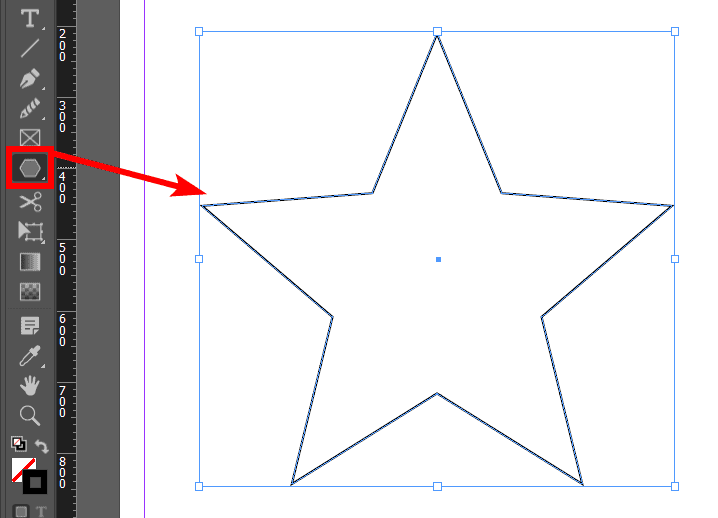
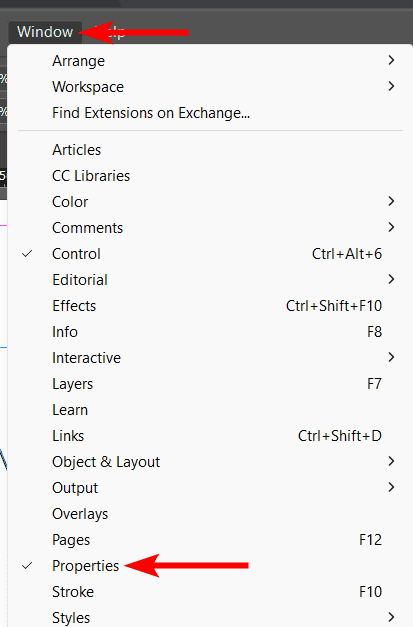
As you can see, the stroke line is very thin. You can adjust this using the Properties Panel. If you can’t see this panel, go to Window > Properties.
In the properties panel, you will find an Appearance section with the tools you need to customize the stroke. First, you can change the stroke color by clicking on the Color outline.
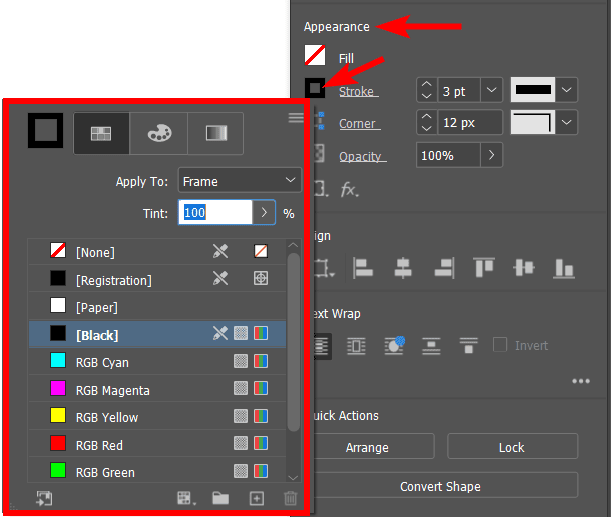
You can also increase the stroke thickness by increasing the point number.
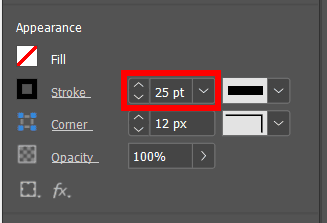
If you want to change the line type, open the drop-down menu next to the stroke thickness.

You can further customize the shape using the corner options, which allow you to curve the corners and more.
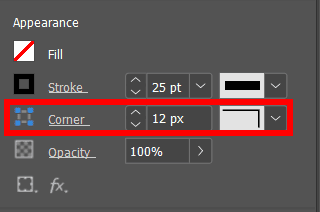
You have now thickened the shape's stroke and added any other customizations you need if this is the result you want.

Option 2: Copy the Path into Illustrator to Convert it to an Outline
If the above customization isn’t what you’re after, you must follow this method of copying the shape into Illustrator. Here, you can outline the stroke so it is a closed shape rather than a stroke.
To do this, add your shape to the page. I will use the customized star I created previously. You can see the shape is a path by the blue line indicating the path, and the stroke color surrounds the line.

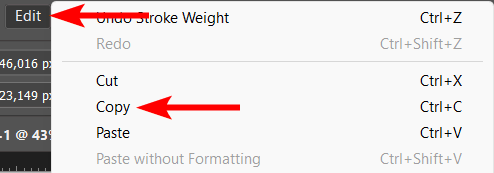
Then, copy the shape by selecting it and going to Edit > Copy or use the shortcut Control + C on Windows or Command + C on Mac.
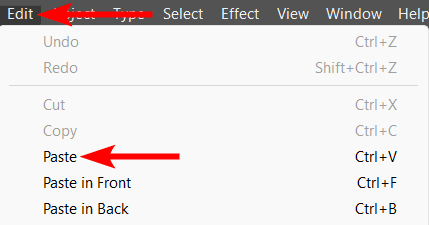
Open Adobe Illustrator, and create a new document. It can be any size. Then go to Edit > Paste to paste your shape onto the canvas. You can also use the shortcut Control + V on Windows or Command + V on Mac.
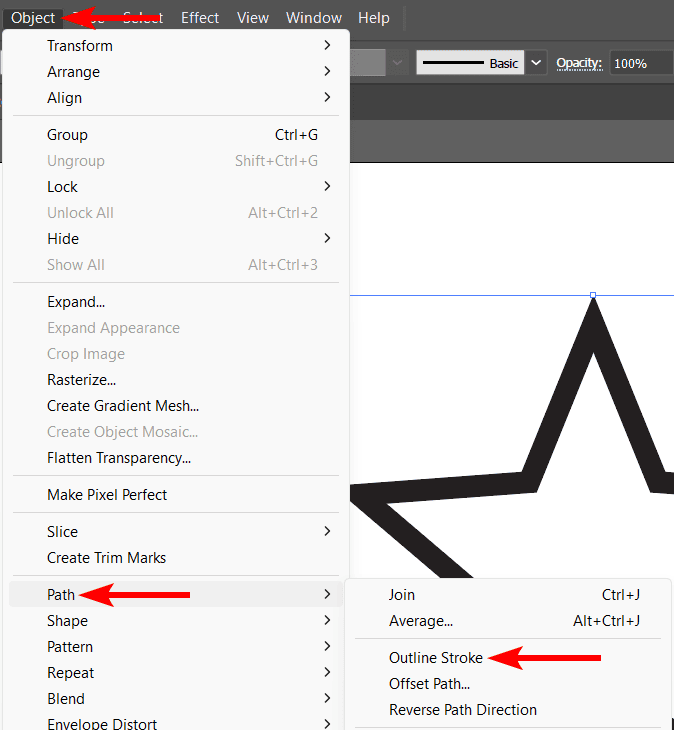
Your star will appear on the canvas. You can now go to Object > Path > Outline Stroke.
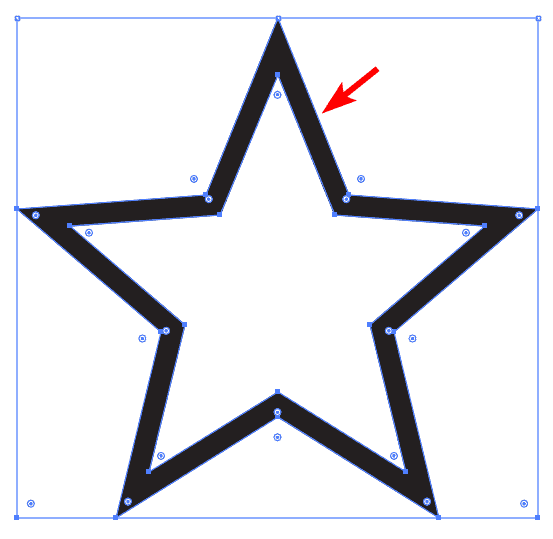
Your shape will now be turned into an outline, so the blue path line is no longer there, and the stroke color is surrounded by the outlines.
You can now copy and paste the converted shape back into InDesign following the same path.
In Illustrator, go to Edit > Copy or use the shortcut Control + C on Windows or Command + C on Mac. Then open InDesign and go to Edit > Paste or use the shortcut Control + V on Windows or Command + V on Mac.
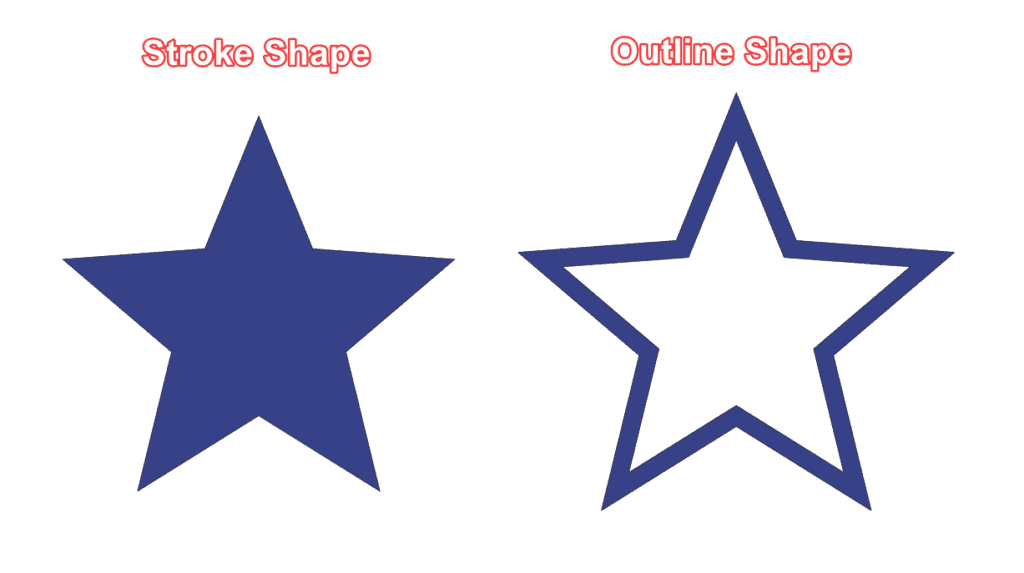
The two shapes will look identical when they aren’t selected.

However, if you customize the stroke and fill colors in the Properties tab, you will see how the objects react differently. You can now edit the outline independently as a separate stroke and fill.
👍 Support Us: Subscribe to our channel and help us continue providing these tutorials.
🌟 Regular Updates: We publish how-to videos for InDesign regularly!
🔧 Expert Guidance: Learn Krita from our professionals and uncover exclusive tips!