If you’re using the most recent version of the software, you might be facing some confusion over how to resize images in InDesign. This tutorial provides a detailed walkthrough on how to achieve this.
Total Time: 1 minute
Table of Contents
Launch Your Current Project

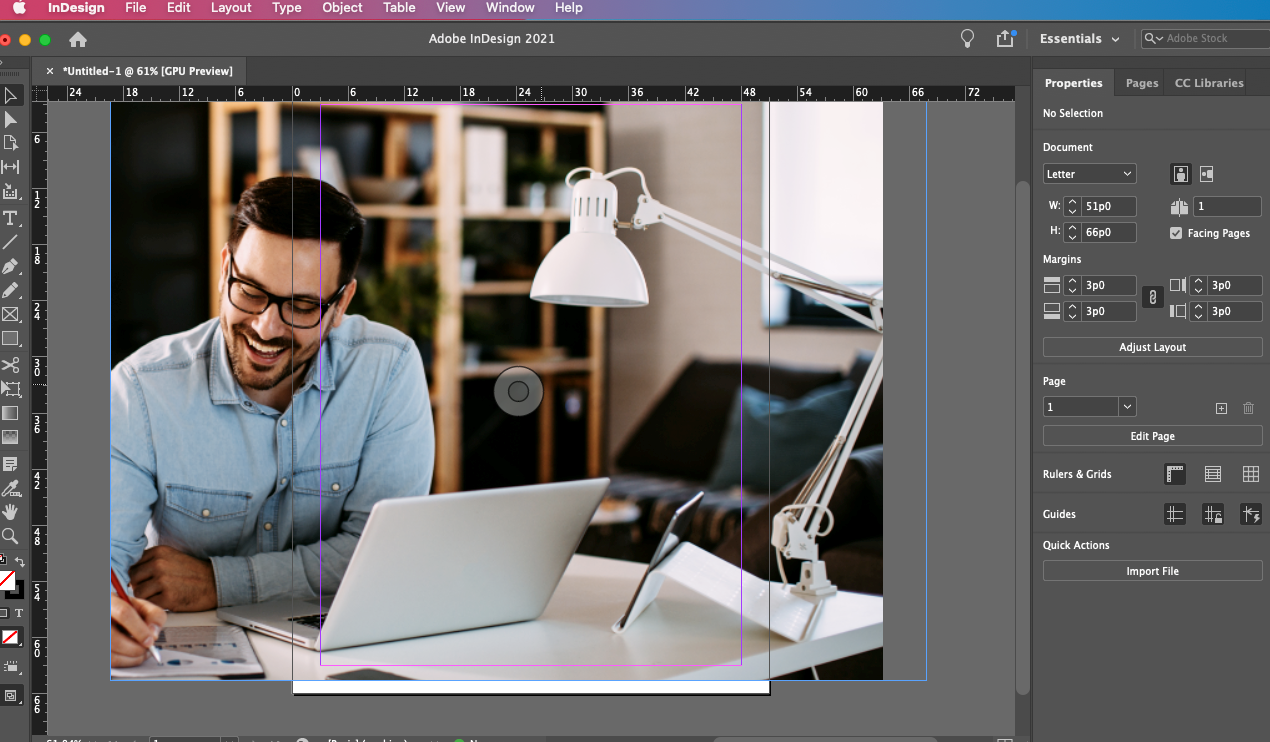
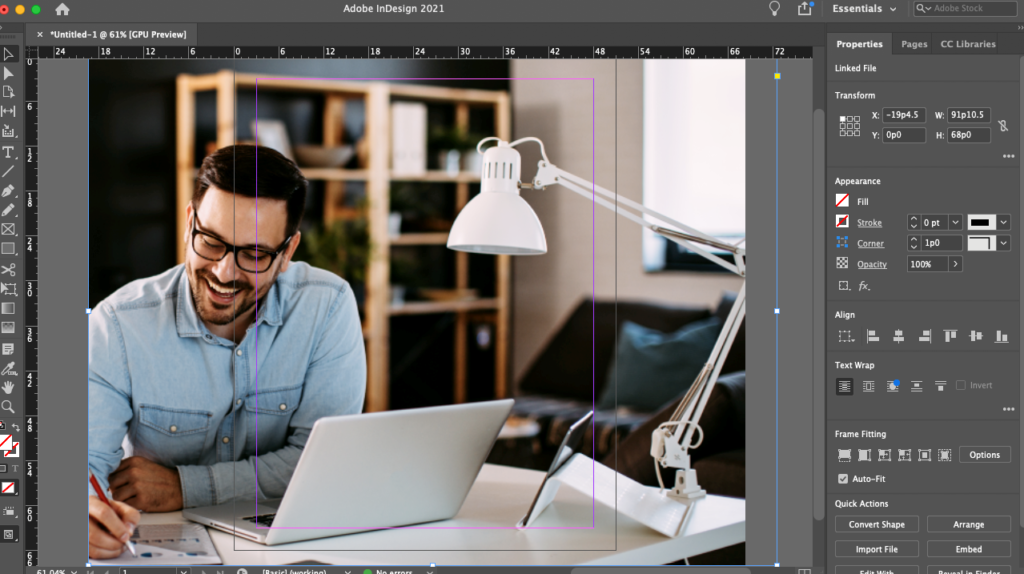
Start by launching the project that contains the image you want to resize. Next, navigate to the Tools panel and pick the Selection tool (it’s the black arrow). The Content Grabber icon will then appear at the center of the frame (it looks a little like a donut).
Resize the Image Within Its Frame

To resize the image, you’ll need to click on the Content Grabber. A brown frame will then appear around the image in question. The frame represents the unmodified proportions of the existing image.
To resize it, move the cursor to the corners of the frame, hold down the Shift key, and then click and drag the corner handle of the image in any direction to resize it. This technique preserves the original proportions of your image.
Automatically Resize the Image to Fit the Frame
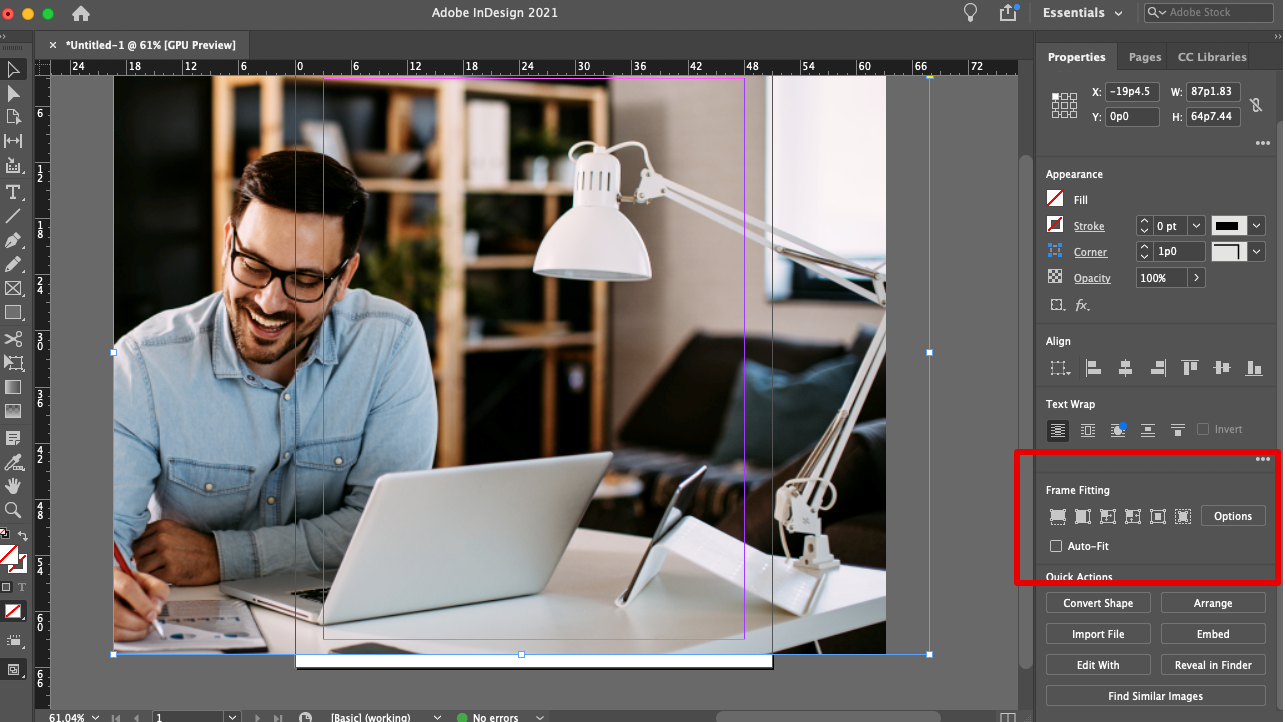
Drag the image in question into the frame. Next, use the Selection tool to select the frame and then navigate to the Properties panel. Locate the Frame Fitting section of the panel and use the Frame-Fitting button to adjust the size and position of your image within the frame.
To resize the image without distorting its original proportions, click the Fill Frame Proportionally button. Keep in mind that there’s a chance that the image may be cropped if its new dimensions fall outside the scope of the frame.
If you want to fit the image proportionally based on the frame size, select the Content-Aware Fit button instead.
Resize Both the Image and the Frame
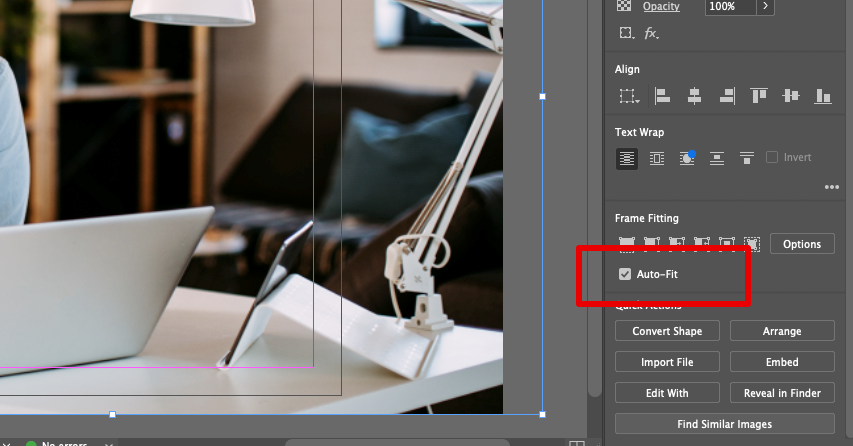
To resize the image and the frame simultaneously, click and drag the image into the frame. Next, use the Selection tool to select the frame and then go to the Frame Fitting section and select Auto-Fit.
Then, press and hold the Shift key, move the cursor to one of the frame’s corner handles, and drag it to resize both the image and the frame proportionally for your project.
Resize the Frame Only
To resize just the frame – whether or not it contains an image – you’ll first want to select it using the Selection tool.
Next, move the cursor to any one of the corner handles, click on it, and then drag it outward or inward to make the frame larger or smaller, respectively. If you want to preserve the existing frame dimensions, hold down the Shift key while dragging the corner handles to resize it.
Resize the Frame to Fit the Image

First, click on the Selection tool to adjust the proportions of the frame to fit the entire image. Next, go to Object and then Fitting.
Select the option marked Fit Frame to Content to adjust the frame size to fit the image. This is particularly useful if you’ve modified your frame dimensions, cropping out your image in the process, and you need to revert to the original version of the content.
Alternatively, double-click on any of the corner handles on the frame to resize it to fit your image.
Watch YouTube Video Tutorial
Alternate Method: Using Precise Measurements
If a particular project requires the images to have precise measurements, here’s how to go about resizing them in InDesign.
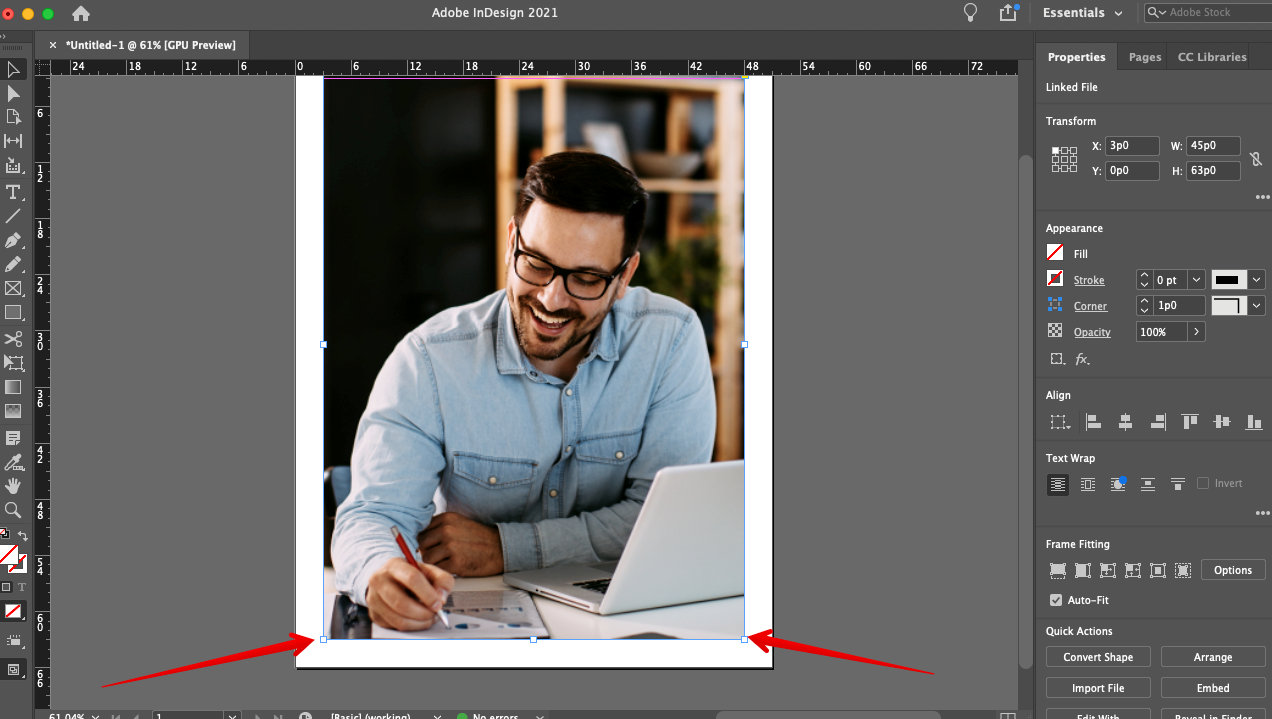
1. Select the Image
Once you’ve uploaded your project to the workspace, use the Selection tool to select the image you want to resize.
2. Use the Transform Feature
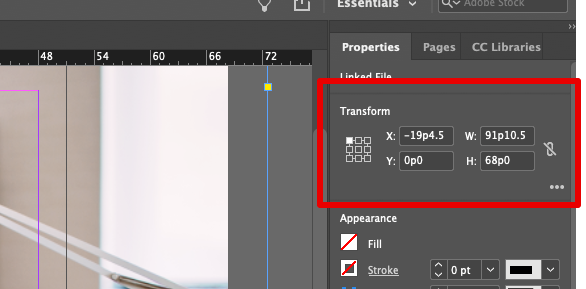
Next, navigate to the Properties panel, and then go to the Transform toolbar. Use the tic-tac-toe grid on the left side to select the point-of-reference. This specifies the direction in which the image will be resized. Finally, enter your preferred image width (labeled W), height (labeled H), and X/Y coordinates in the input fields provided.
There you have it – How to resize images in InDesign. We hope you found this guide useful for your next project.
👍 Support Us: Subscribe to our channel and help us continue providing these tutorials.
🌟 Regular Updates: We publish how-to videos for InDesign regularly!
🔧 Expert Guidance: Learn Krita from our professionals and uncover exclusive tips!